
Search and filter
The All Transactions page shows every transaction across your accounts. Filters narrow it down, and selecting rows lets you change or delete many transactions in one go.
To open it, go to the sidebar and choose Transactions → All Transactions.
List view and table view
Section titled “List view and table view”Use the toggle at the top of the page to switch between List view and Table view.
- List view is a compact list. On a wide screen, the filters sit in a panel on the left.
- Table view shows your transactions as columns you can sort, with the filters in a toolbar across the top.
On a computer the page opens in Table view; on a phone it opens in List view. Your choice is remembered separately for each, so you can keep the table on your laptop and the list on your phone. “Phone” here means a narrow page, so a small browser window counts too.
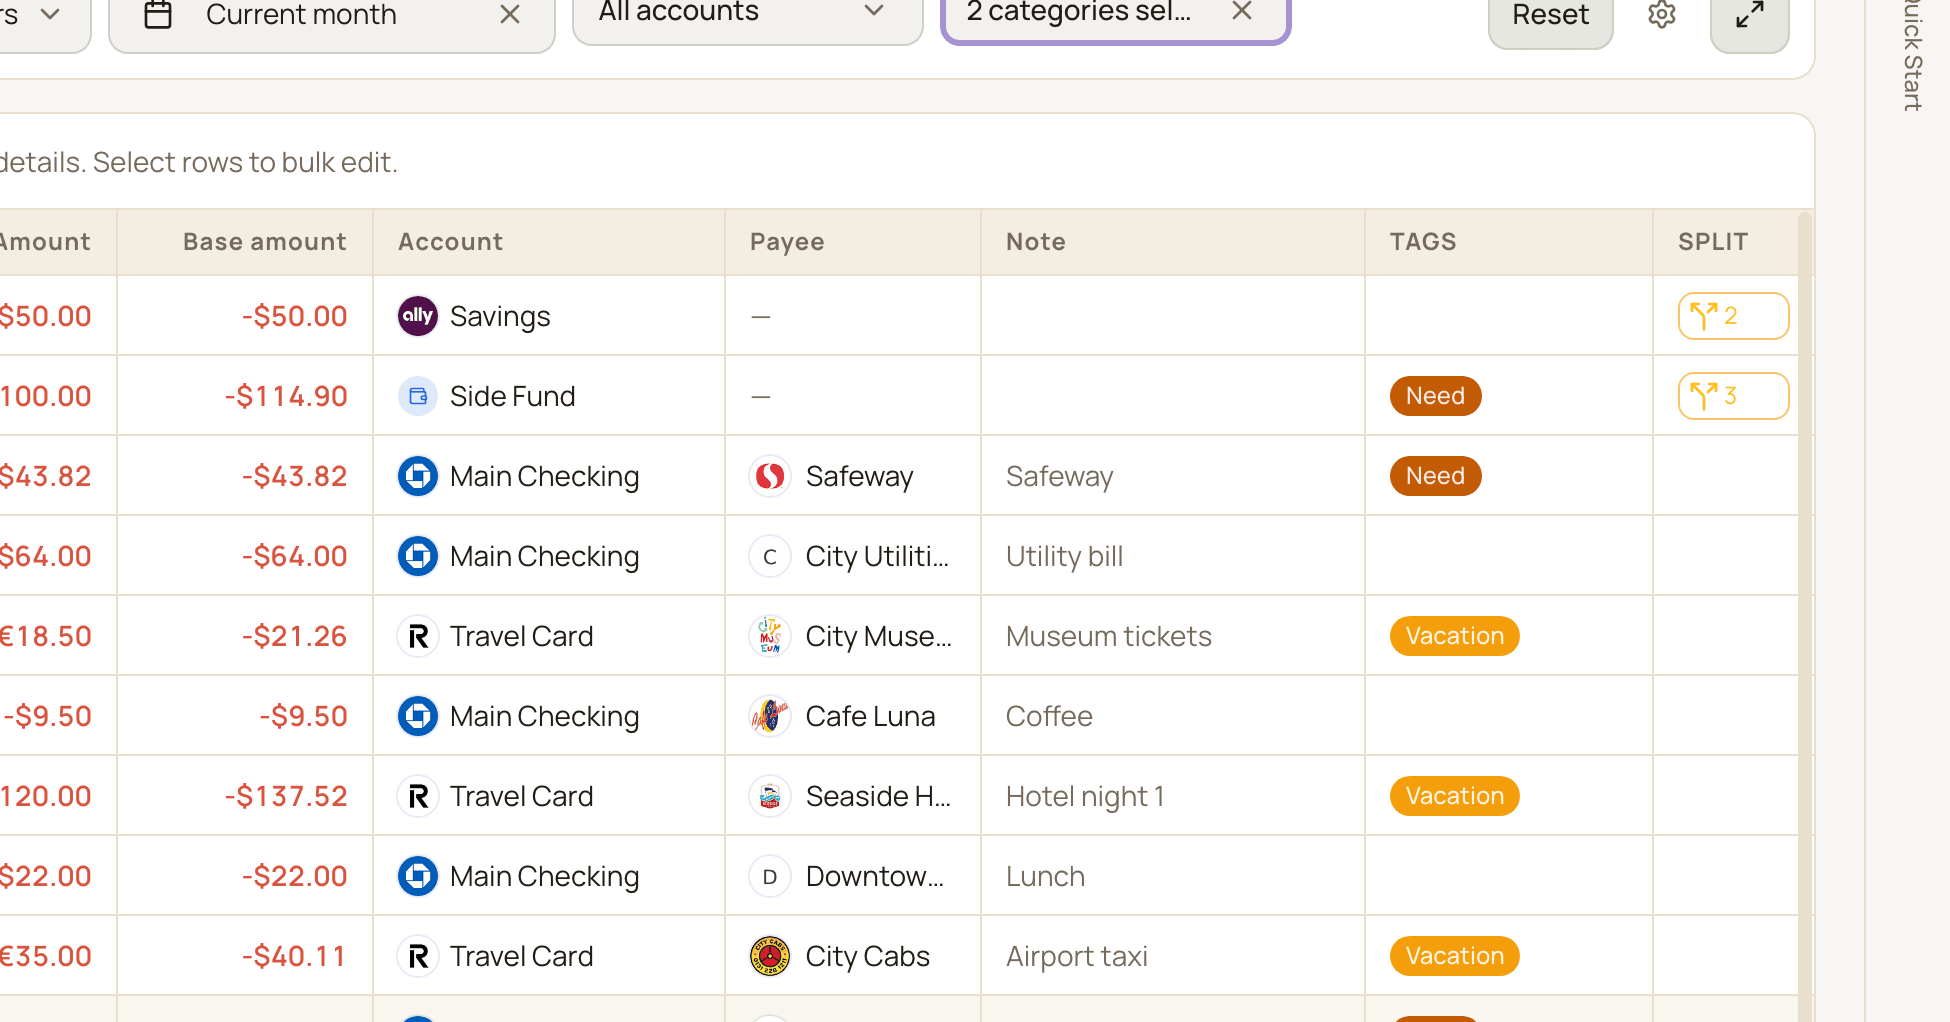
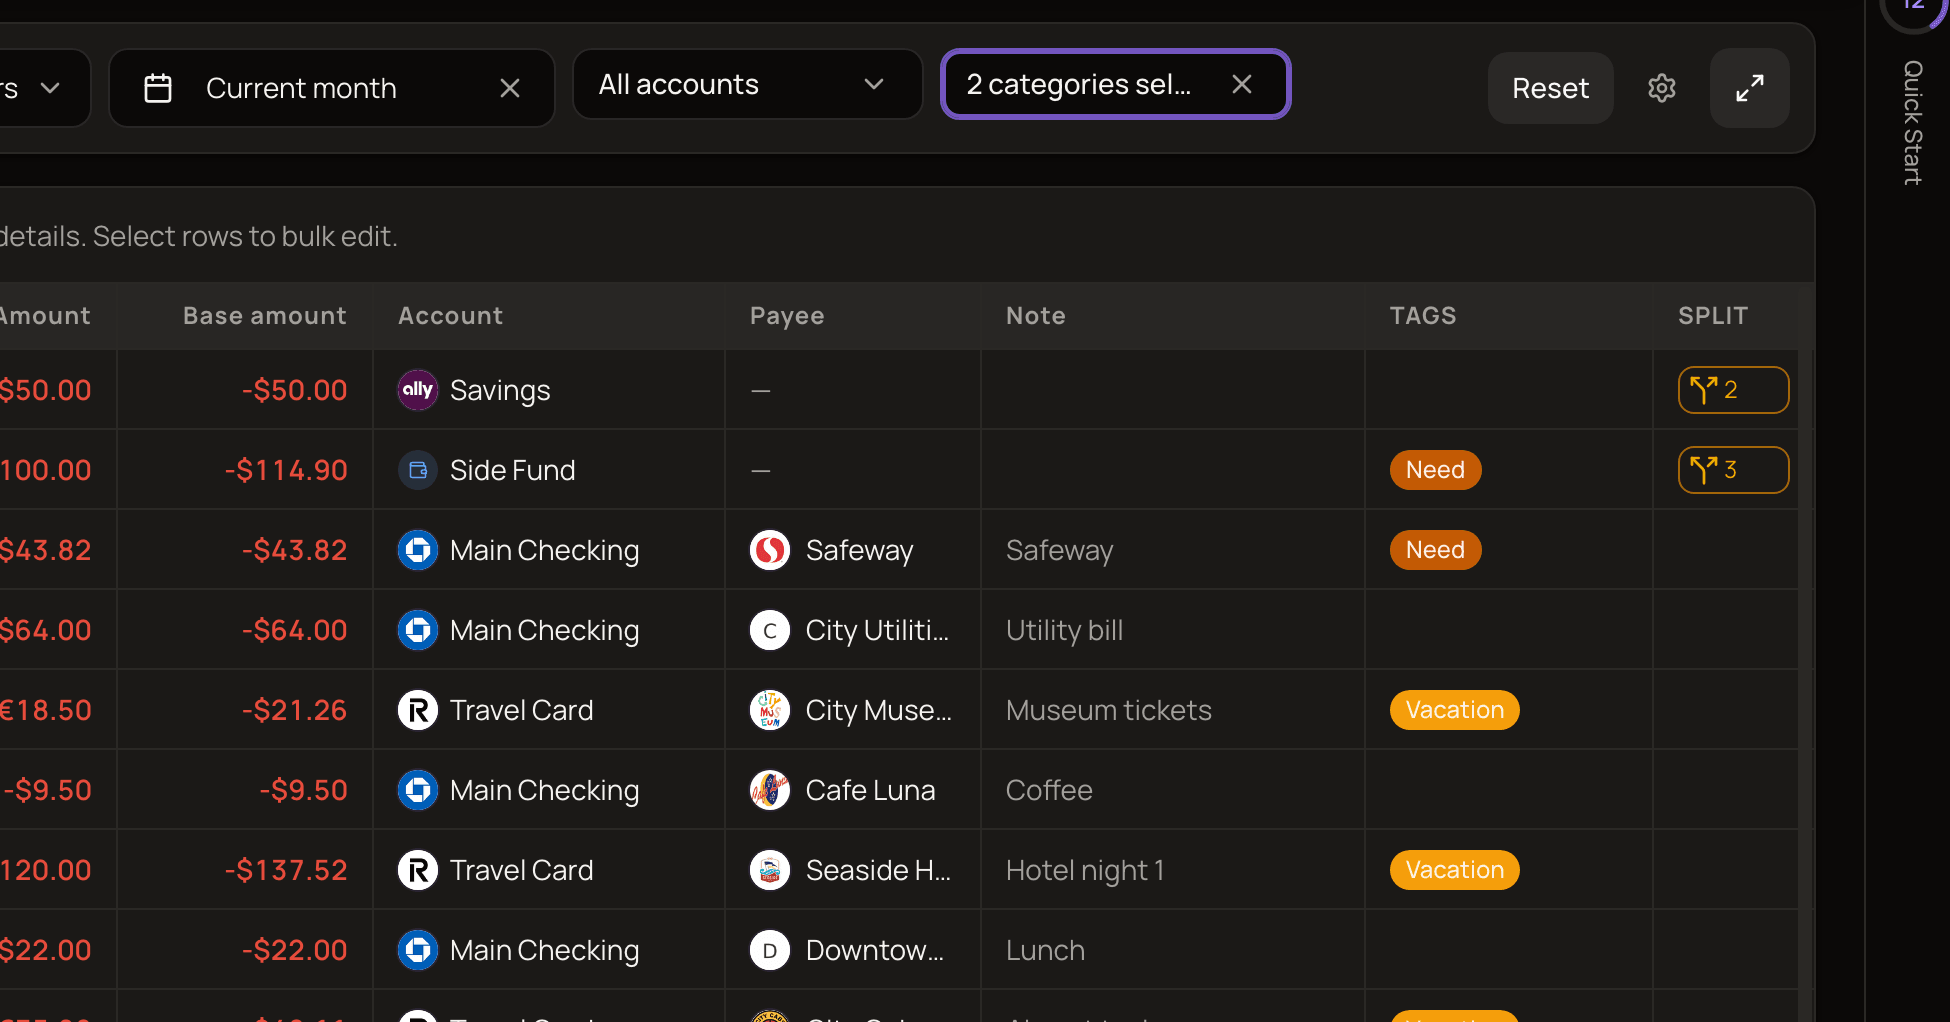
Working with the table
Section titled “Working with the table”- Open a transaction: click its row.
- Sort: click a column header. You can sort by Date, Category, Amount, Base amount, Account, Payee, Note and Categorized by. The default is Date, newest first.
- Choose columns: open Table settings to show, hide and reorder columns, or click Reset to defaults. The available columns are Date, Account, Category, Payee, Amount, Base amount, Original amount, Note, Tags, Categorized by, Group, Refund and Split. Categorized by shows what set each transaction’s category, for example Manual when you changed the category on an existing transaction (a category picked while creating the transaction leaves this blank), or Payee rule when a payee set to Always use payee category filled it in.
- Focus mode: click Focus mode to hide the rest of the app and give the table the whole screen. Press Esc or click Close (Exit focus mode on a phone) to return.
Sorting by Amount uses each transaction’s value in your base currency, so a list with several currencies still sorts in a sensible order.
Filter transactions
Section titled “Filter transactions”Filters apply by themselves a moment after you change them; there’s no Apply button. Click Reset to clear them all.
Where the filters are depends on the view:
- Table view: the date, accounts and categories filters are always in the toolbar. Add others from the Filters menu. Each extra filter has a Remove filter button.
- List view on a wide screen: all filters are in the left panel.
- Narrow screens: tap Filters to open them.
Your filters and sorting stay in place while you move around the app in the same browser tab. Closing the tab clears them.
Available filters
Section titled “Available filters”| Filter | What it does |
|---|---|
| Date | Pick a date or a range, or use a preset: This month, Last 3 months, Last 6 months, Last 12 months. |
| Accounts | Only transactions on the accounts you pick. Archived accounts are listed too. |
| Categories | Only transactions in the categories you pick. Picking a parent category also picks all its subcategories. |
| Transaction type | All types, Income or Expense. |
| Amount range | A minimum and/or maximum amount. |
| Notes | Words to look for in notes. See search notes. |
| Tags | Transactions with any of the tags you pick. Choose No tags to find untagged transactions. |
| Payees | Transactions with any of the payees you pick. Choose No payee to find ones without a payee. |
| Refunds | All, Exclude or Only transactions that are part of a refund link: both the refund and the purchase it refunds. |
| Transfers | All, Exclude or Only transfers. |
| Transfer kinds | Narrow transfers down by kind, such as Between accounts or Out of wallet (see how transfers work). Has no effect when Transfers is set to Exclude. |
| Attachments | All, Exclude or Only transactions that have attachments. |
A few details worth knowing:
- The amount filter uses each transaction’s own currency, not your base currency. A filter of “at least 100” matches 100 EUR on a euro account and 100 USD on a dollar account.
- The categories filter also looks inside splits. A transaction split between Groceries and Drug-store, chemist shows up when you filter by either one, and the whole transaction is listed. See split a transaction.
- Refunds and Transfers both set to Only show transactions that are refunds or transfers.
Search notes
Section titled “Search notes”The Notes filter searches the text of transaction notes. In table view, add it from Filters → Notes. In the filter panel, it’s the Note includes (comma-separated): field.
It ignores upper and lower case, and matches any part of the note, so “amaz” finds “Amazon order”.
To search for several words at once, separate them with commas, for example amazon, nike. A transaction matches if its note contains any of the words.
Open the list from a category
Section titled “Open the list from a category”In Settings → Categories, the menu next to a category has View transactions. It opens this page filtered to that one category. Unlike picking a parent in the categories filter, this doesn’t include its subcategories. See categories.
Select several transactions
Section titled “Select several transactions”Tick the checkbox on a row to select it. You can also:
- Hold Shift and click another checkbox to select everything in between.
- Tick the checkbox in the table’s header row (in list view, Select all) to select every transaction currently loaded.
The bar at the top shows how many rows are selected, with totals in your base currency: Income, Expense, Net and Transfers. Transfers between your own accounts are shown on their own and never counted in Net, since moving money between your accounts doesn’t make you richer or poorer. Out of Wallet transfers, including balance adjustments, count as income or expense here, even though your stats leave them out.
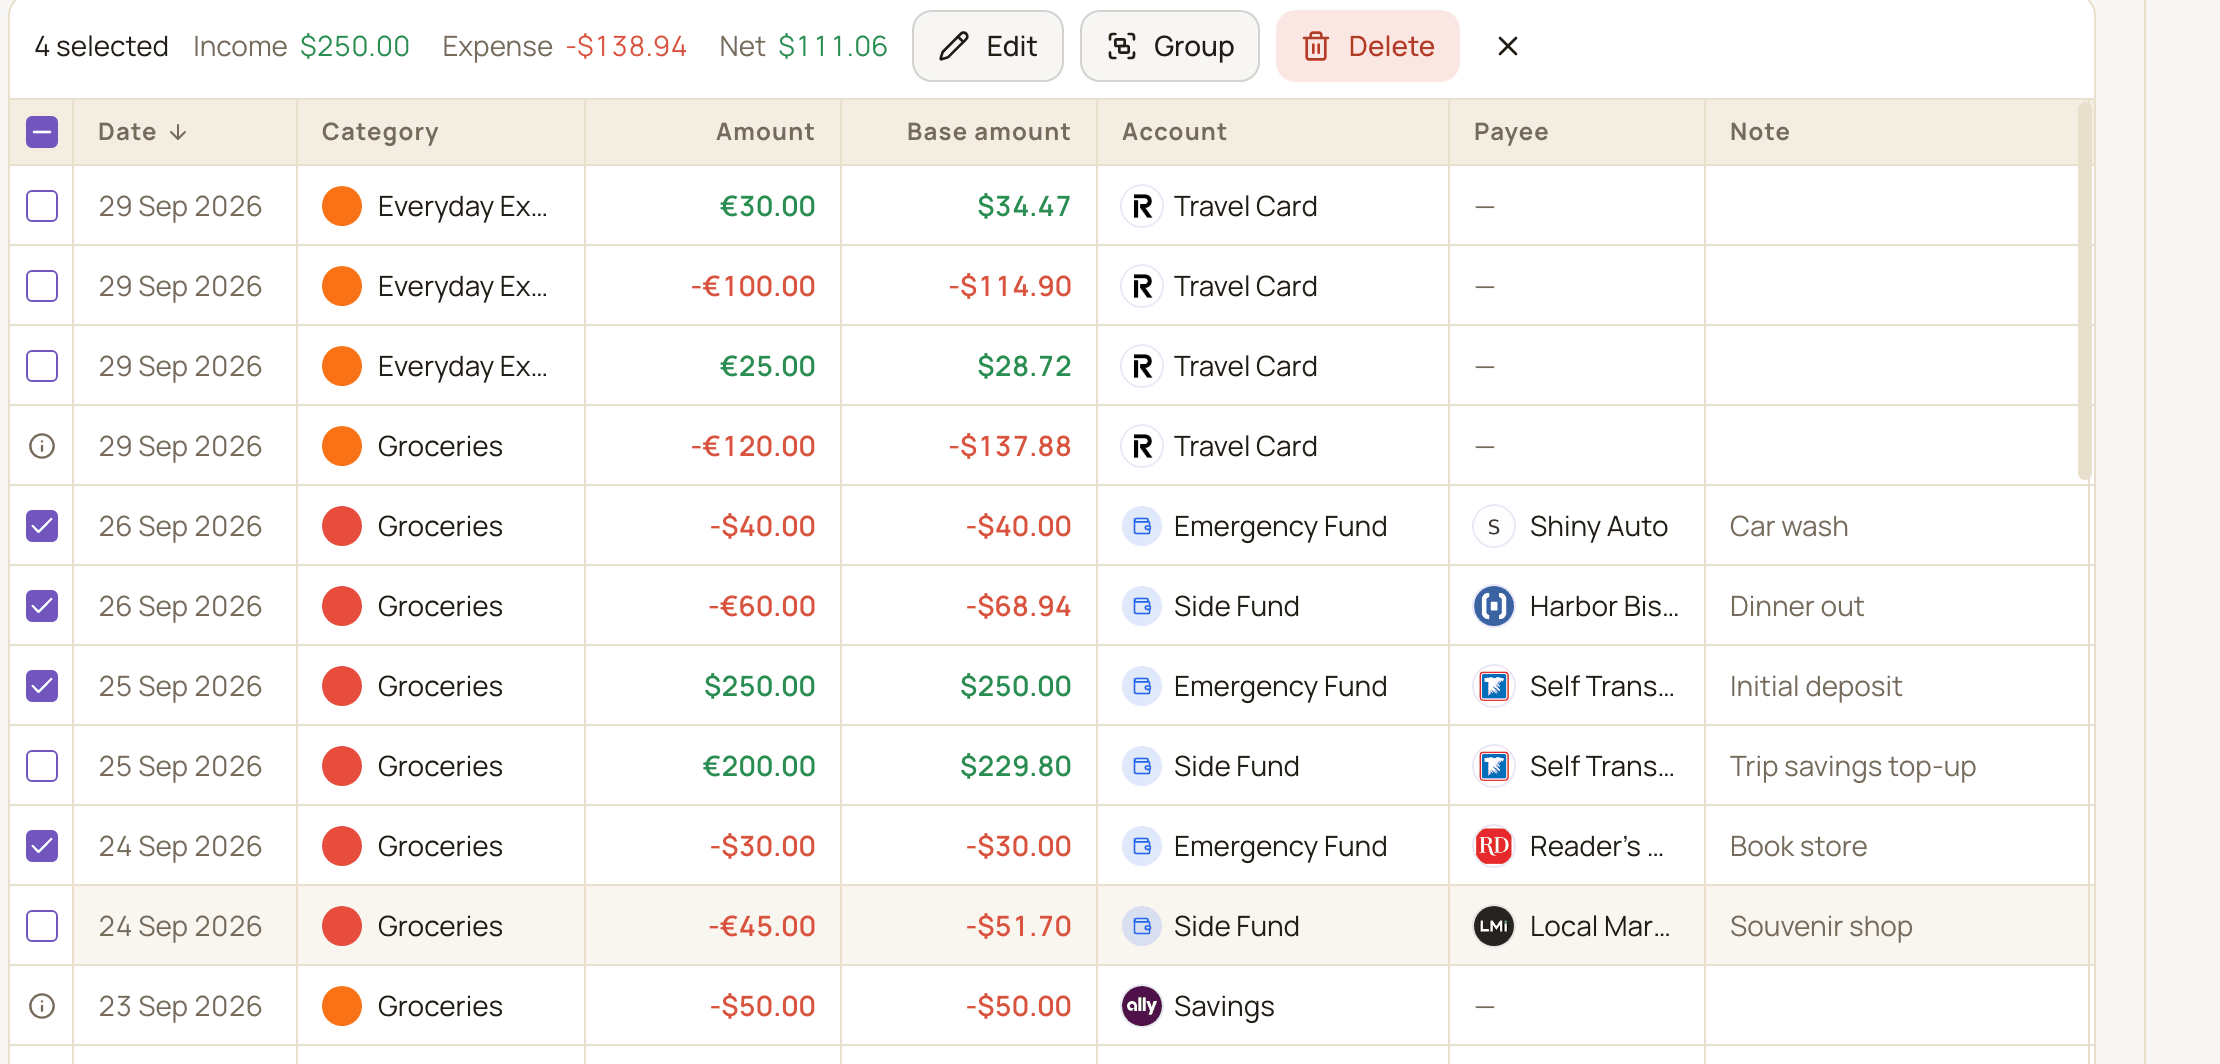
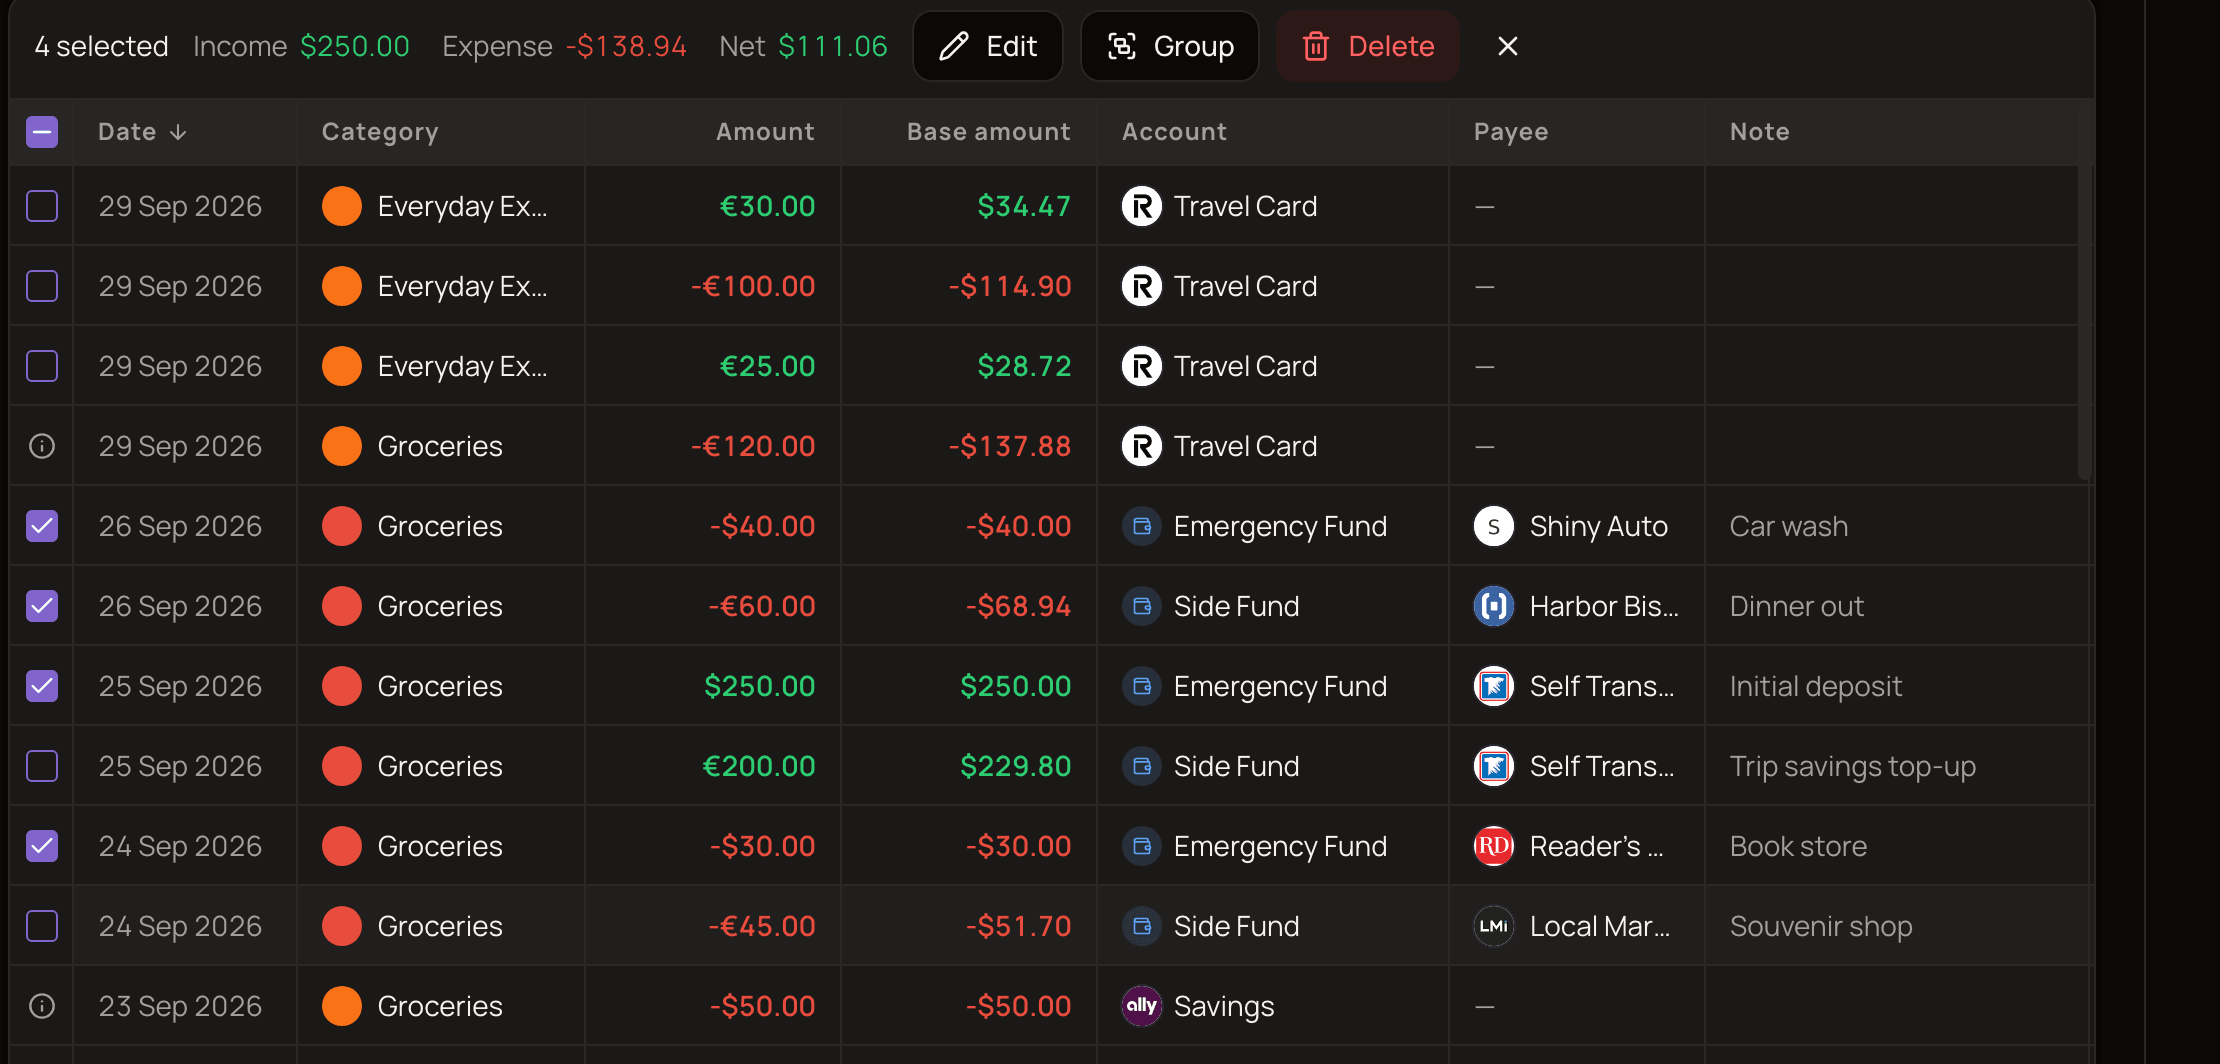
With rows selected you can Edit, Group or Delete them. On a phone, list view puts these actions in a menu; table view shows them as icon buttons. In table view, Cancel selection clears the selection.
Edit several transactions at once
Section titled “Edit several transactions at once”- Select the transactions.
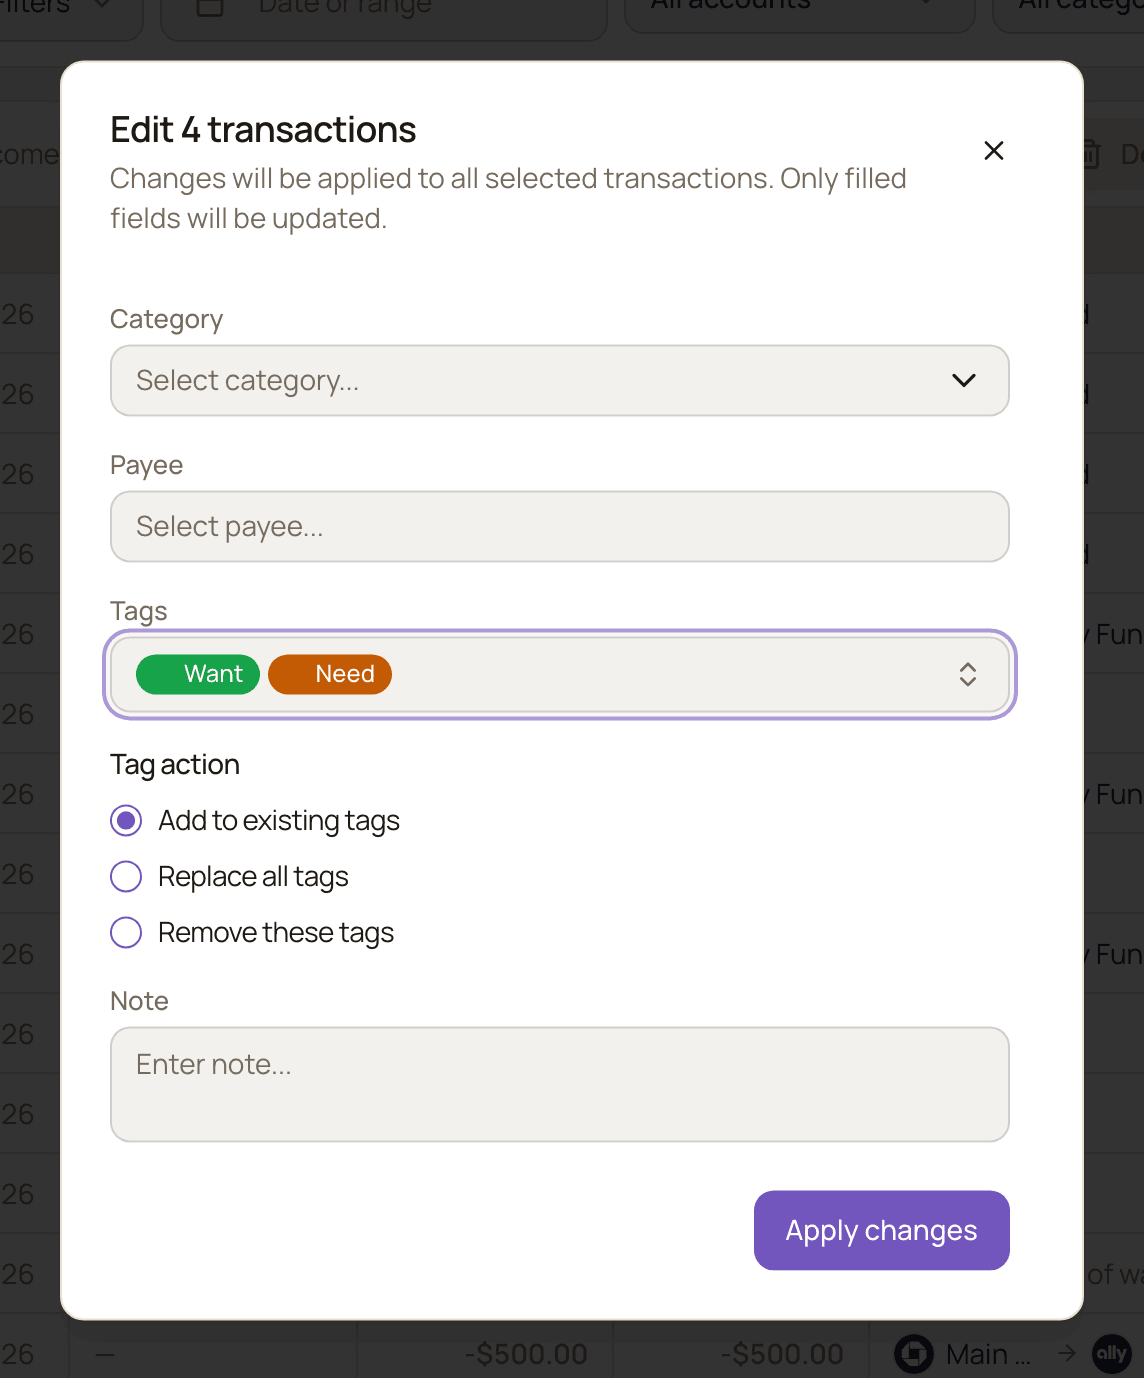
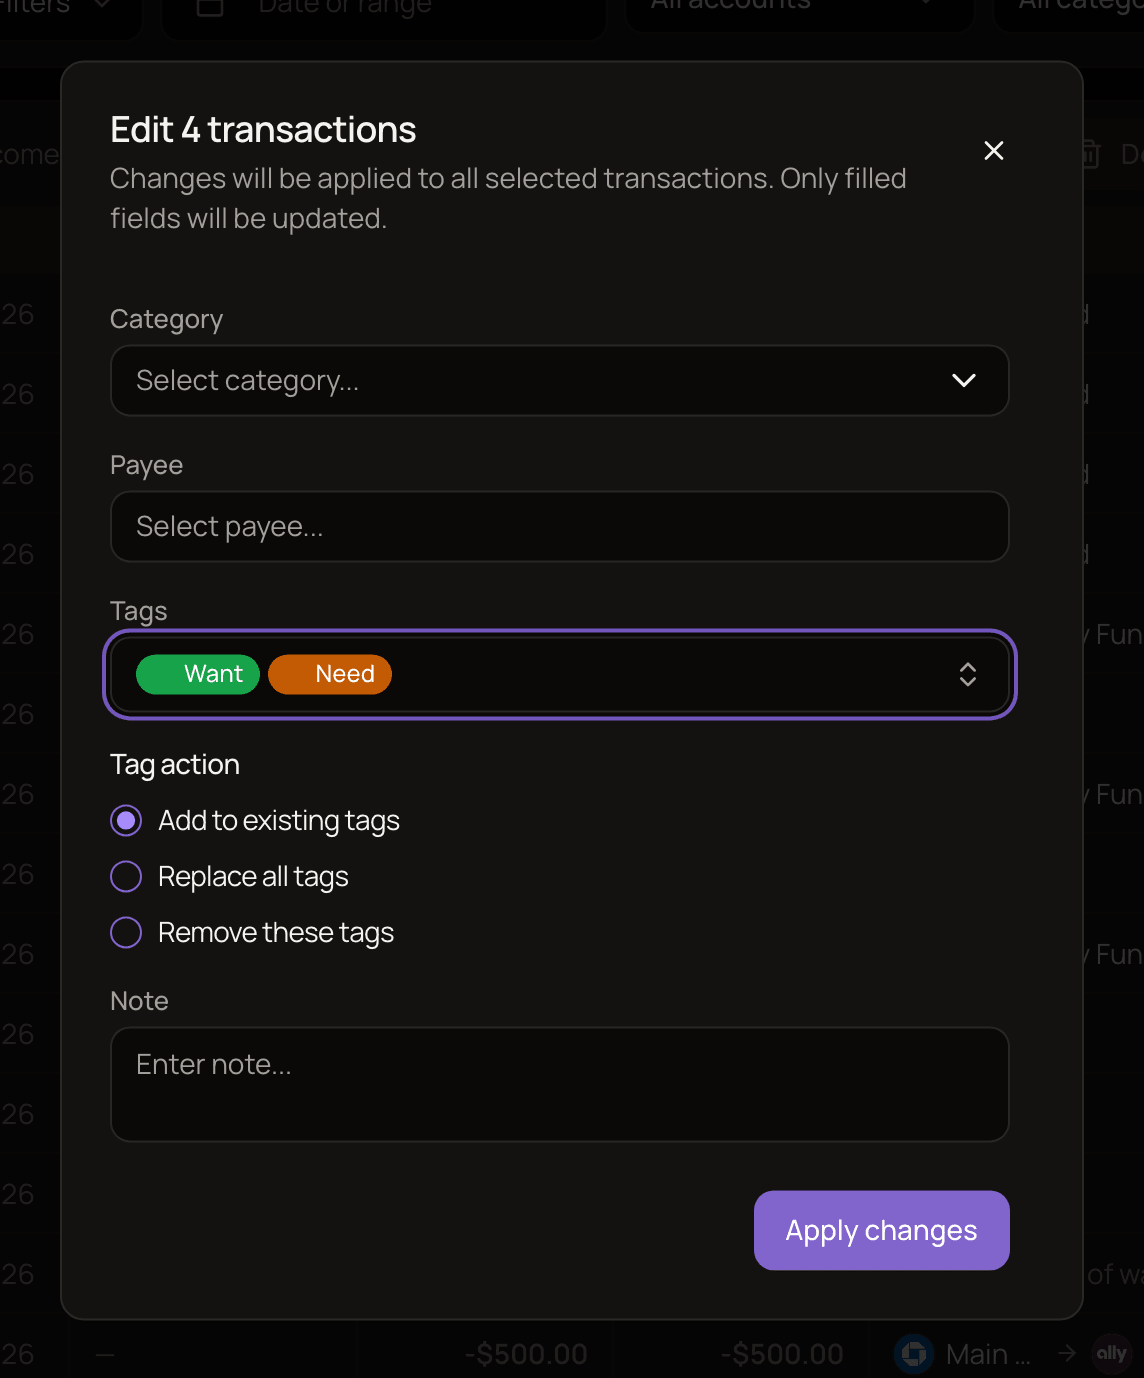
- Click Edit. The Edit N transactions window opens.
- Fill in only what you want to change: Category, Payee, Tags or Note. Empty fields are left alone.
- If you picked tags, choose a Tag action:
- Add to existing tags (the default) keeps the tags each transaction already has.
- Replace all tags swaps them for the ones you picked.
- Remove these tags takes the picked tags off.
- Click Apply changes, check the summary in Confirm changes, and click Apply.
Picking a payee also fills in that payee’s auto-apply tags, which you can remove before applying.
Things to watch for:
- A new note replaces the old one on every selected transaction. It isn’t added to the end. If you also change the category, transfers in the selection keep their old note. Edit notes on transfers in a separate bulk edit.
- You can’t clear a field in bulk. Leaving the note or payee empty means “don’t change”, not “remove”.
- Category changes skip transfers. Transfers don’t use categories, so they keep what they have. If you selected only transfers and set a category, the edit is refused.
- Payees set in bulk are locked, the same as when you set them by hand. Automatic payee detection won’t change them later.
Group transactions
Section titled “Group transactions”A group bundles related transactions under one name, for example a salary and the transfer you made from it, or all the costs of a trip.
- Select at least two transactions.
- Click Group → Create new group.
- Enter a Name and, if you like, a Note (optional), then click Create Group.
To add transactions to a group you already have:
- Select one or more transactions.
- Click Group → Add to existing group.
- Pick the group. Use Search groups… if you have many.
- Click Add to Group.
- A group can hold 2 to 50 transactions, and a transaction can only be in one group.
- Groups are just labels. They don’t change any amounts or stats.
- In list view, a group shows as one row. It expands into its transactions when any filter other than the date is active.
- Deleting a group keeps its transactions.
You’ll find your groups in the sidebar under Transactions → Groups.
Delete several transactions
Section titled “Delete several transactions”- Select the transactions.
- Click Delete.
- Confirm in the Delete N transactions? window.
This can’t be undone. If a selected transaction is one side of a transfer, both sides are deleted.
If any selected transaction came from a bank connection, the Delete button is disabled and nothing is deleted. Bank-synced transactions can’t be deleted, so remove them from the selection first. If a selected transfer has its other side on a bank-connected account, the bulk delete fails and nothing in the selection is deleted. Take that transfer out of the selection. Transfers like this can’t be deleted, not even one at a time. See bank-synced transactions.