
Security and account
The Security settings page covers everything about your login and your account as a whole: how you sign in, where you’re signed in, your password, full backups, and deleting your data.
Open Security settings
Section titled “Open Security settings”- Click the gear button (Settings) at the top right of the app.
- Under Personal, choose Security.
You can also open the user menu in the sidebar, the one showing your email, and choose Account details.
The page has five tabs: Login Methods, Active Sessions, Password, Backup & restore and Danger Zone.
Login methods
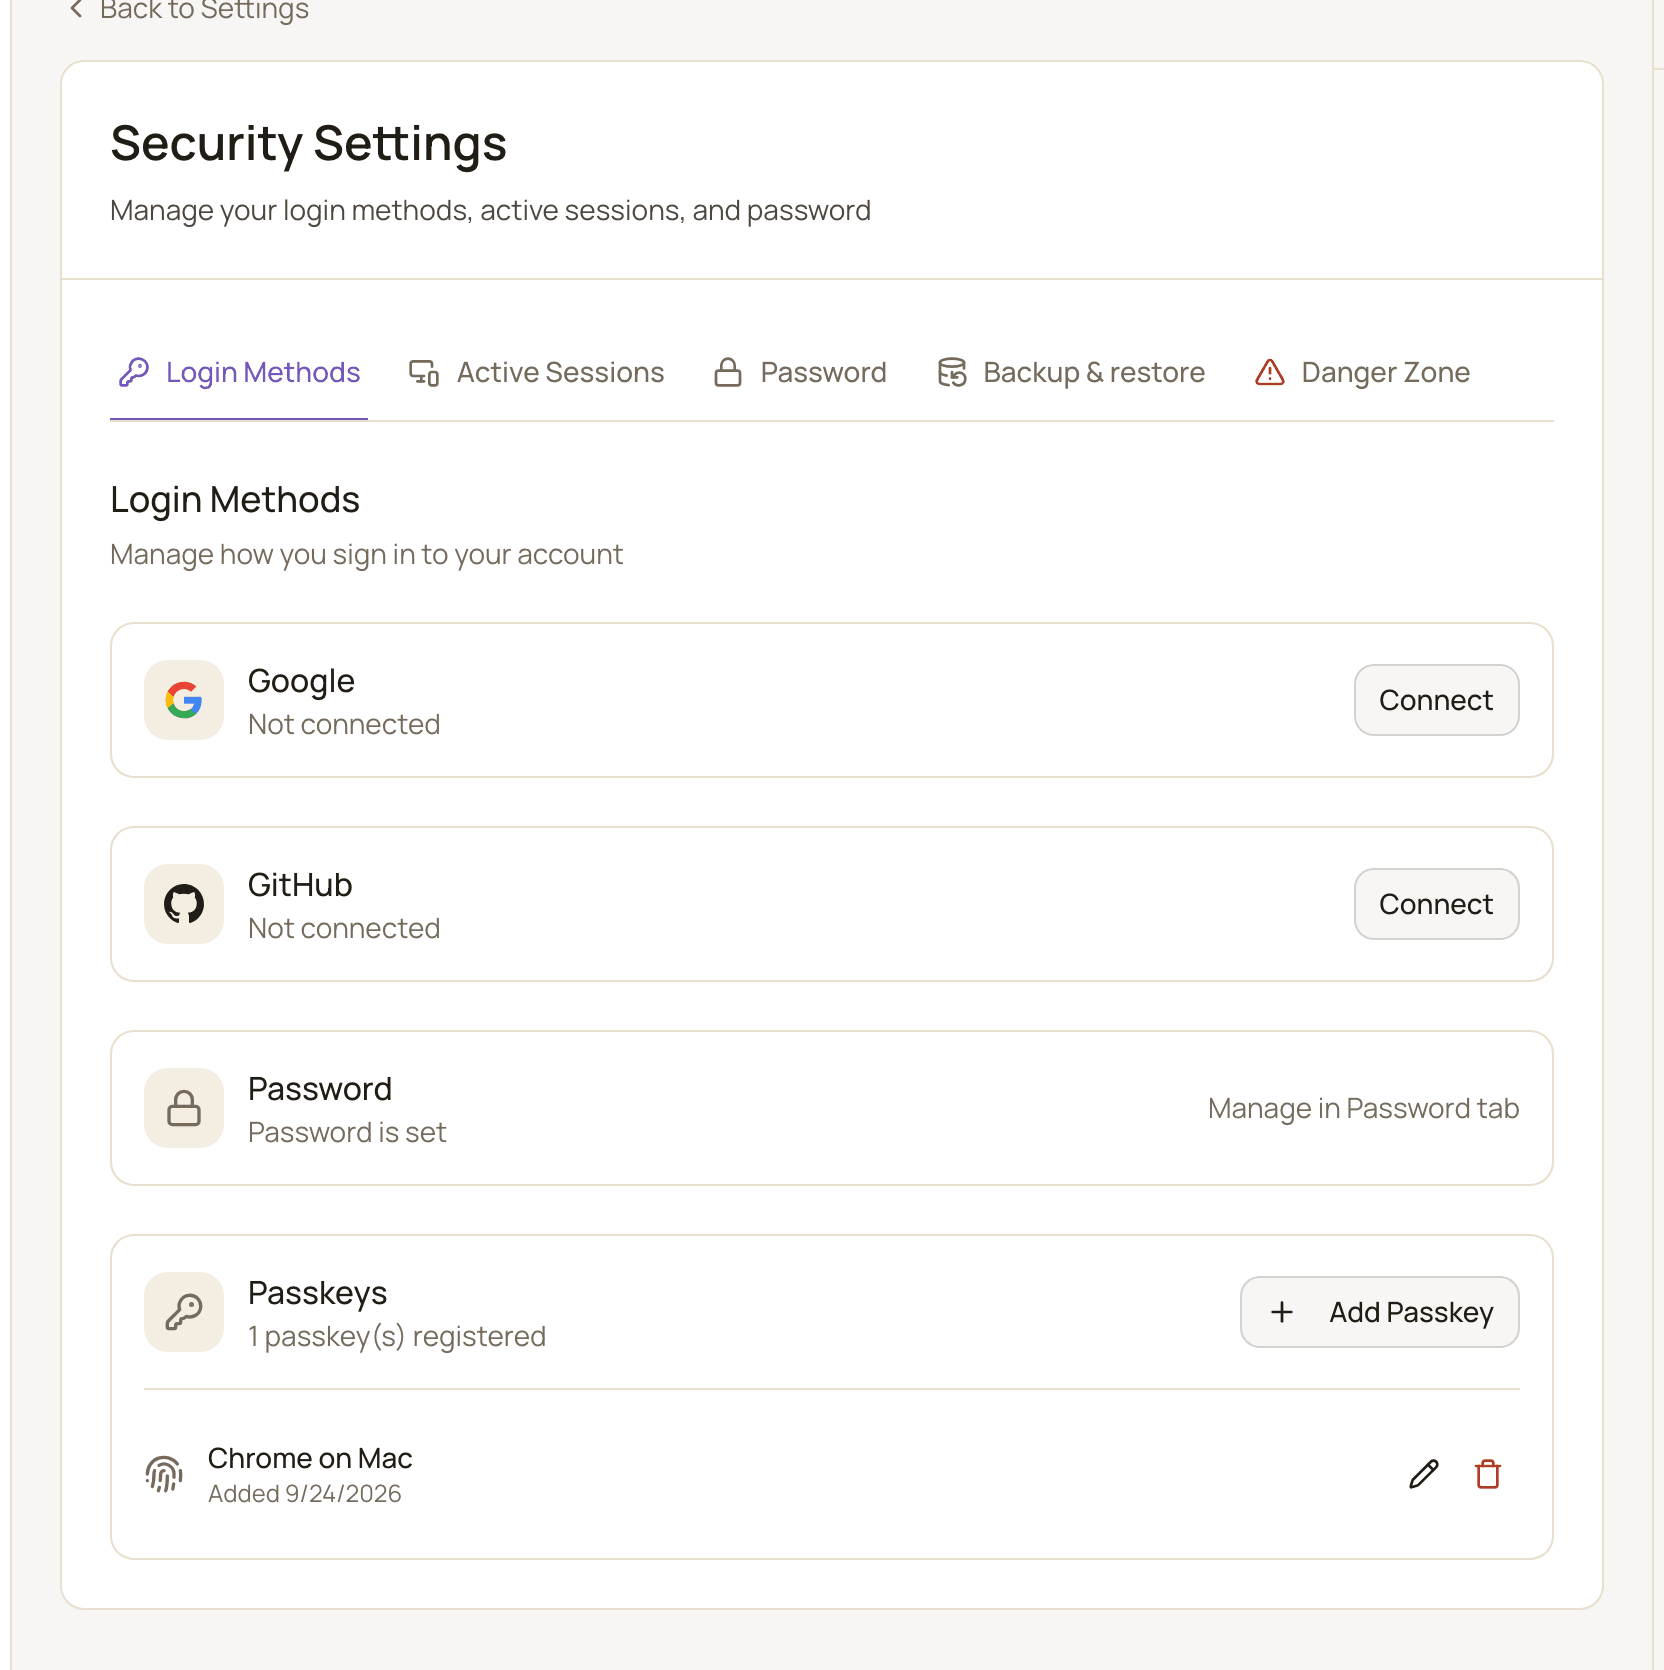
Section titled “Login methods”You can sign in to MoneyMatter with any of these, and you can have several at once:
- email and password
- GitHub
- a passkey saved on your device
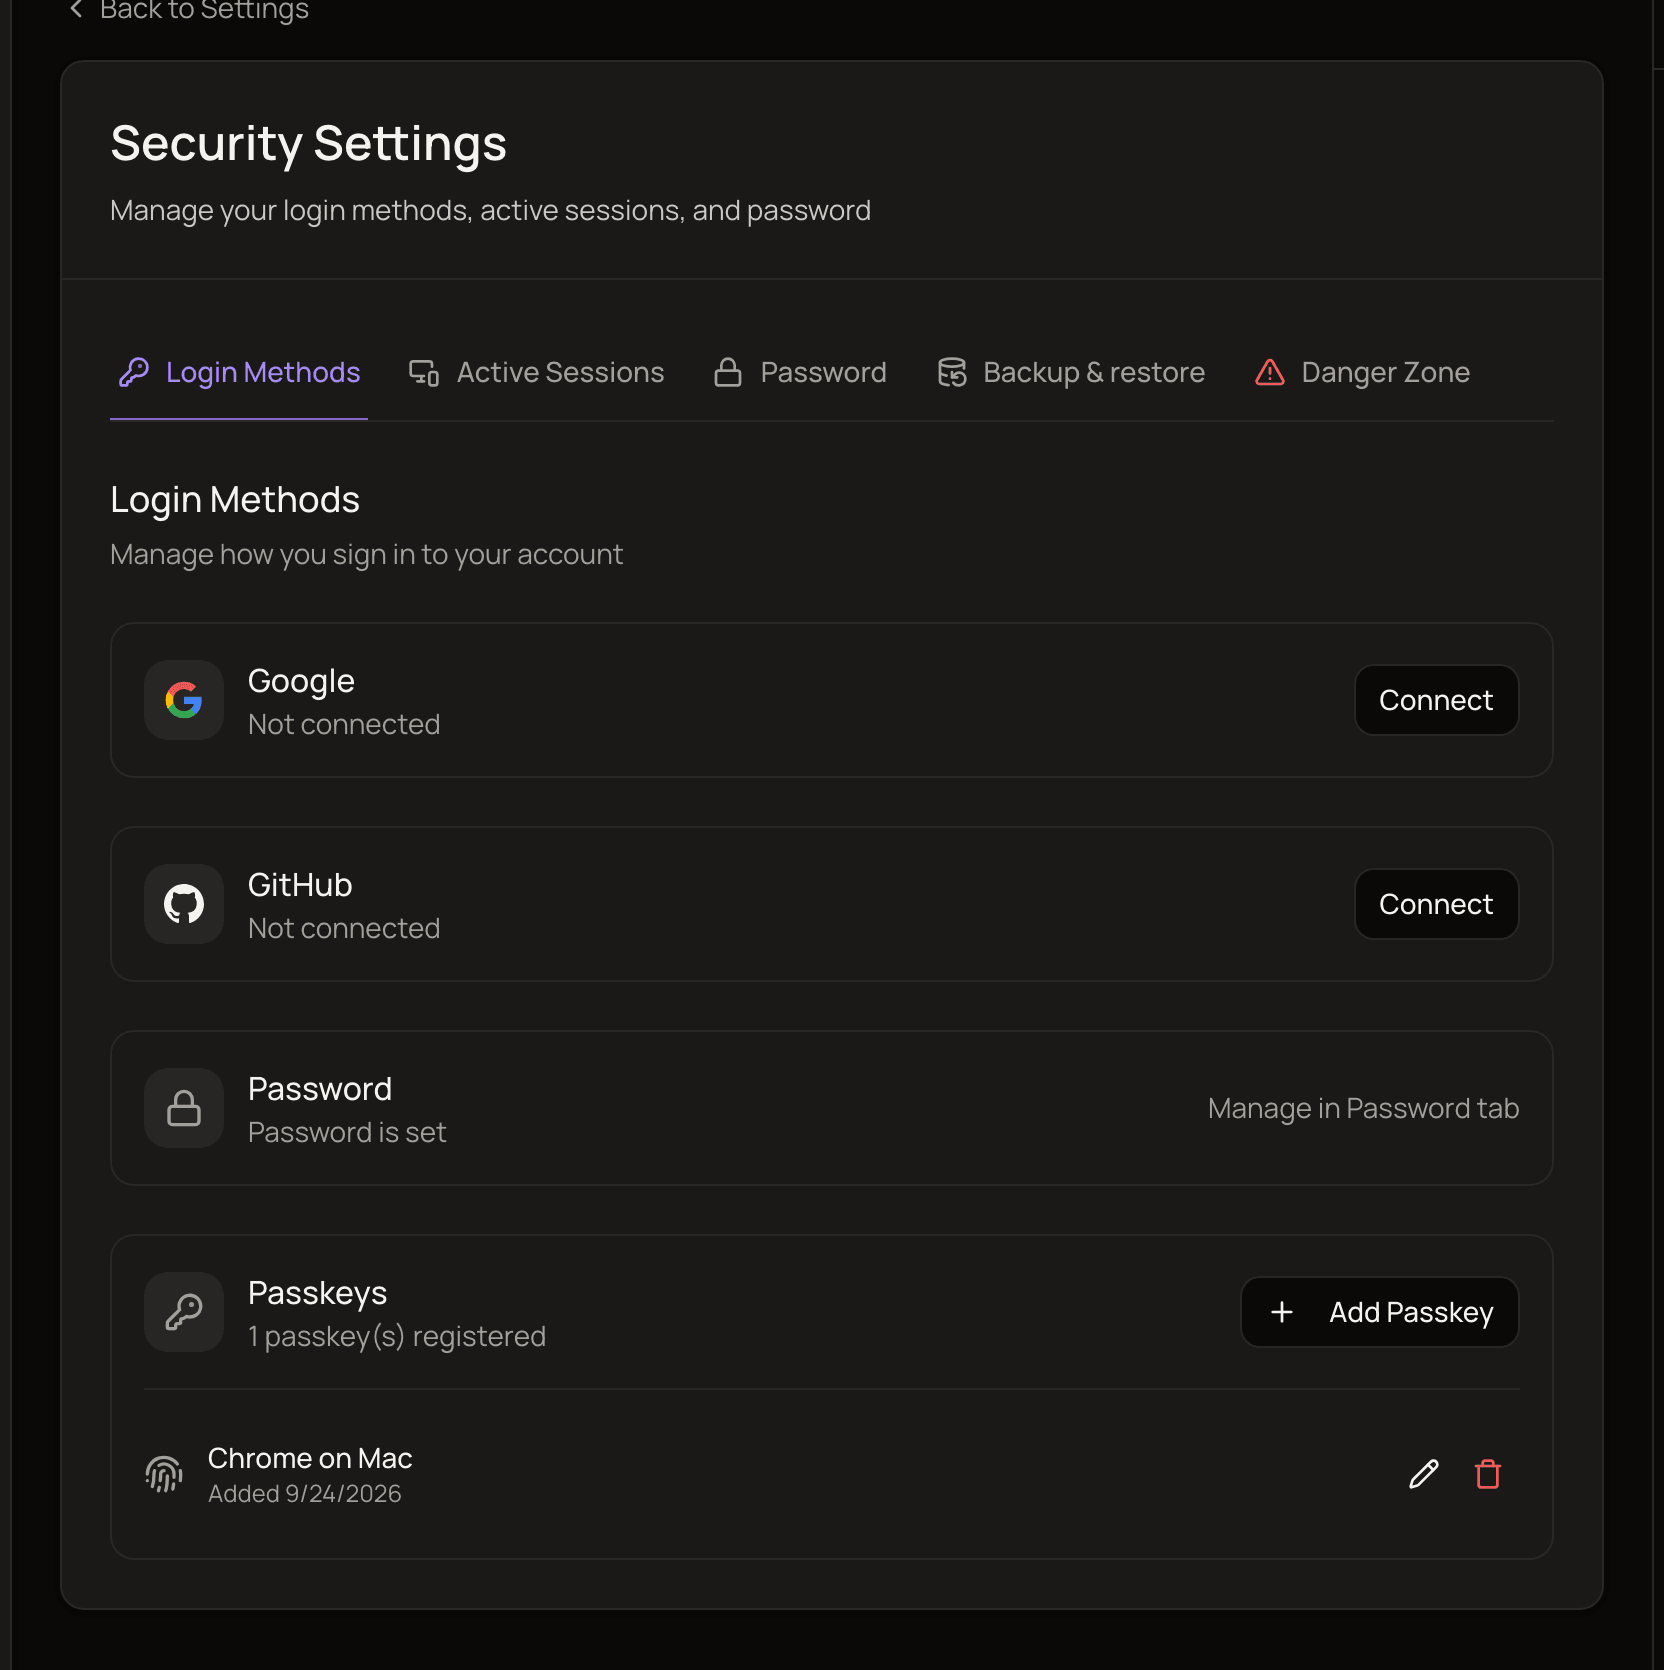
The Login Methods tab shows each one and whether it’s set up.
Connect Google or GitHub
Section titled “Connect Google or GitHub”On the provider’s card, click Connect. You’re sent to Google or GitHub to approve, then back to MoneyMatter. The card then shows “Connected as” with that account’s email.
The Google or GitHub account must use the same email address as your MoneyMatter account. If the emails differ, connecting fails and you’ll see an error.
To remove it, click Disconnect.
If you sign in with Google or GitHub using the same email as your existing MoneyMatter account, it’s linked to that account automatically.
Add a passkey
Section titled “Add a passkey”- In the Passkeys card, click Add Passkey.
- Follow your browser’s or device’s prompt to create the passkey.
The new passkey appears in the list with the date you added it. Use the pencil icon to give it a name you’ll recognize, like “Work laptop”, or the trash icon to remove it.
If adding fails, check that your device and browser support passkeys.
Active sessions
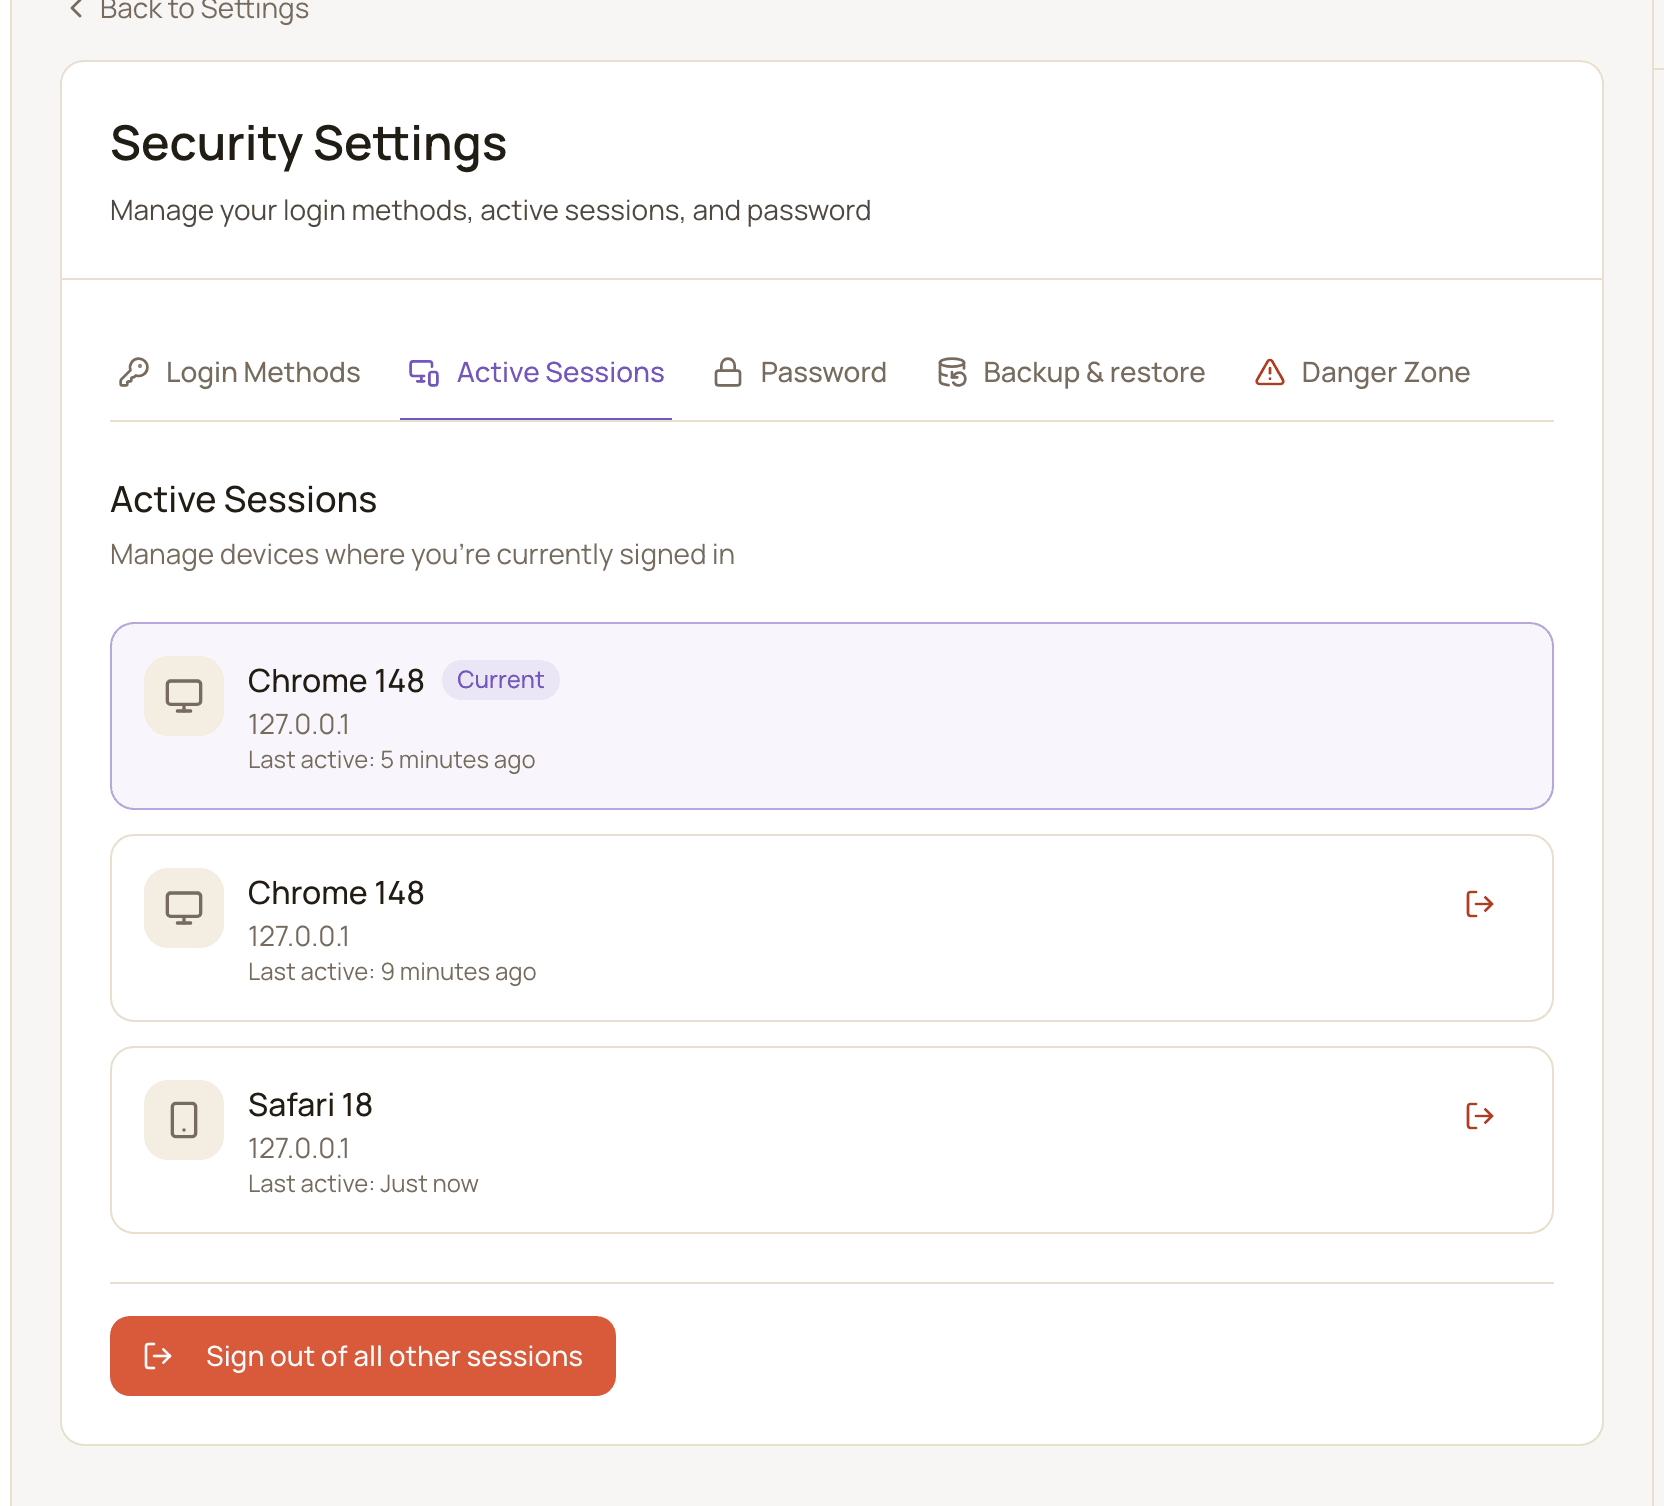
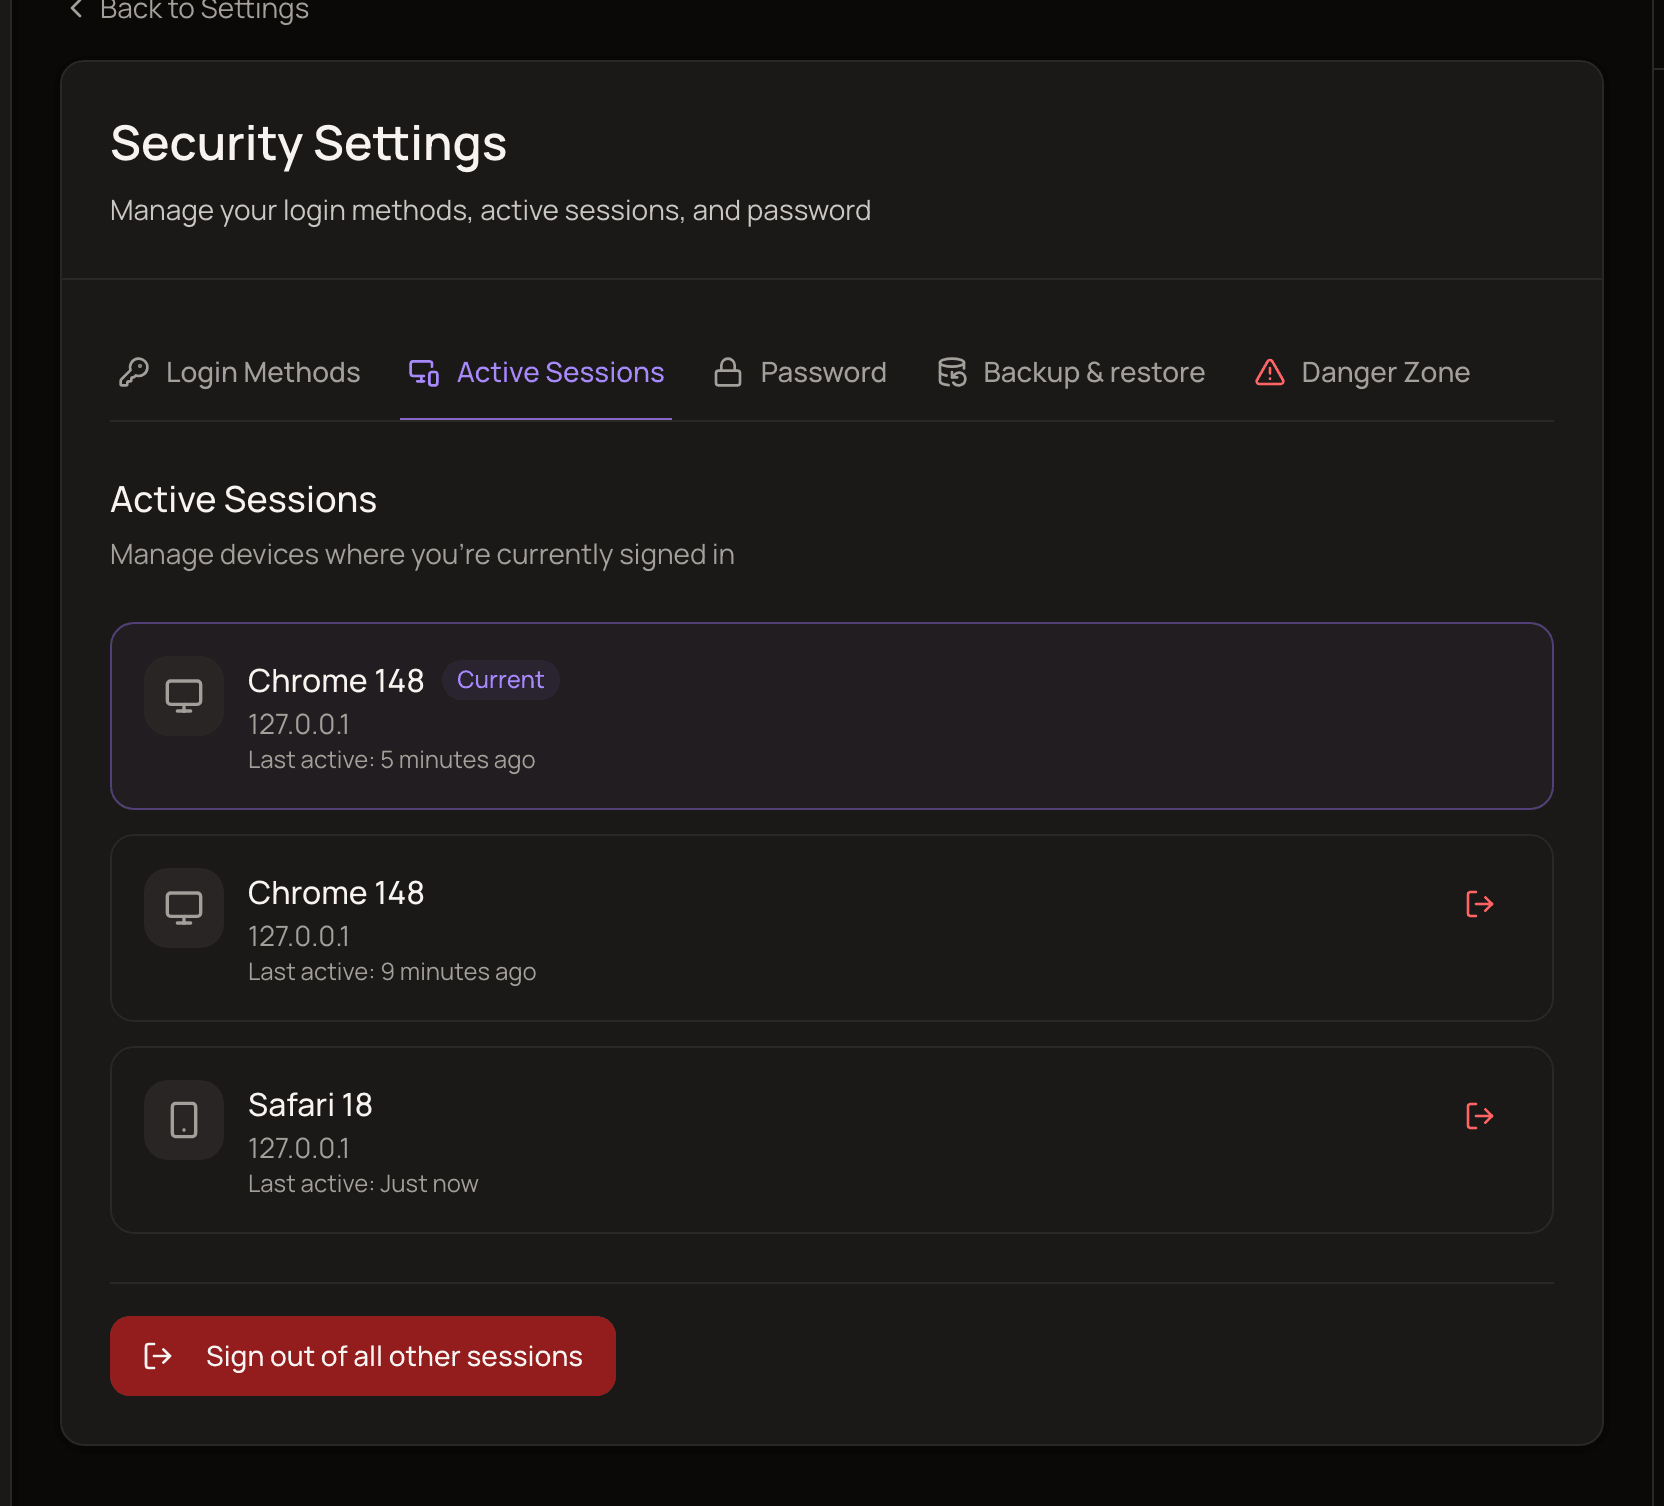
Section titled “Active sessions”The Active Sessions tab lists every device where you’re signed in. For each one you see the browser, the type of device, the IP address, and when it was last active. The device you’re using now is at the top with a Current badge.
- Sign out one device: click the sign-out icon on its row.
- Sign out everywhere else: click Sign out of all other sessions. The device you’re using stays signed in.
If you don’t recognize a device, sign it out and change your password.
Change or set your password
Section titled “Change or set your password”Change your password
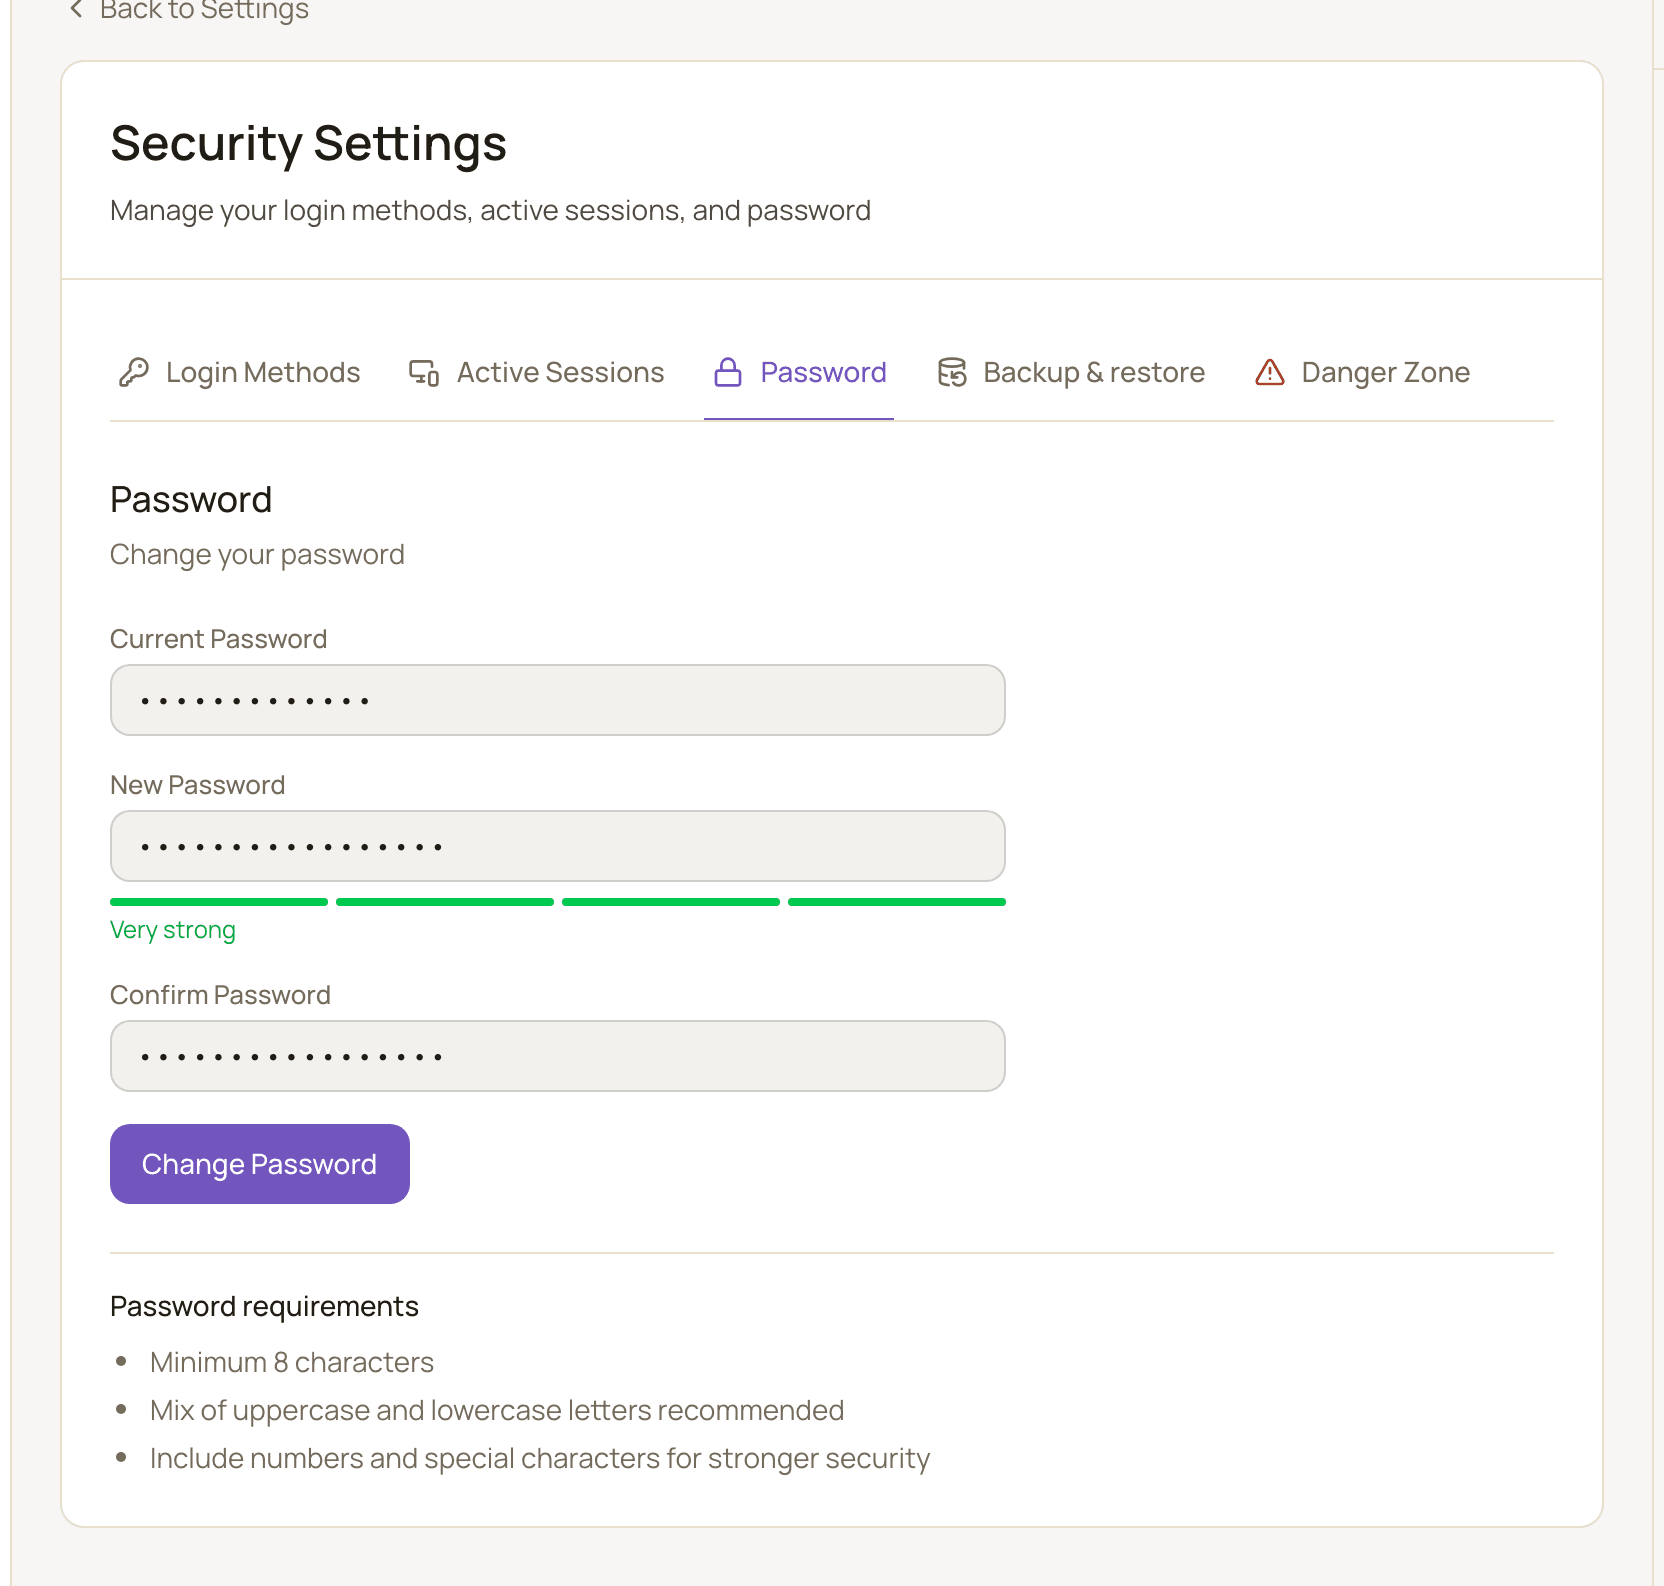
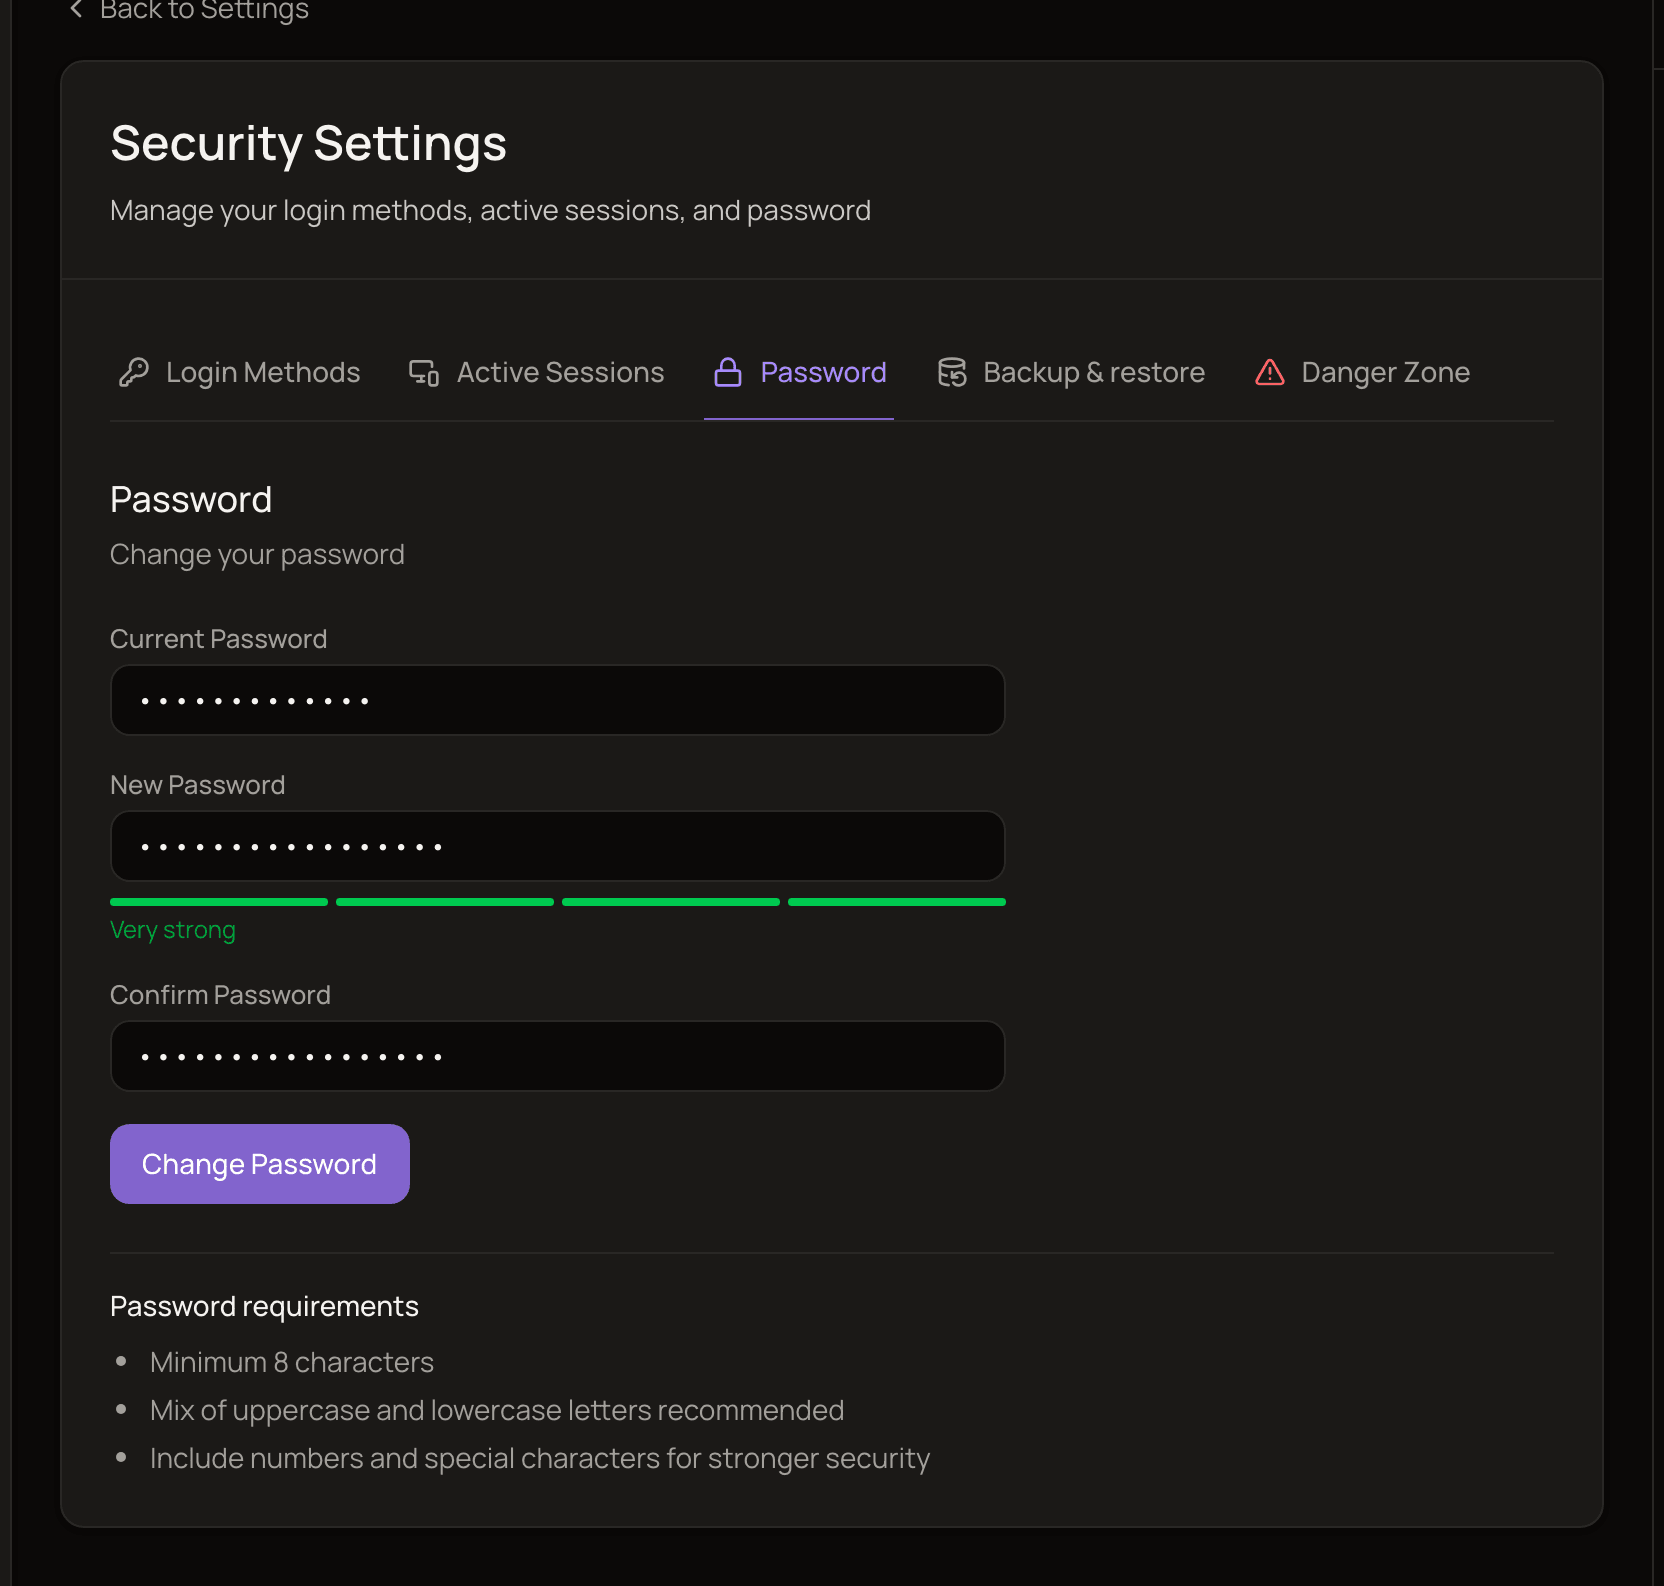
Section titled “Change your password”- Open the Password tab.
- Enter your Current Password.
- Enter a New Password and type it again in Confirm Password.
- Click Change Password.
Passwords need at least 8 characters. A strength meter shows how strong your new password is, from “Very weak” to “Very strong”. Longer passwords with upper and lower case letters, numbers and symbols score higher.
If you’re changing your password because you think someone else has access, also use Sign out of all other sessions on the Active Sessions tab.
Add a password to a Google or GitHub account
Section titled “Add a password to a Google or GitHub account”If you signed up with Google or GitHub, you don’t have a password yet. You can add one:
- Open the Password tab.
- Enter a Password and type it again in Confirm Password.
- Click Set Password.
You don’t need a current password for this. Afterwards, you can sign in with your email and password as well as with Google or GitHub.
Backup and restore
Section titled “Backup and restore”A backup is a complete copy of your MoneyMatter data in a single zip file. You can restore it later to put your account back exactly as it was.
Backups are included in the Essential and Plus plans. During the free trial you can download backups but not restore them. See Plans and billing.
Download a backup
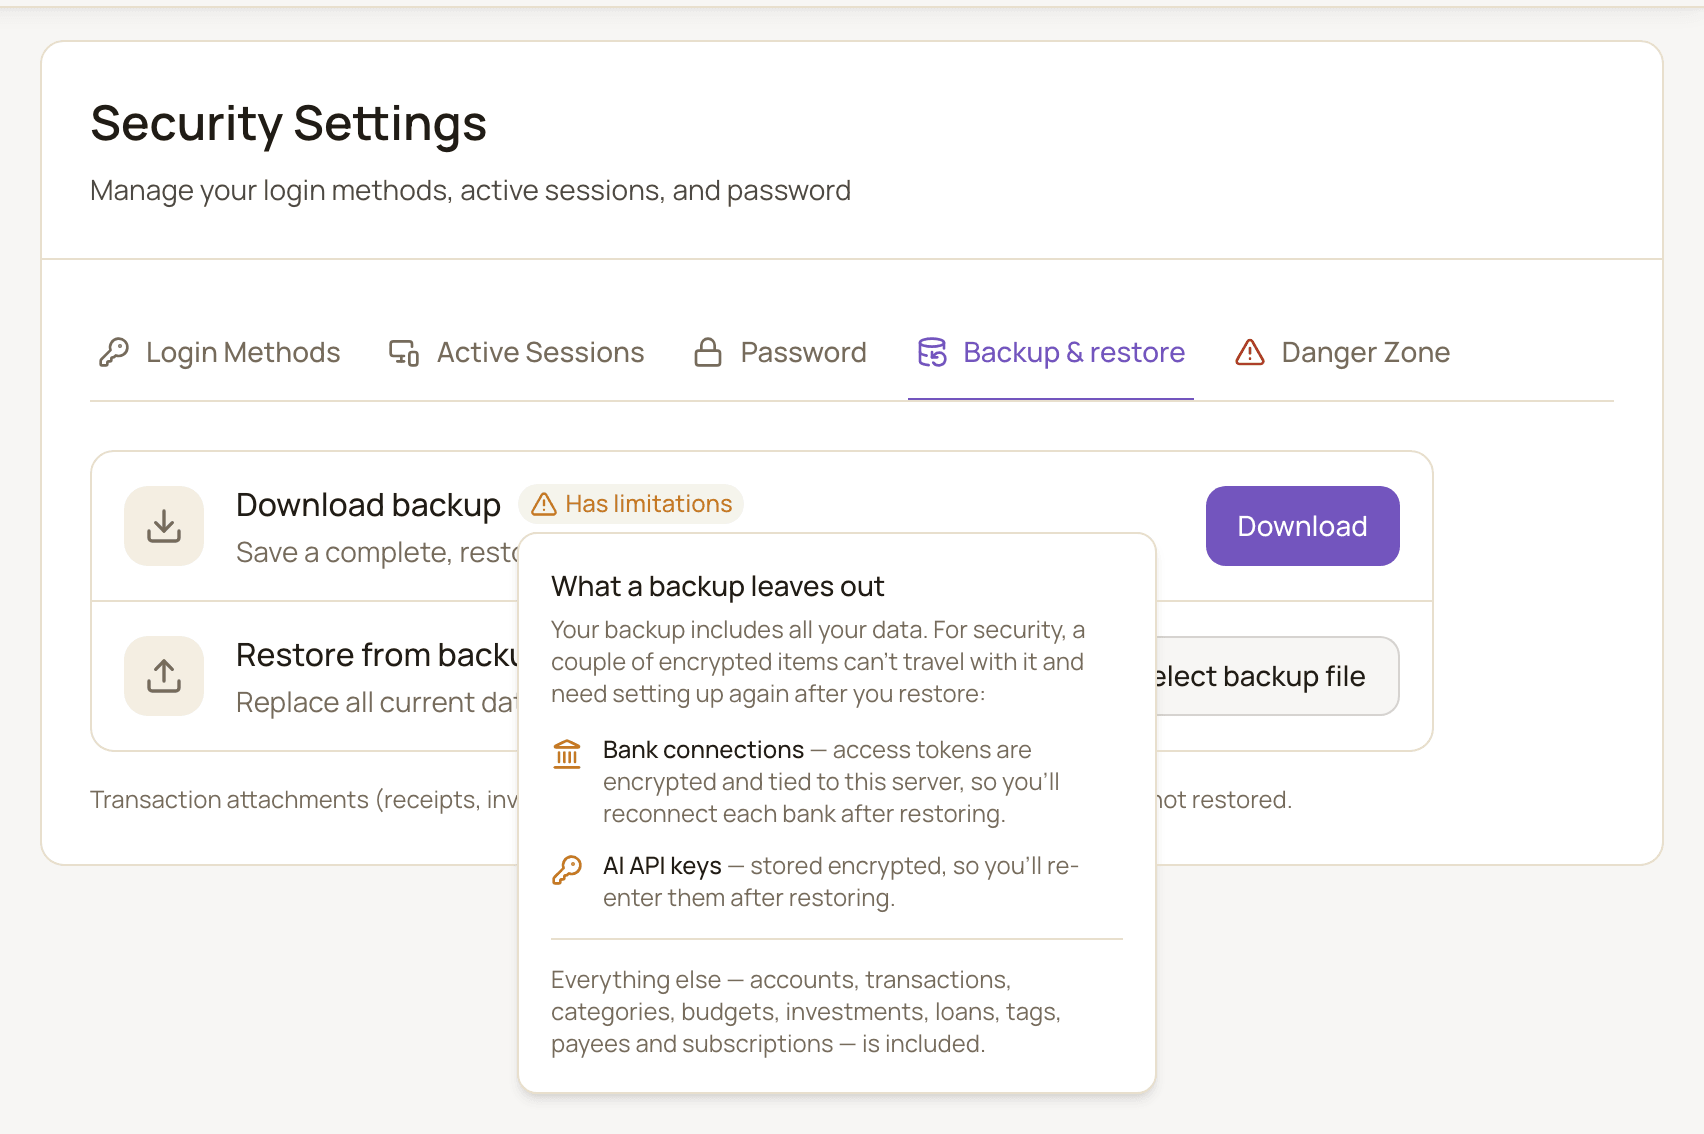
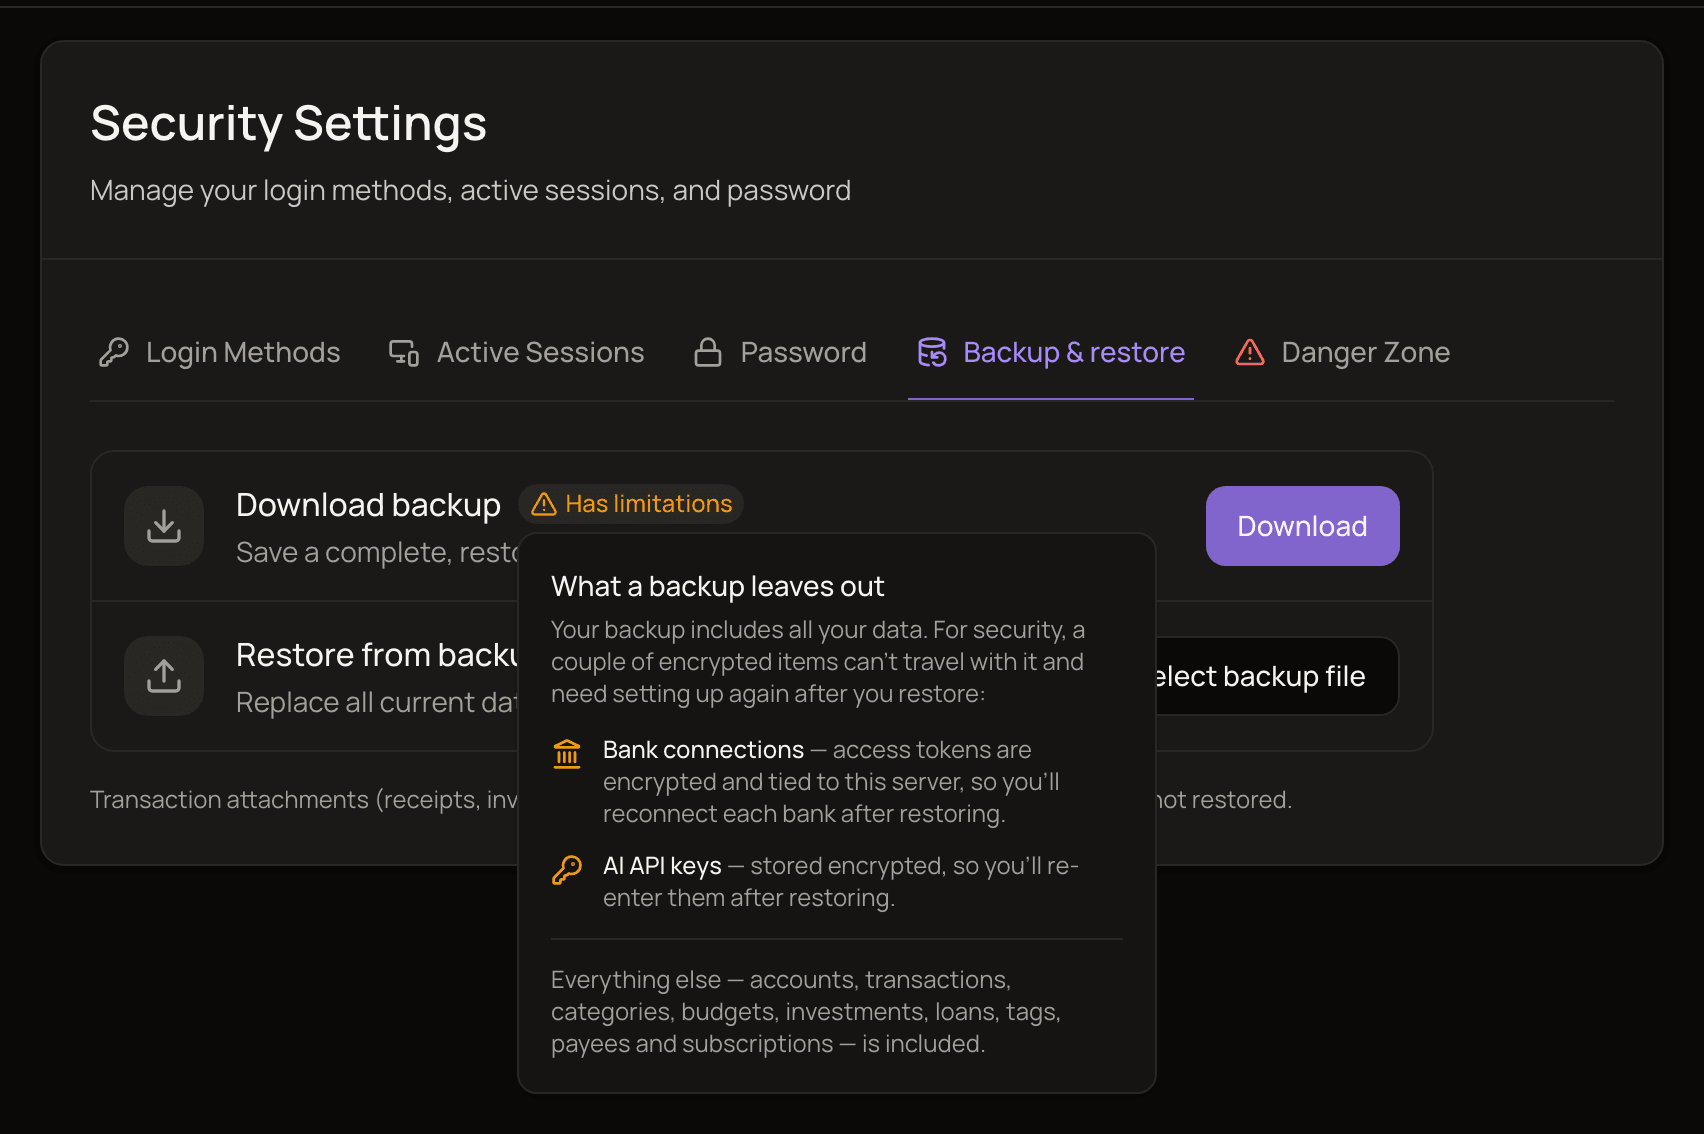
Section titled “Download a backup”- Open the Backup & restore tab.
- Next to Download backup, click Download.
Your browser saves a file named like backup-yourname-2026-03-15.zip. Keep it somewhere safe. If nothing downloads, your browser may have blocked it: check your download settings and try again.
What a backup leaves out
Section titled “What a backup leaves out”Nearly everything is included: accounts, transactions, categories, tags, payees, your settings and all the rest. A few things can’t be included:
- Bank connections. You’ll reconnect each bank after restoring.
- Your own AI keys. You’ll enter them again after restoring.
- Transaction attachments, such as receipts and invoices. They’re not in the backup and aren’t restored.
Restore from a backup
Section titled “Restore from a backup”Before you start, check that:
- the backup was made from an account with the same email address as this one.
- the file is a
.zipbackup of 40 MB or less.
- Open the Backup & restore tab.
- Next to Restore from backup, click Select backup file and choose your backup zip.
- Read the Restore from backup? dialog and click Restore.
- Wait while Restoring your data runs. Keep the window open.
- When you see Restore complete, click Done. The app reloads with your restored data.
After restoring, reconnect your banks and enter your AI keys again if you use them.
- The restore happens all at once. If it fails, you’ll see Restore failed.
- While the restore runs, the rest of the app is locked, the same way it is during a base currency change.
- If other people have access to your accounts, the restore removes that access. MoneyMatter asks you to confirm this before it starts.
Backup or export?
Section titled “Backup or export?”The Import/Export settings page also lets you export your data. The two do different jobs:
- A backup is a full copy you can restore into MoneyMatter.
- An export is for spreadsheets, taxes, or moving to another app. It still works when your account is read-only, when backups don’t.
Danger zone
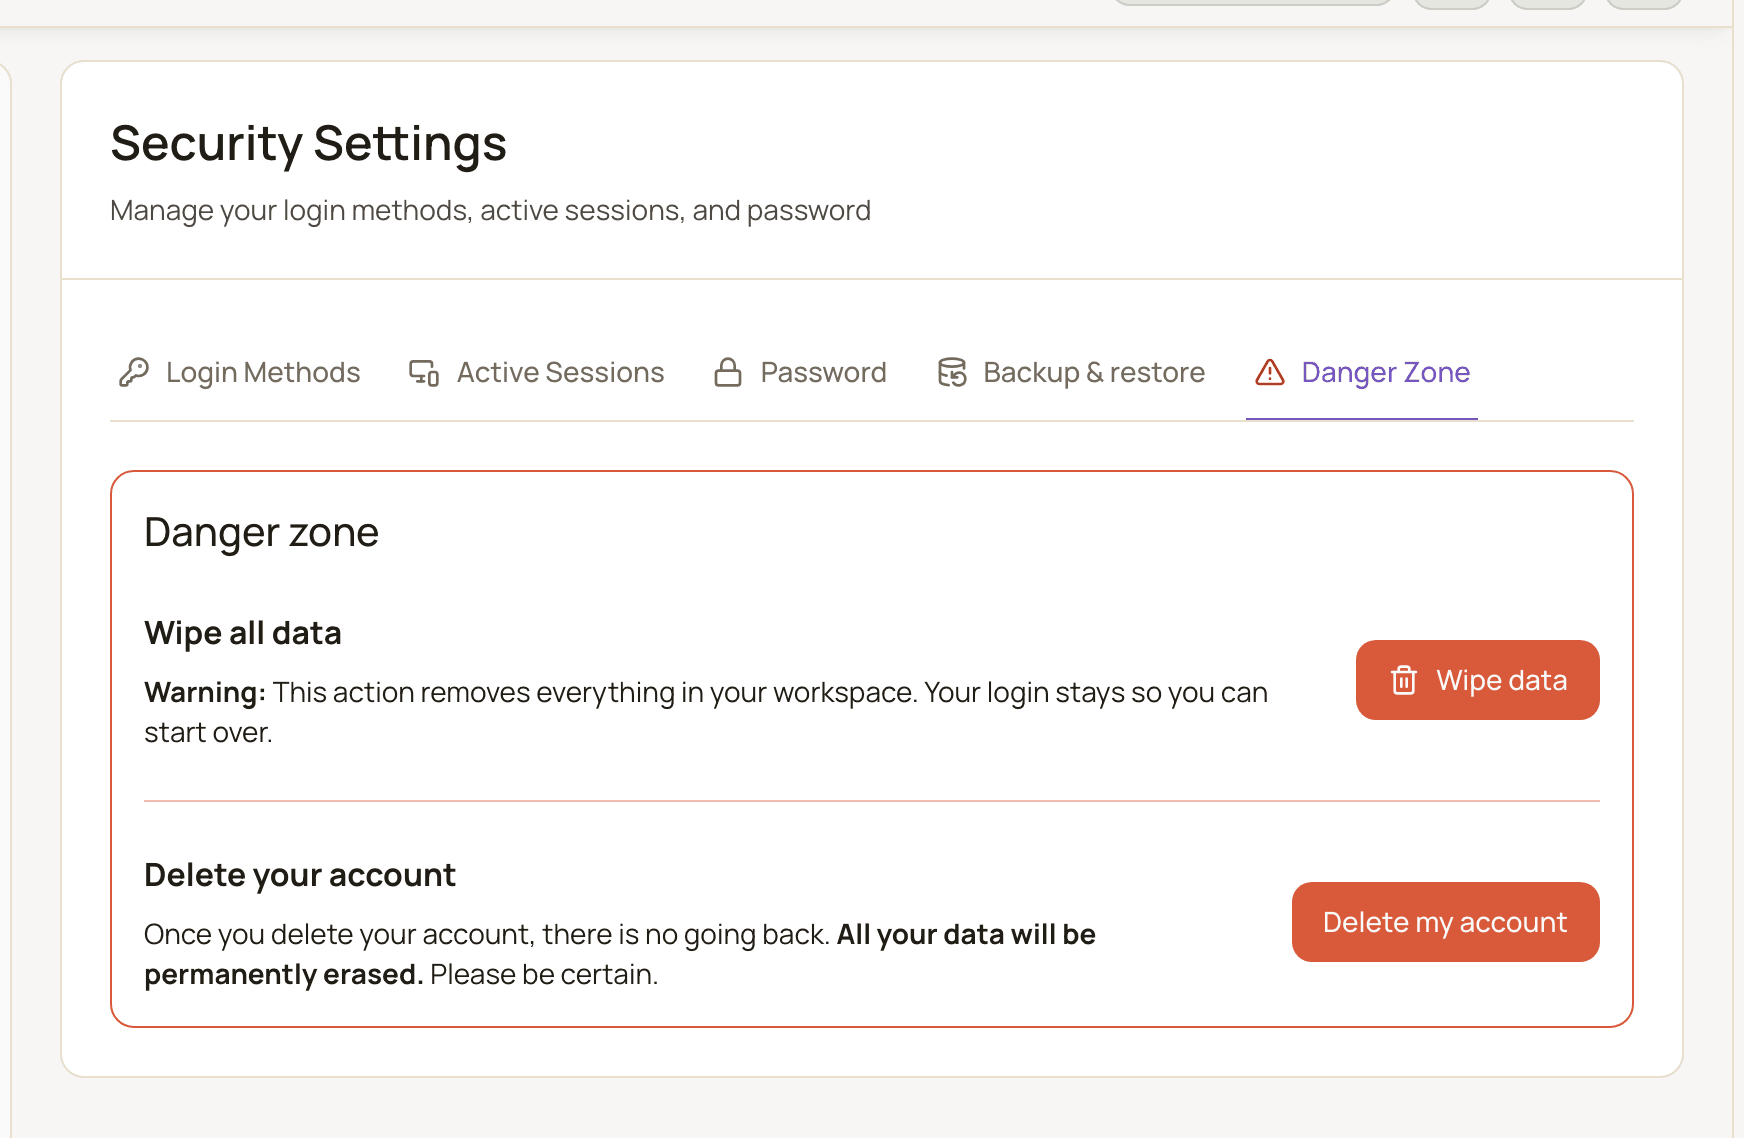
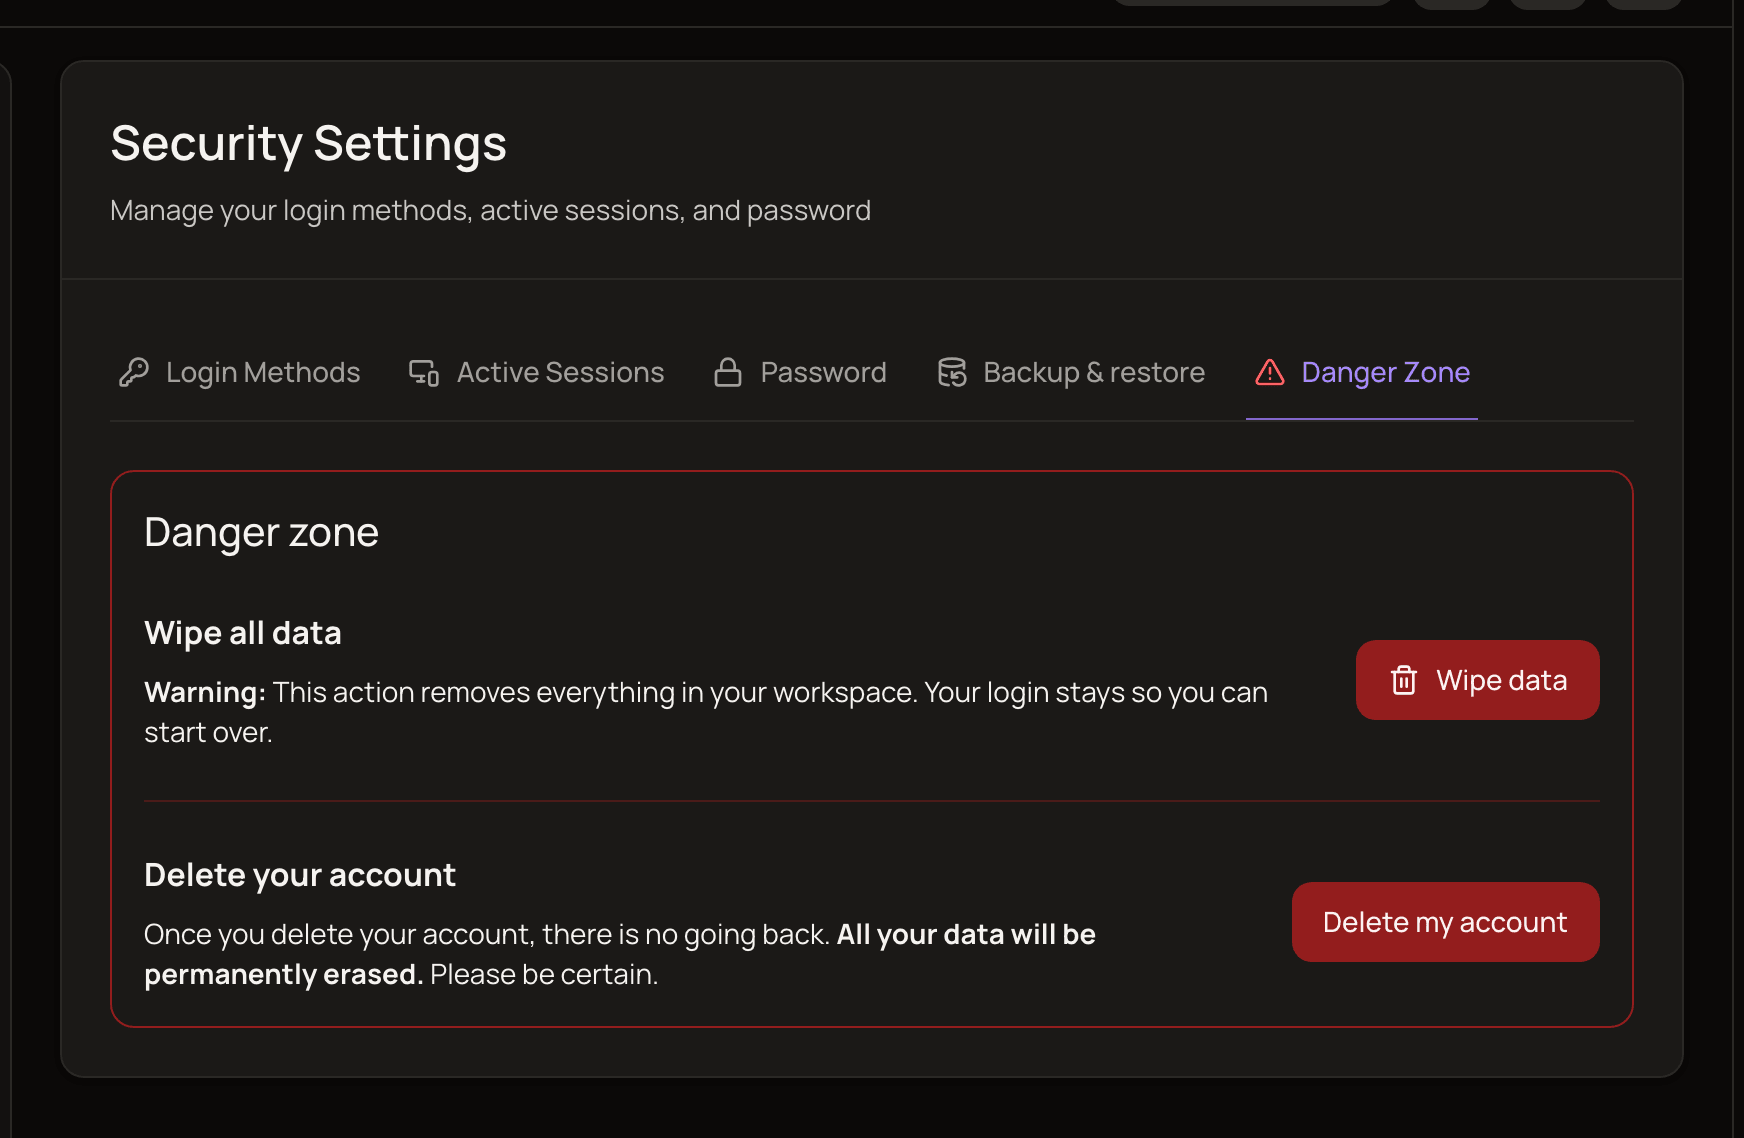
Section titled “Danger zone”The Danger Zone tab has two ways to clear out your account. Both are permanent.
Wipe all data
Section titled “Wipe all data”This deletes everything in your workspace but keeps your login, so you can start over.
- On the Danger Zone tab, click Wipe data.
- Read the Wipe all your data? dialog.
- Type WIPE MY DATA in the box and click Wipe data.
If other people have access to your accounts, a You’re sharing data with other users dialog lists what they’ll lose access to. Click Wipe anyway to go ahead. Wiping also removes your access to anything others shared with you.
The wipe deletes your accounts and balances, transactions, categories, tags, payees, bank connections, settings, and your base currency and exchange rates. The app then reloads into the start-up flow, where you choose a base currency again. You start with the same default categories and tags as a new account.
Your login, profile and plan stay as they were. Wiping doesn’t restart your free trial.
Delete your account
Section titled “Delete your account”This deletes your account and all your data for good, including your login.
- On the Danger Zone tab, click Delete my account.
- In the Are you absolutely sure? dialog, type your email address to confirm.
- Click Delete my account.
If you have a paid subscription, it’s cancelled first, so you’re never left paying for an account that no longer exists. If the cancellation fails, your account isn’t deleted. Try again, or first cancel your subscription on the Plan & billing page (see Cancel).
Once your account is deleted, you’re signed out and taken to the sign-in page. Anyone you shared accounts with loses access.
| Wipe all data | Delete your account | |
|---|---|---|
| Your accounts, transactions and settings | Deleted | Deleted |
| Your login | Kept | Deleted |
| Your plan or subscription | Kept as is | Cancelled |
| Afterwards | Start over from the setup screen | Signed out |
Good to know
Section titled “Good to know”- Download a backup before wiping or deleting. Neither can be undone.
- In read-only mode you can still delete your account, but you can’t wipe your data or download or restore a backup. Use Import/Export to take a copy of your data. See read-only mode.
- You can’t delete your account while a base currency change or a restore is running. Wait until it finishes.
- Backups are limited to 5 downloads and 5 restores every 15 minutes.