
Quick start
This guide takes you from sign-up to your first recorded transaction. It takes a few minutes, and by the end your dashboard will show a real balance.
1. Create your MoneyMatter account
Section titled “1. Create your MoneyMatter account”- Go to moneymatter.app and click Get Started.
- On the Create an account page, fill in Email, Display Name, Password and Verify Password, then click Sign up.
- You’ll see Check your email. Open the email titled “Verify your MoneyMatter email” and click Verify Email.
- MoneyMatter signs you in and takes you to the next step.
The page also offers Sign up with Google and Sign up with GitHub. If you use one of those, there’s no email to confirm and you go straight to the next step.
If the email doesn’t arrive
Section titled “If the email doesn’t arrive”- Check your spam folder.
- On the Check your email page, click click here to resend. You can resend once every 60 seconds.
- Keep the Check your email tab open until you’ve verified. Resending only works from that page, in that tab.
- Click the link within 1 hour. After that it expires.
If you try to sign in before verifying, you’ll see “Please verify your email before signing in.” Signing in doesn’t send a new email. If you’ve already closed the Check your email page, or your link has expired, email support@moneymatter.app and we’ll help you verify your account.
2. Choose your base currency
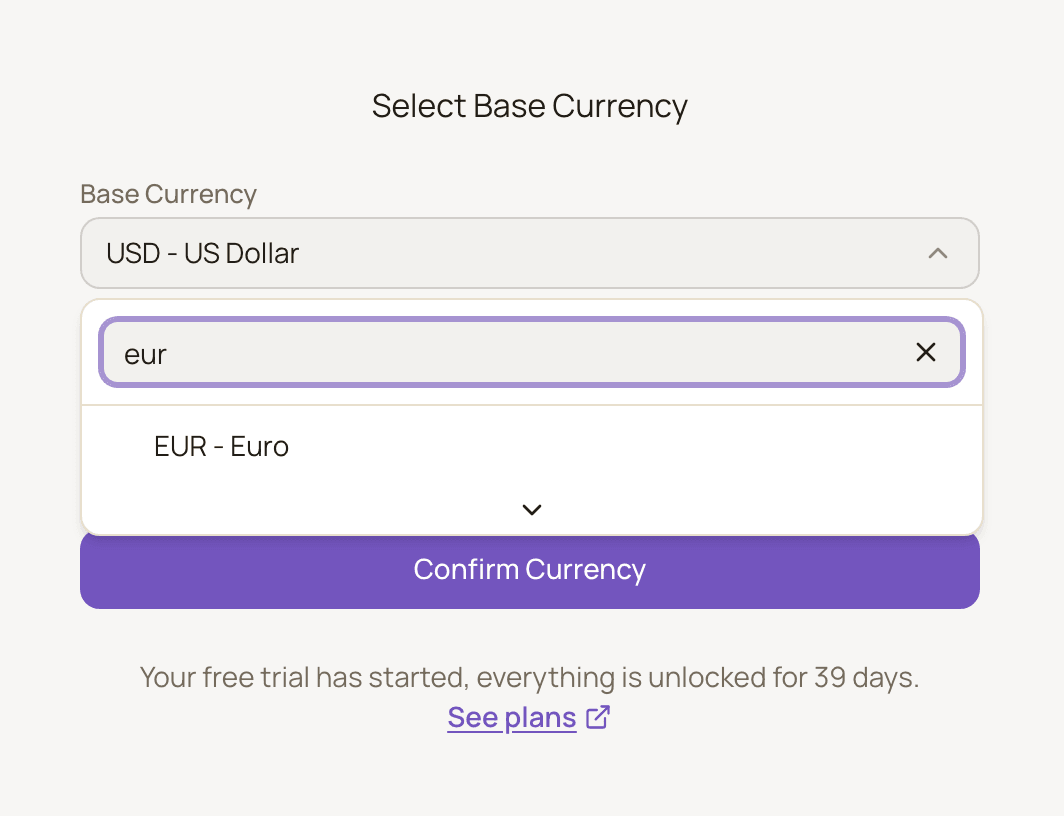
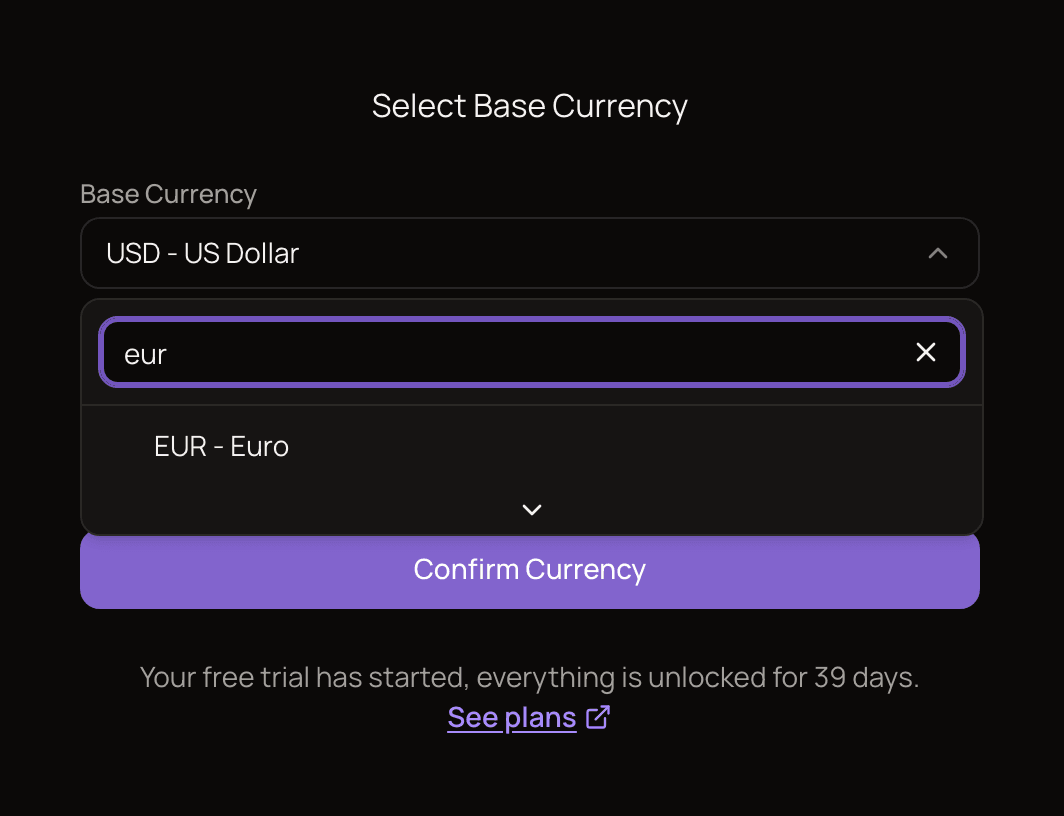
Section titled “2. Choose your base currency”Next you’ll see Select Base Currency. Your base currency is the one every total, chart and report is shown in, so pick the currency you use most. Accounts in other currencies are converted into it.
- Open the Base Currency list. You can type to search, for example “eur”.
- Pick your currency. USD is selected by default, so check it before you continue.
- Click Confirm Currency.
You can’t skip this step. Every page in the app sends you back here until you’ve confirmed a currency.
Below the button, you’ll also see that your free 40-day trial has started. See Plans and billing for what it includes.
3. Find your way around
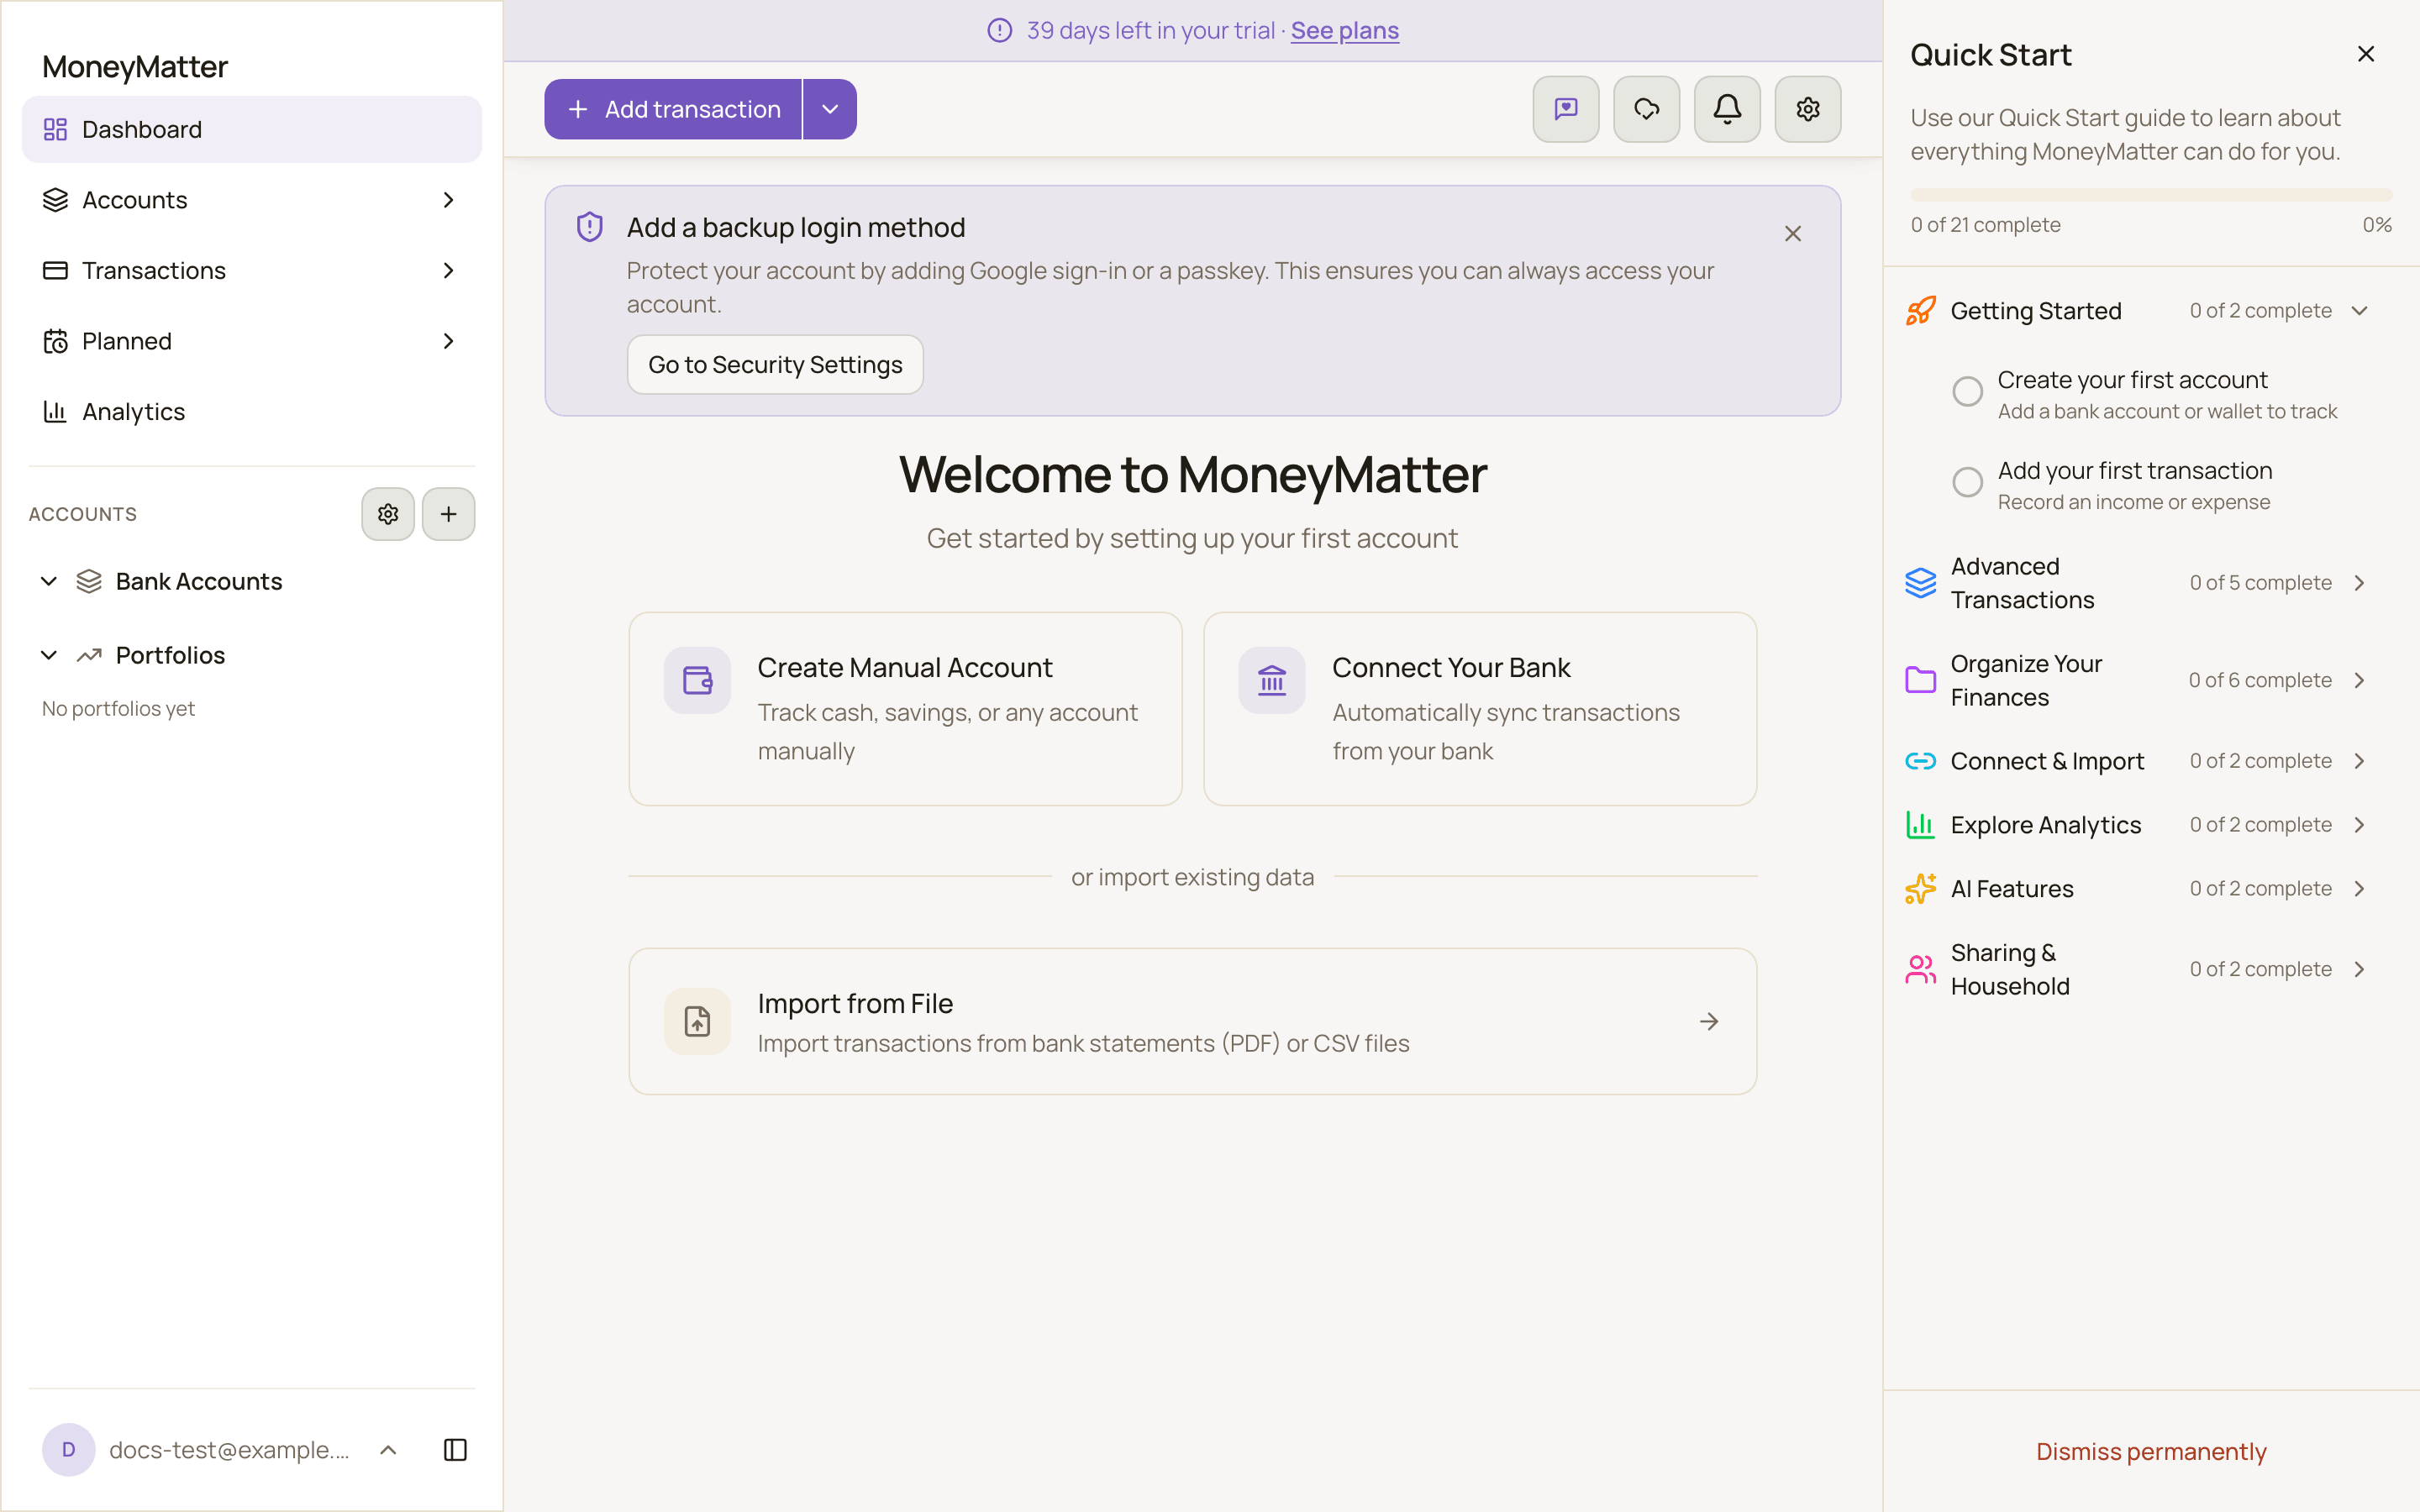
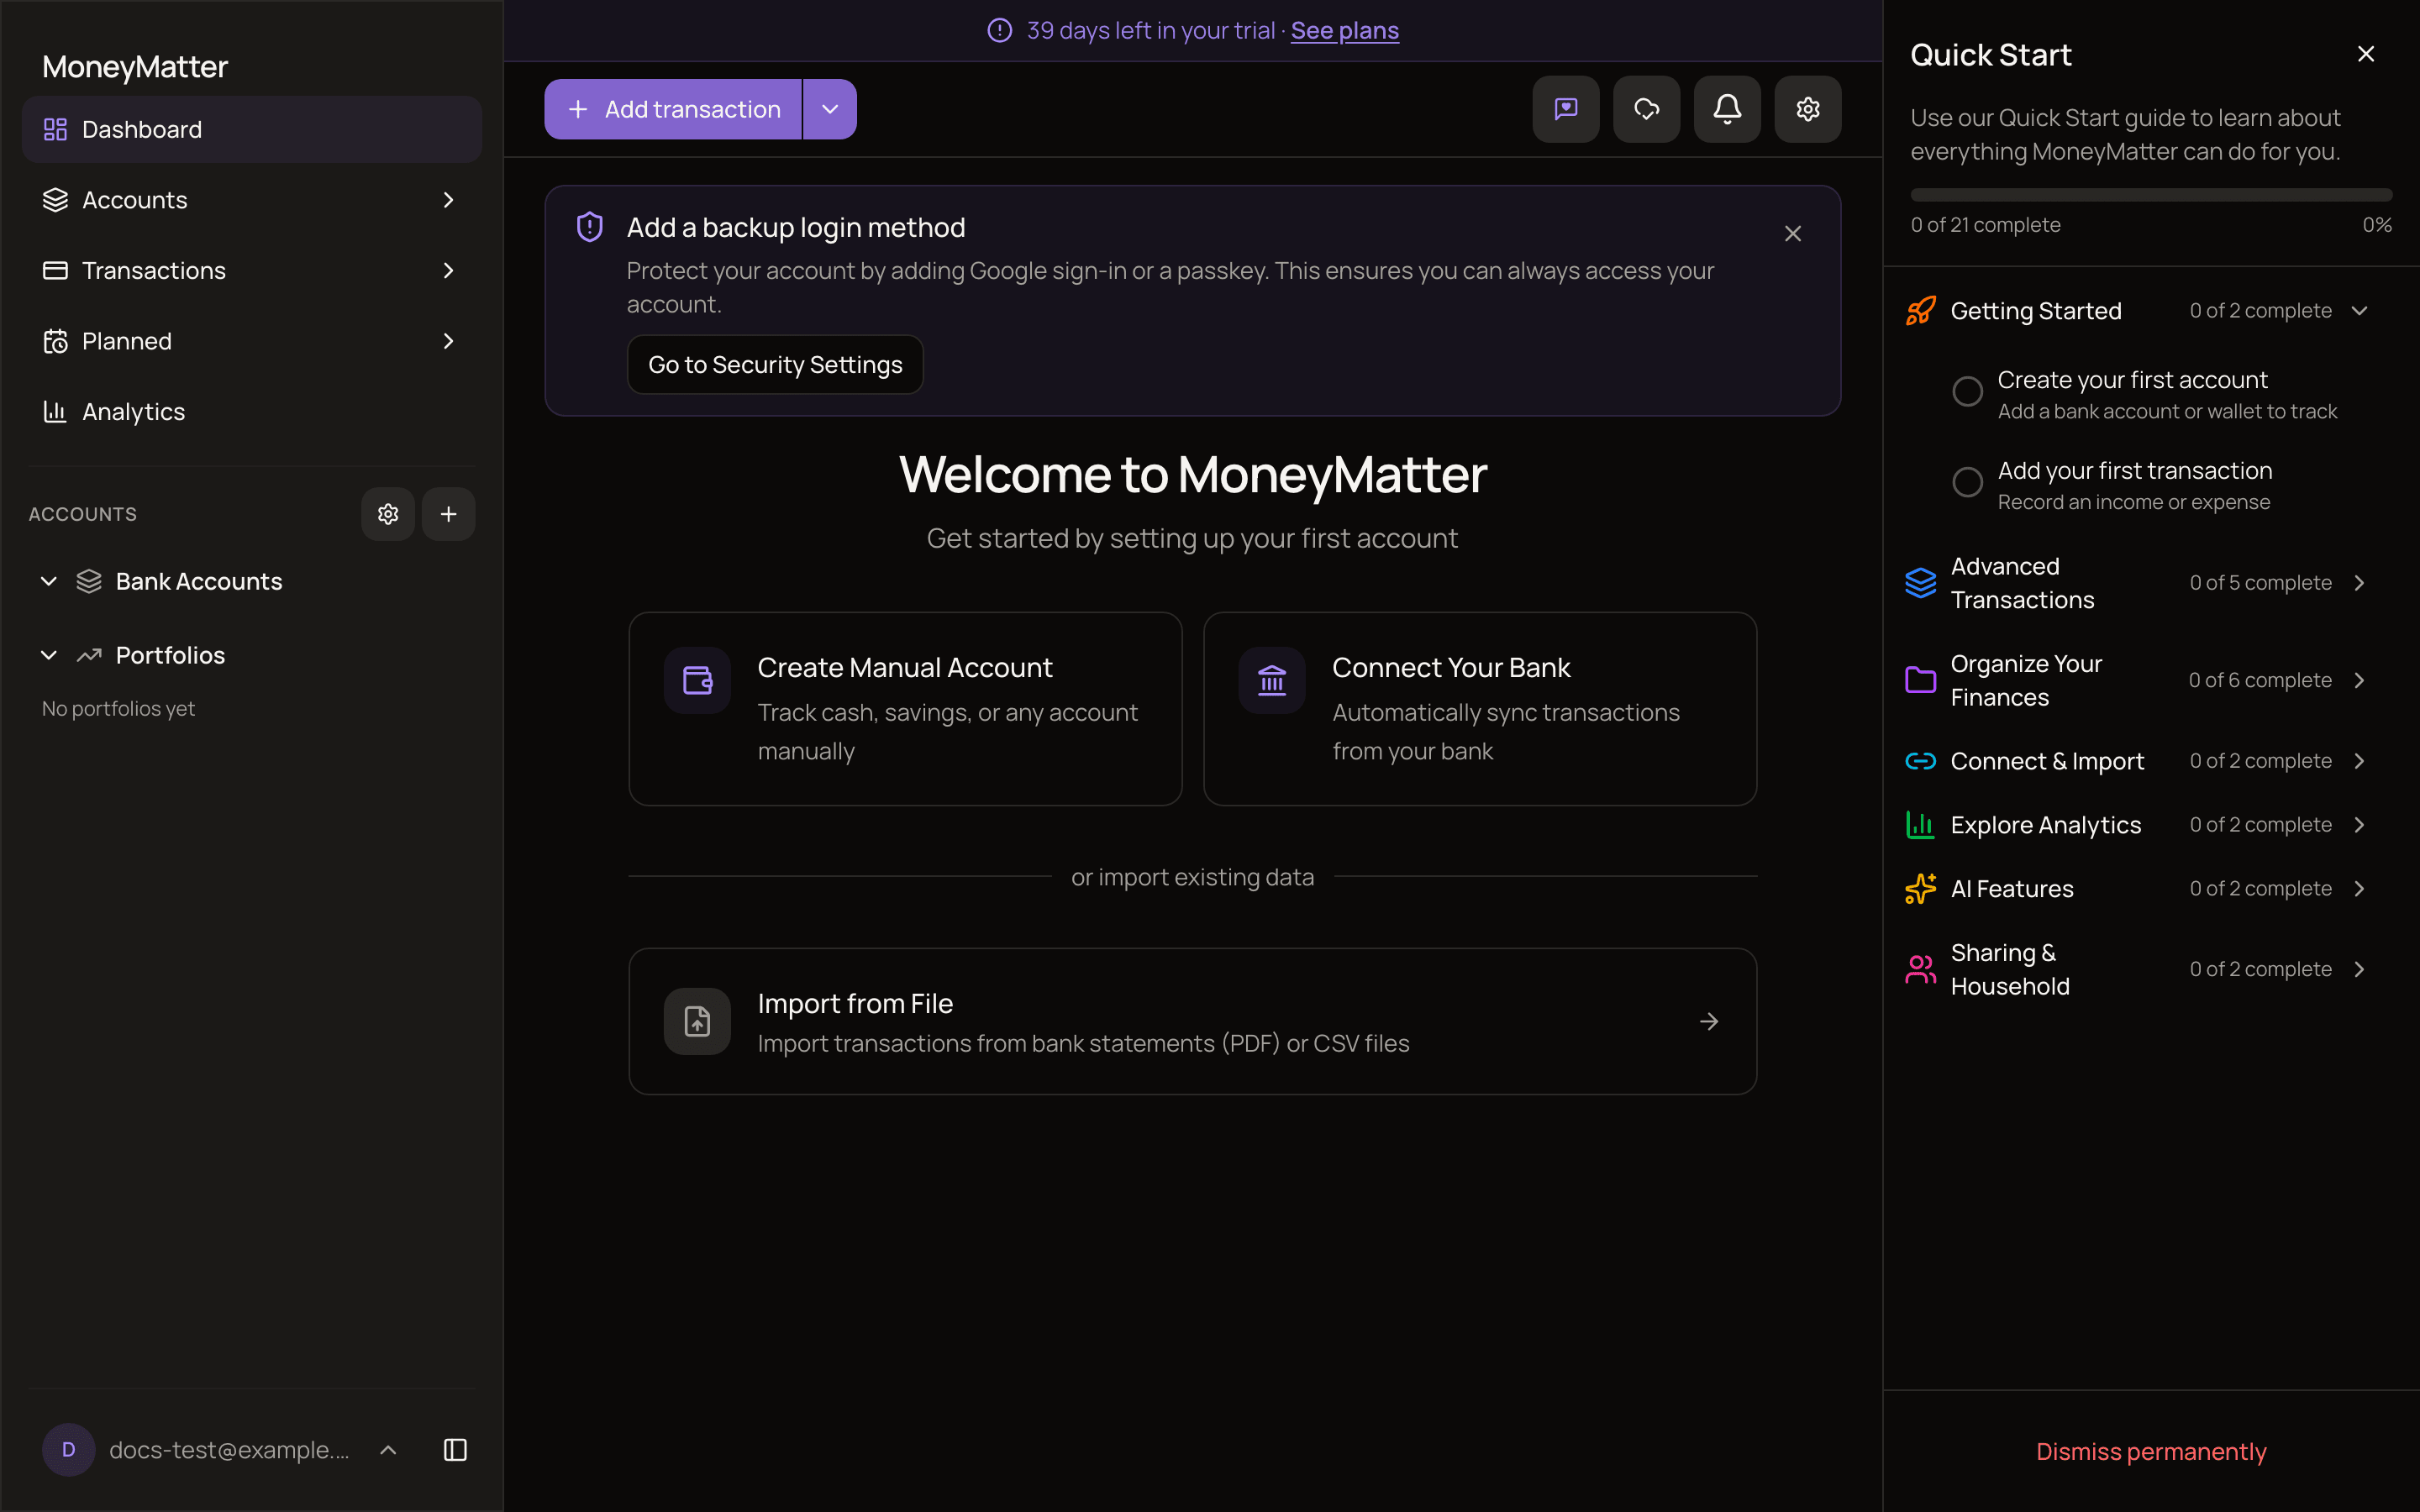
Section titled “3. Find your way around”You land on the Dashboard. Until you have an account, it shows a Welcome to MoneyMatter card with three ways to start:
- Create Manual Account: an account you keep up to date yourself. This guide uses this option.
- Connect Your Bank: sync transactions from your bank automatically. This is part of the Plus plan, and it’s included in your trial. See Bank connections.
- Import from File: bring in transactions from a bank statement or a CSV file. See Import from CSV.
Around it:
- The sidebar on the left has Dashboard, Accounts, Transactions and Analytics, plus a list of your accounts and their balances. On a phone, use the bar at the bottom of the screen, or the menu button in the top bar for the full sidebar.
- The top bar has the Add transaction button (Add on a phone), which you can use from any page, and the gear button that opens Settings.
- A banner at the top shows how many days are left in your trial, with a See plans link.
The Quick Start checklist
Section titled “The Quick Start checklist”Each time you open the app, the Quick Start checklist opens beside the page, until you’ve done every task or dismissed it permanently. It lists things to try, grouped into topics, and shows how many you’ve done.
- Tasks tick themselves off when you do them. For example, “Create your first account” is ticked when you create one in step 4.
- Click a task you haven’t done yet to open the page where you can do it.
- The list includes features beyond the basics, such as budgets and household sharing. Skip anything you don’t need.
- To close it for now, click the X at its top. On a computer it folds into a narrow Quick Start strip on the right edge of the screen, which you click to open it again. On a phone, tap the round button at the bottom right. It opens again the next time you load the app. To stop that, use Dismiss permanently.
- To hide it for good, click Dismiss permanently, then Dismiss. You can turn it back on in Settings → General with the Quick Start guide switch.
4. Create your first account
Section titled “4. Create your first account”An account is anywhere you keep money: a bank account, a credit card or a cash wallet. Start with the one you use most.
- On the dashboard, click Create Manual Account. You can also open Accounts → All Accounts in the sidebar and click Create account. On a narrow screen, it’s in the ⋮ menu next to the Accounts title.
- In Account name, type a name you’ll recognize, such as “Main Checking”.
- Check the Currency. It starts as your base currency. To use a different one, open the list and click Add new currency + at the bottom, pick the currency and click Add. It’s then selected for this account. You can’t change an account’s currency later, so pick the currency the account actually holds.
- In Initial balance, enter how much is in the account right now. For a credit card you already owe money on, enter a negative number.
- In Account Category, choose the kind of account, such as Current account, Credit card or Cash. If you’re not sure, leave it on General.
- For a credit card, enter its Credit limit. Otherwise leave it at 0.
- Click Create.
The account’s balance starts at its initial balance. From then on, every income and incoming transfer adds to it, and every expense and outgoing transfer takes away from it. See Create an account for more on each field.
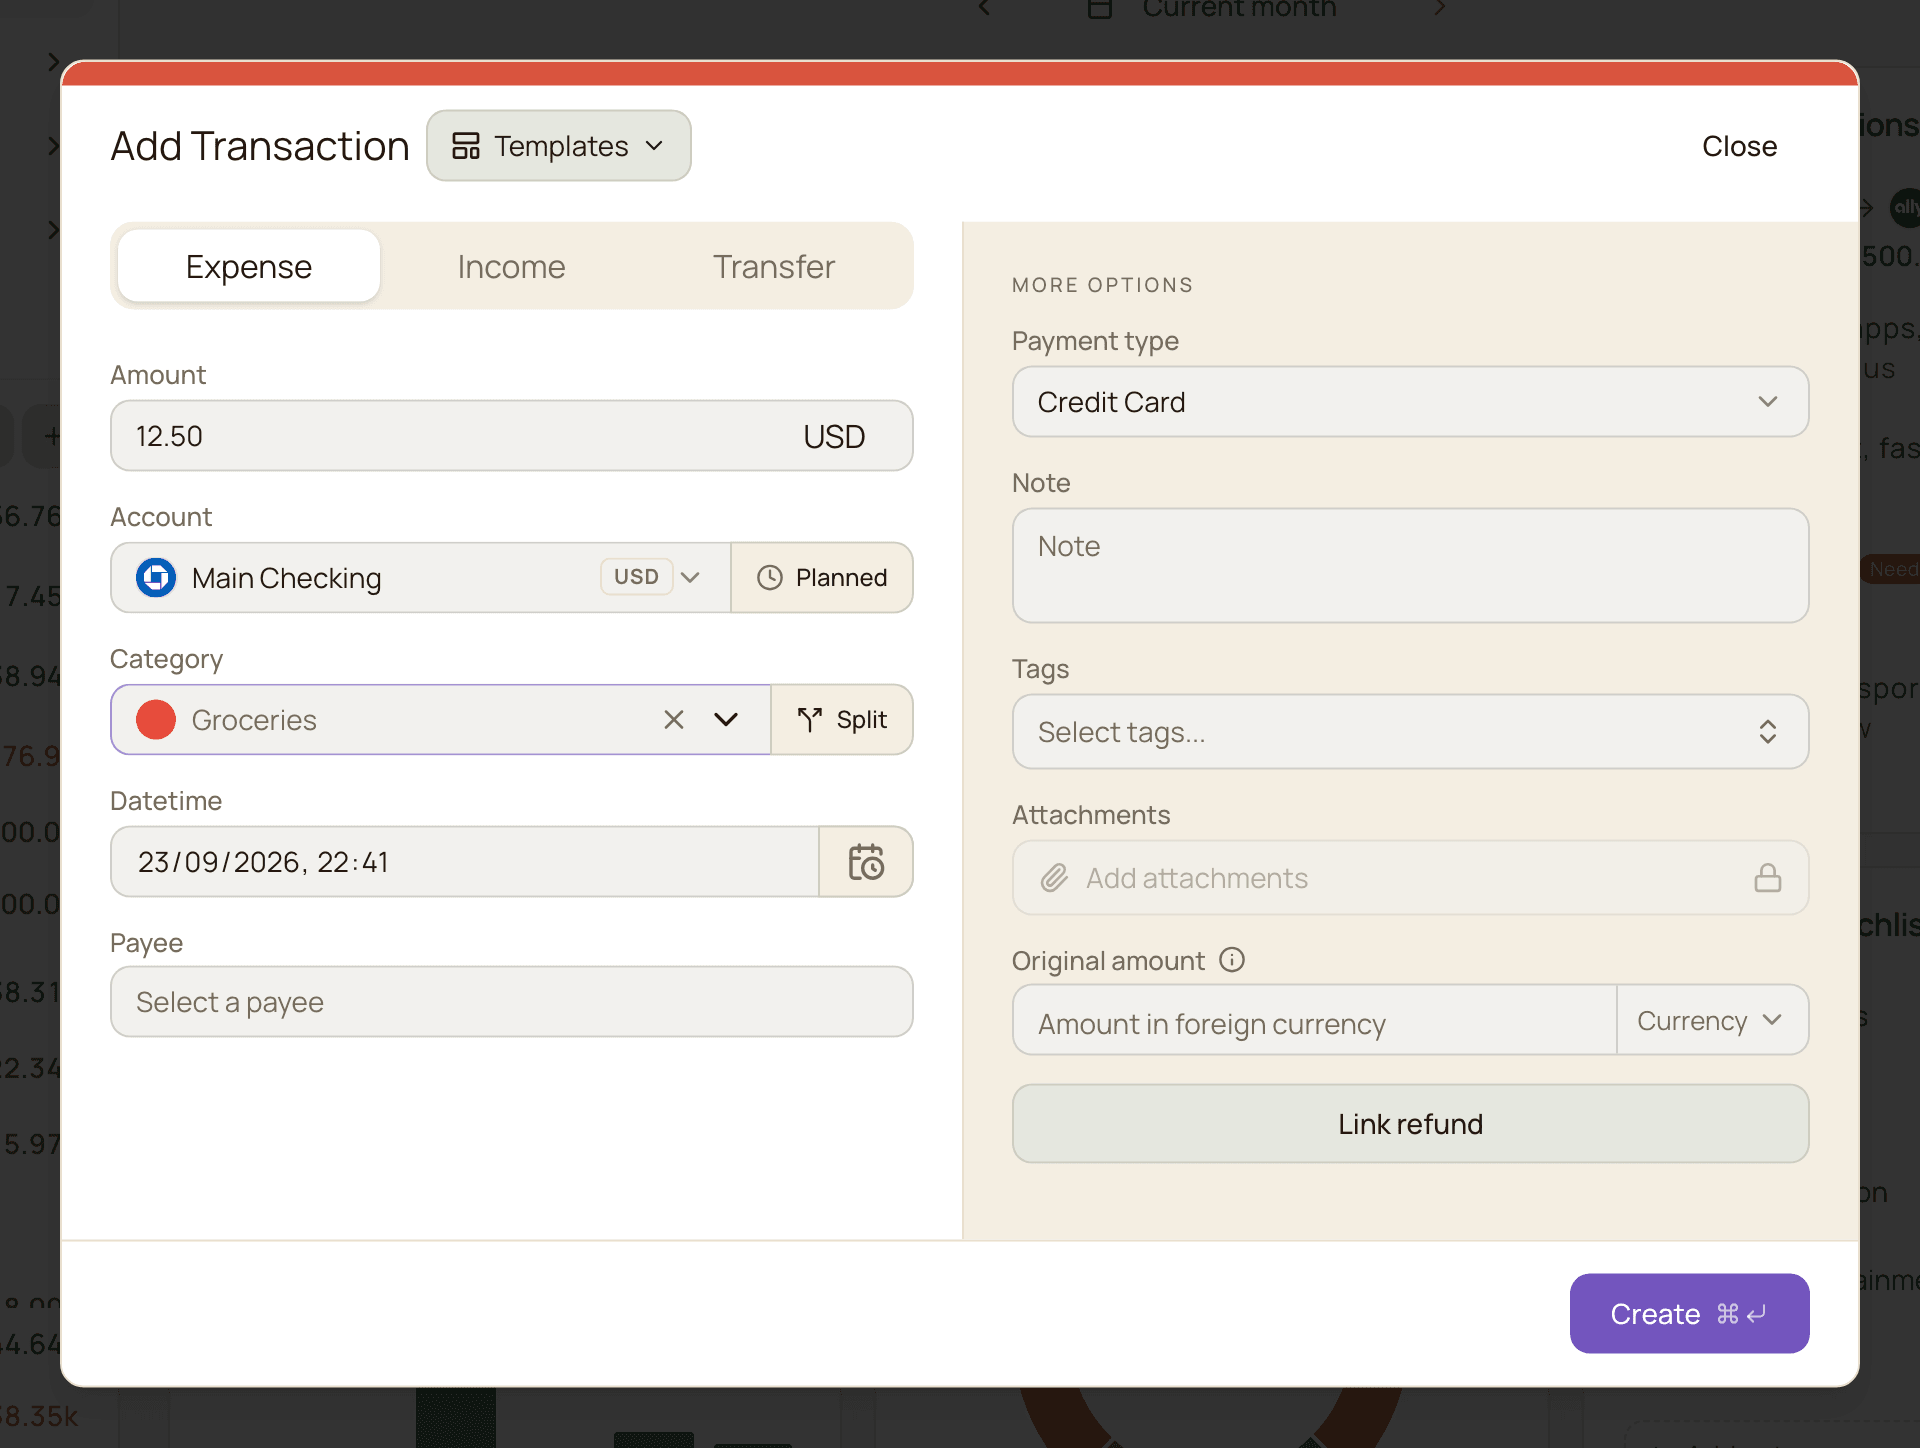
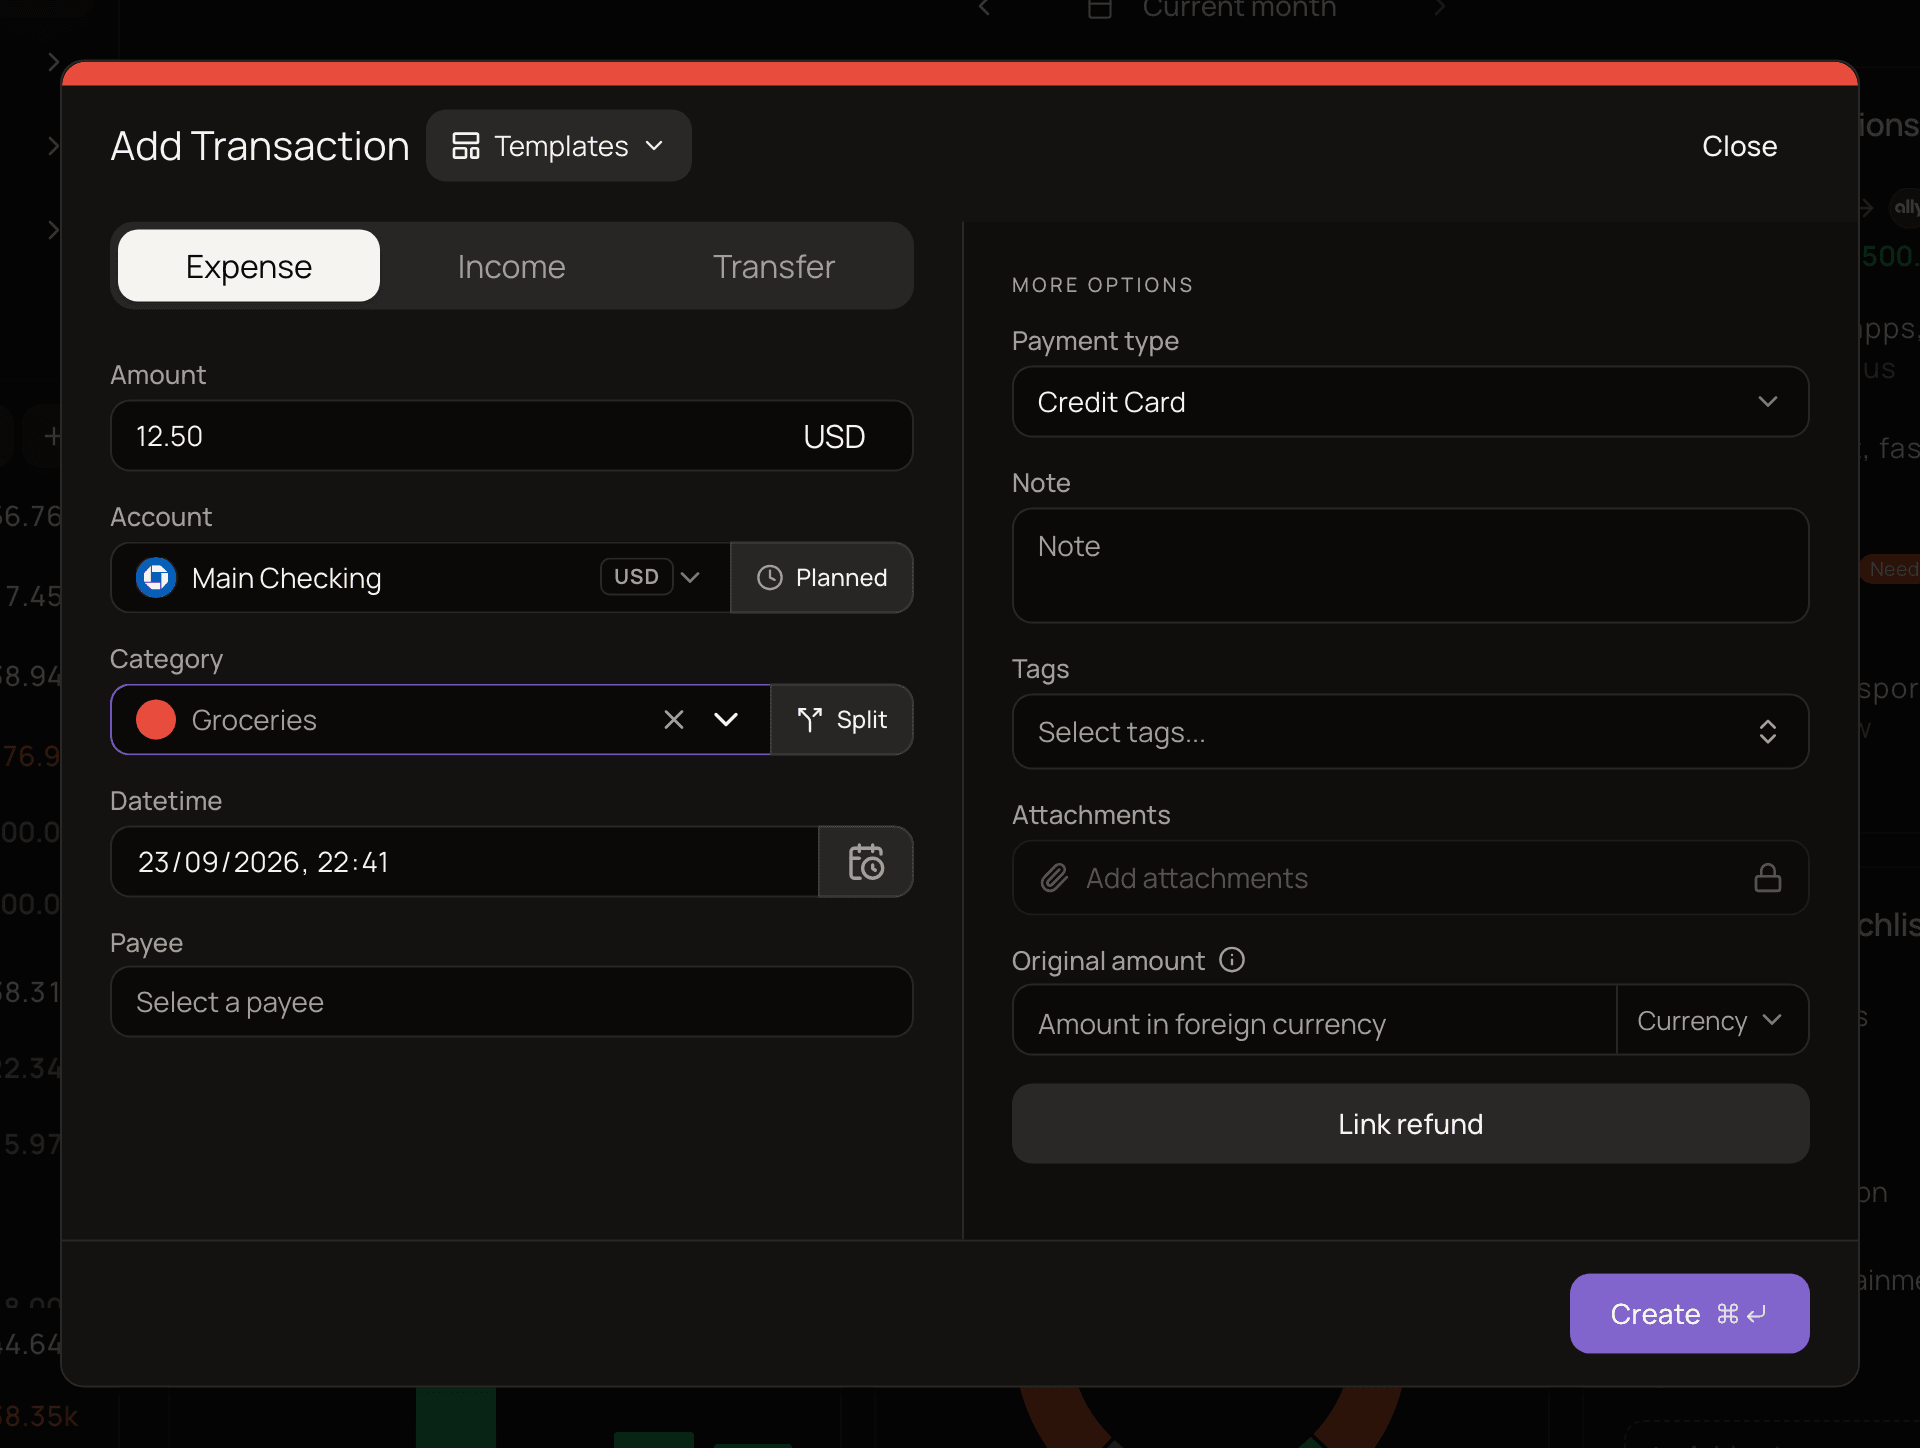
5. Add your first transaction
Section titled “5. Add your first transaction”- Click Add transaction at the top of the page.
- Keep the Expense tab selected for money you spent, or choose Income for money you received.
- Enter the Amount as a positive number, for example 12.50.
- Check the Account. It’s filled in for you, but make sure it’s the right one.
- Choose a Category, for example Food & Drinks → Groceries. A category is already selected when the dialog opens, so check it.
- Check the Datetime. It starts at the current date and time.
- Optionally, choose a Payee. To add a Note or Tags, use the More options column on the right, or on a phone tap More options at the bottom of the dialog.
- Click Create.
The transaction appears in Transactions and the account’s balance updates right away.
Try the demo
Section titled “Try the demo”The demo lets you explore MoneyMatter with sample data, without signing up.
- Go to moneymatter.app.
- Click Try Demo.
You get a temporary account with USD as its base currency, four everyday accounts in USD, EUR and PLN with about three years of transactions, plus sample vehicles, loans, investments, budgets and recurring payments.
- It lasts 4 hours. A banner at the top shows the time left. When it runs out, you’re signed out, and the demo account and all its data are deleted soon after.
- It can’t become your real account. Clicking Sign up in the banner leaves the demo and starts a new, empty account.
- Some features are turned off, such as bank connections, passkeys, password changes, attachments, sharing, backups and data export. Where a feature is turned off, you’ll usually see “This feature is not available in demo mode”.
Good to know
Section titled “Good to know”- You start with categories and tags. New accounts get a set of categories, such as Food & Drinks and Shopping, and three tags: Want, Need and Must. They’re created in the language the app is using when you sign up. Rename or delete them as you like. See Categories and Tags.
- Help is one click away. Click your email address (or your initial, if the sidebar is collapsed) at the bottom of the sidebar and choose Help & docs to open this help center.
What next
Section titled “What next”- Key concepts: how balances, transfers, refunds and stats work.
- Categories: set up categories that match how you spend.
- How transfers work: record money moving between your accounts.
- Import from CSV: bring in your transaction history.
- Bank connections: sync your bank automatically.
- Dashboard: make the dashboard your own.