
Other import sources
Besides CSV files, MoneyMatter can read bank statements, OFX and QFX files, and exports from YNAB, Wallet by BudgetBakers and Microsoft Money. This page explains which file to get for each one and what comes across.
All of them are in the same place: click the gear button (Settings), then under Workspace choose Import/Export. Pick the importer on the Import tab.
Which importer to use
Section titled “Which importer to use”| You have | Use | Can add to accounts you already have? |
|---|---|---|
| A bank statement as a PDF, or text from an email | Import from any Text Source | Yes |
| A CSV file from your bank | Import CSV | Yes |
| An .ofx or .qfx file from your bank | OFX or QFX statement | Yes |
| Your YNAB budget | Import from YNAB | No, it always creates new accounts |
| Your data from the Wallet app | Wallet (BudgetBakers) | Yes |
| A Microsoft Money file | Microsoft Money | Yes |
Don’t see your app? Click Want more options? Request here at the bottom of the From other apps list to ask for it on the roadmap.
Import from any Text Source
Section titled “Import from any Text Source”This importer uses AI to read a bank statement and pull out the transactions. It’s handy when your bank only gives you PDFs.
Before you start
Section titled “Before you start”- Files can be PDF, CSV or TXT. You can add several at once. Keep each file under about 7.5 MB, because larger files fail to analyze. Split a bigger statement into several files.
- Have the text somewhere else, such as an email? Paste it into a plain-text (.txt) file and upload that.
- It needs AI. On the Plus plan and during your trial, it can use the AI included with MoneyMatter, which has usage limits. On any plan, you can add your own AI model in Settings → AI. Without either, you’ll see “No AI model configured”. See plans and billing.
Import a statement
Section titled “Import a statement”- On the Import tab, click Import from any Text Source.
- Drag your statement onto the upload area.
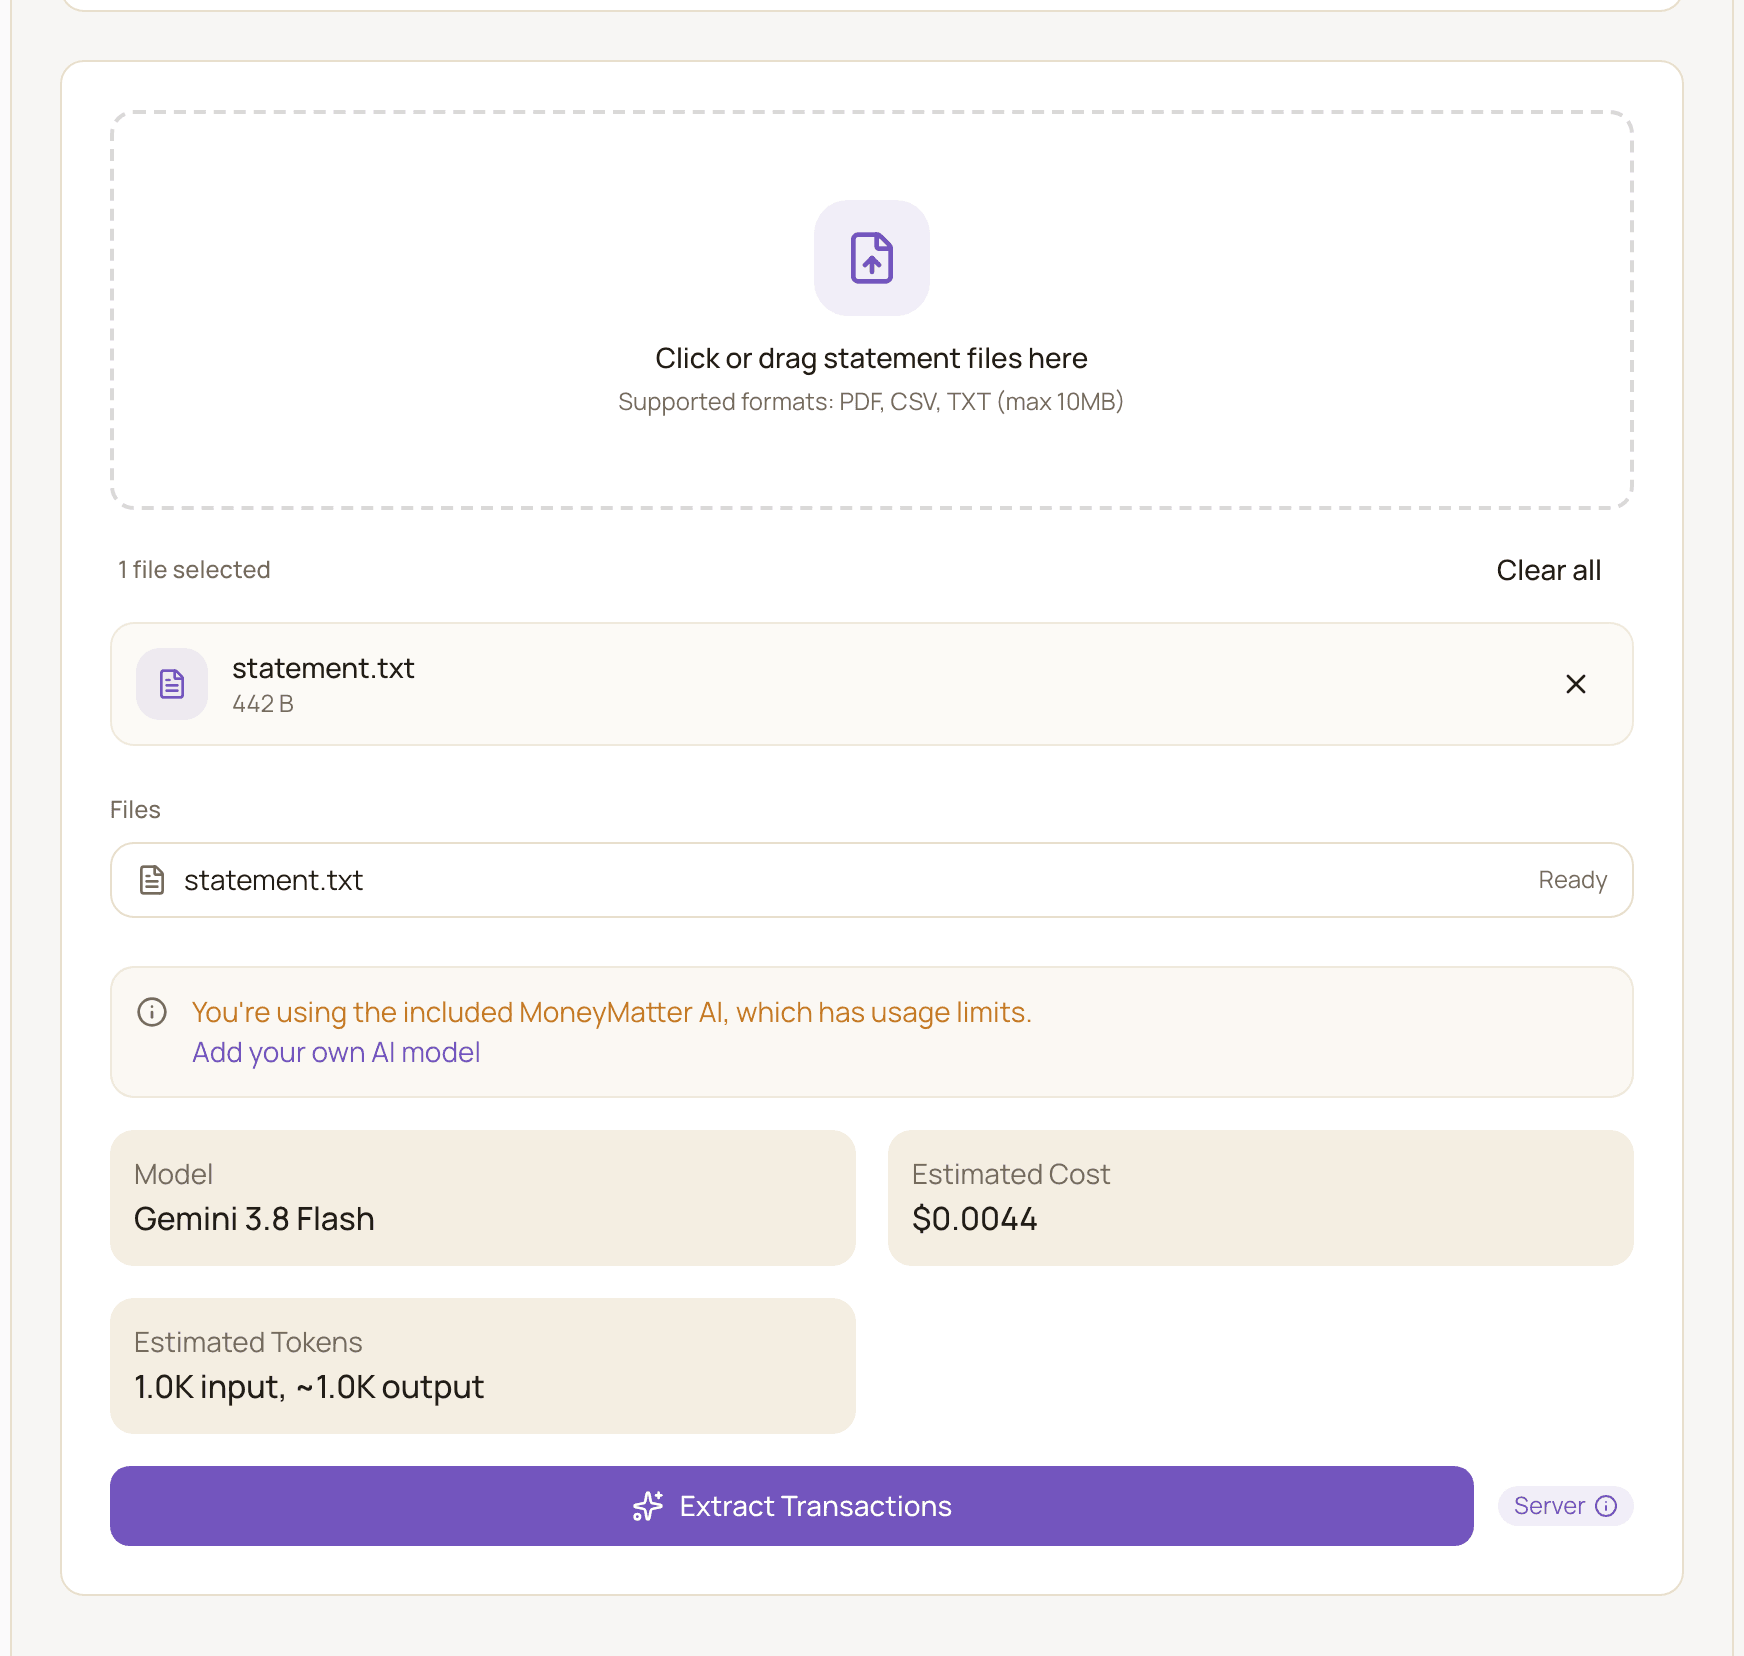
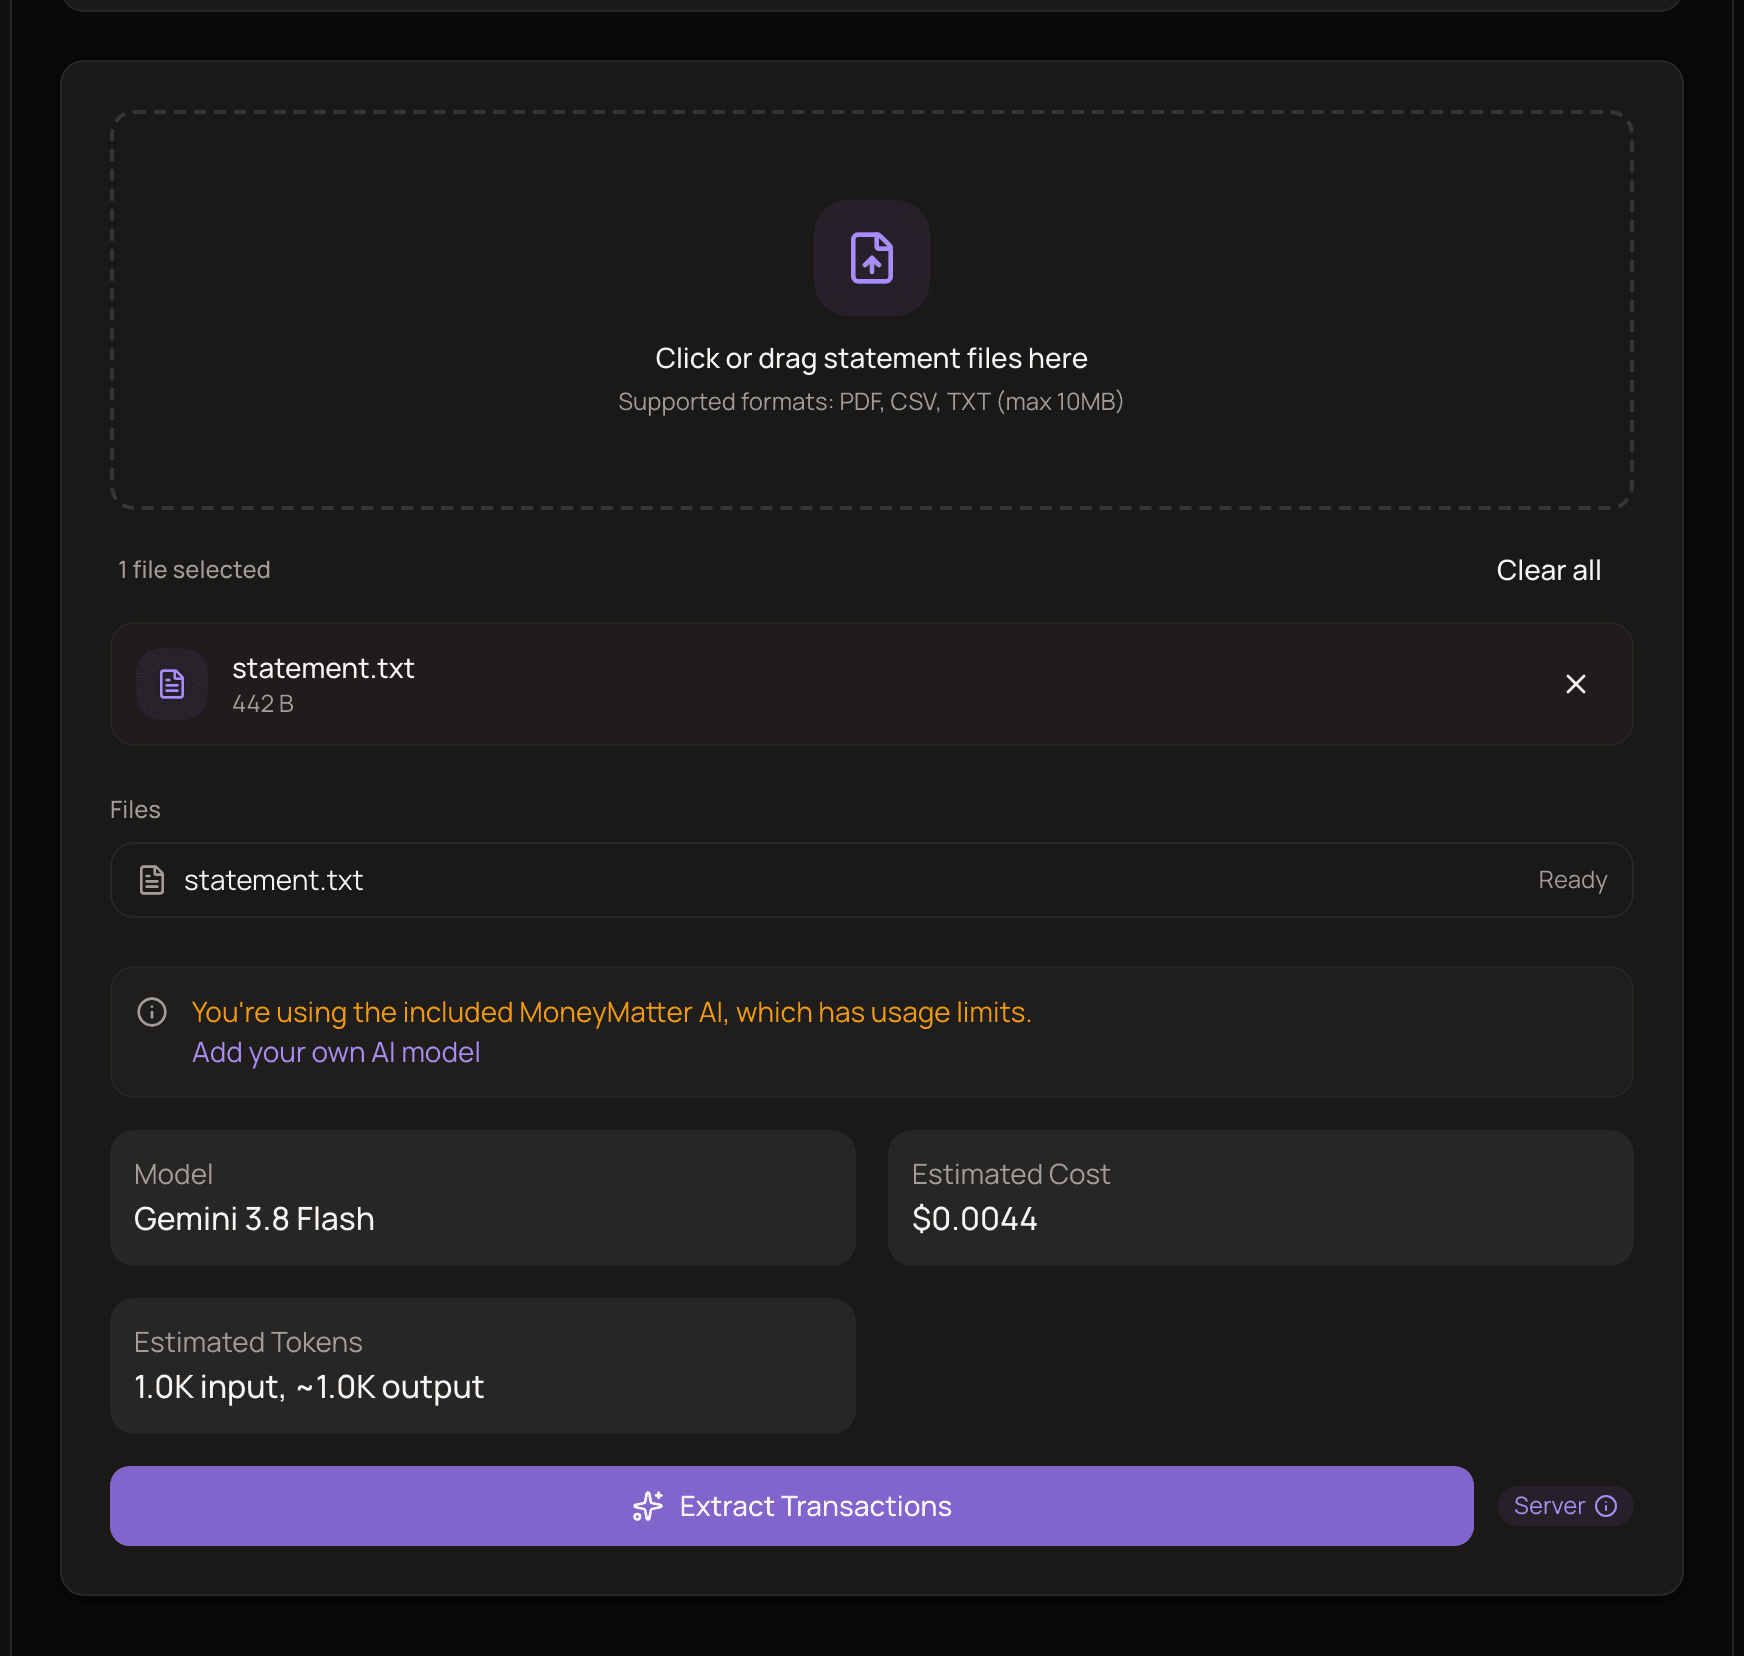
- Click Analyze File. You’ll see the AI Model that will be used, the Estimated Cost and the Estimated Tokens. If the PDF is password-protected, you’ll be asked for the PDF password. Enter it and click Unlock and analyze.
- Click Extract Transactions. This usually takes 30 to 60 seconds, longer for big files.
- Check what was found and click Continue to Account.
- If MoneyMatter couldn’t detect the statement’s currency, choose it under Select currency first. Then choose Select existing account, or click Create New to make an account for this statement. Only accounts in the statement’s currency can be picked, and a new account is locked to it.
- Click Check for Duplicates (for an existing account) or Import Transactions (for a new one).
- For an existing account, check the list. Duplicates start unchecked, so tick one to import it anyway. Then click Continue to Import.
- On Ready to Import, click Import N Transactions.
Estimated Cost is what the AI provider charges to read the file. If it’s marked (your API key), your own AI provider bills you. Otherwise, the AI included with MoneyMatter is used. Estimated Tokens is a measure of how much text the AI has to read.
What gets imported
Section titled “What gets imported”- The date, amount, direction (income or expense) and a note. A payee is linked from the merchant name the same way as for bank transactions, so a name that appears only once may not get a payee. See automatic payee detection.
- Transactions start in your default category (usually Other). MoneyMatter then tries to categorize them automatically with AI, and a payee’s default category can also set one. Review the categories after importing.
- Transactions dated more than about a day in the future are rejected.
Good to know
Section titled “Good to know”- Accounts connected to a bank can’t be picked. Statement import only works with accounts you update yourself.
- Imported transactions change the account’s balance. Every transaction you import into an existing account moves its current balance, even old ones. There’s no option to keep the balance as it is, so adjust the balance afterwards if needed.
- Only accounts in the statement’s currency can be picked. Accounts in other currencies are greyed out under Different Currency. If MoneyMatter can’t detect the currency and you don’t choose one, any account can be picked, and the transactions are imported in that account’s currency with the same numbers.
- Duplicates are transactions already in the account on the same day, with the same amount and direction. The description isn’t compared. Duplicates start unchecked, so they’re skipped unless you tick them.
- AI can miss lines. If some of the AI’s answer couldn’t be read, you’ll see how many lines were skipped. Compare the imported count with your statement.
OFX or QFX statement
Section titled “OFX or QFX statement”OFX and QFX are statement files that many banks and credit card companies let you download.
Before you start
Section titled “Before you start”- One .ofx or .qfx file, up to 10 MB, with up to 100,000 transactions.
- Only bank account and credit card statements are supported. Investment statements aren’t.
Import the file
Section titled “Import the file”- On the Import tab, click OFX or QFX statement.
- Select your file and click Continue.
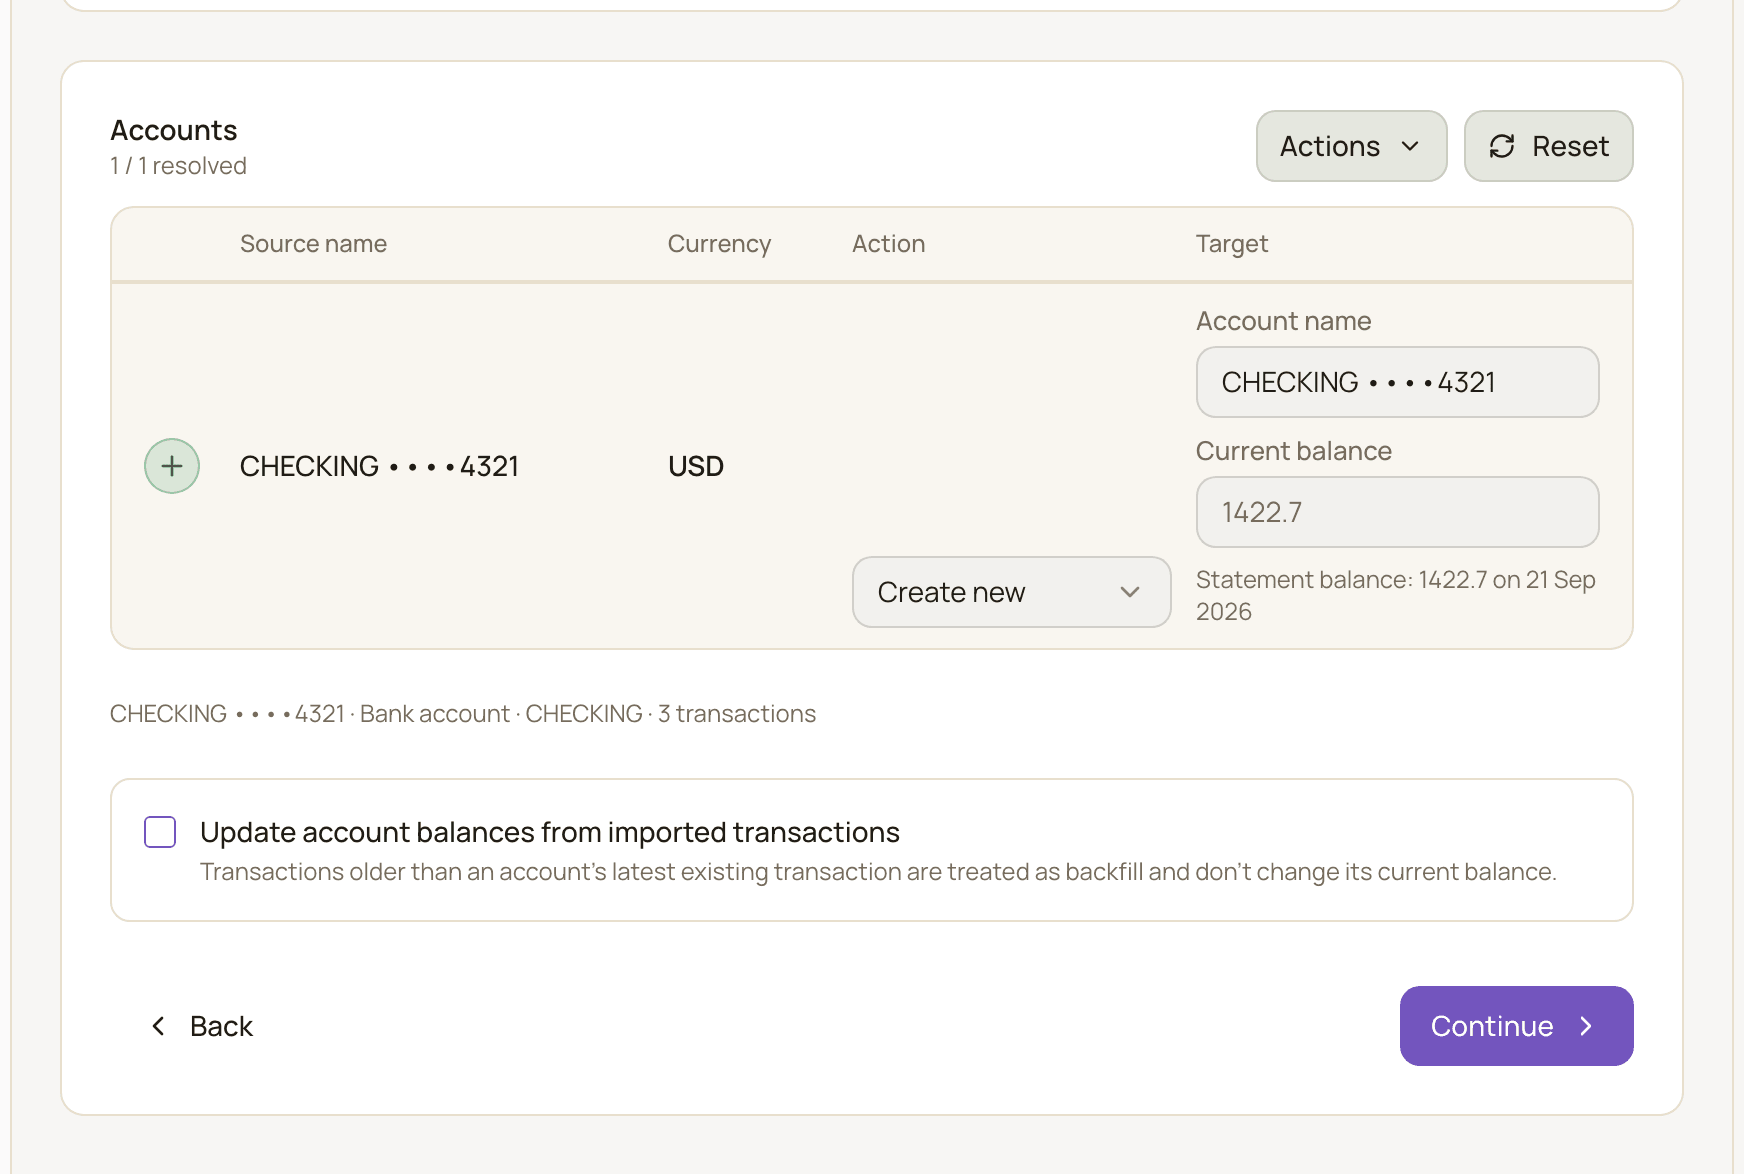
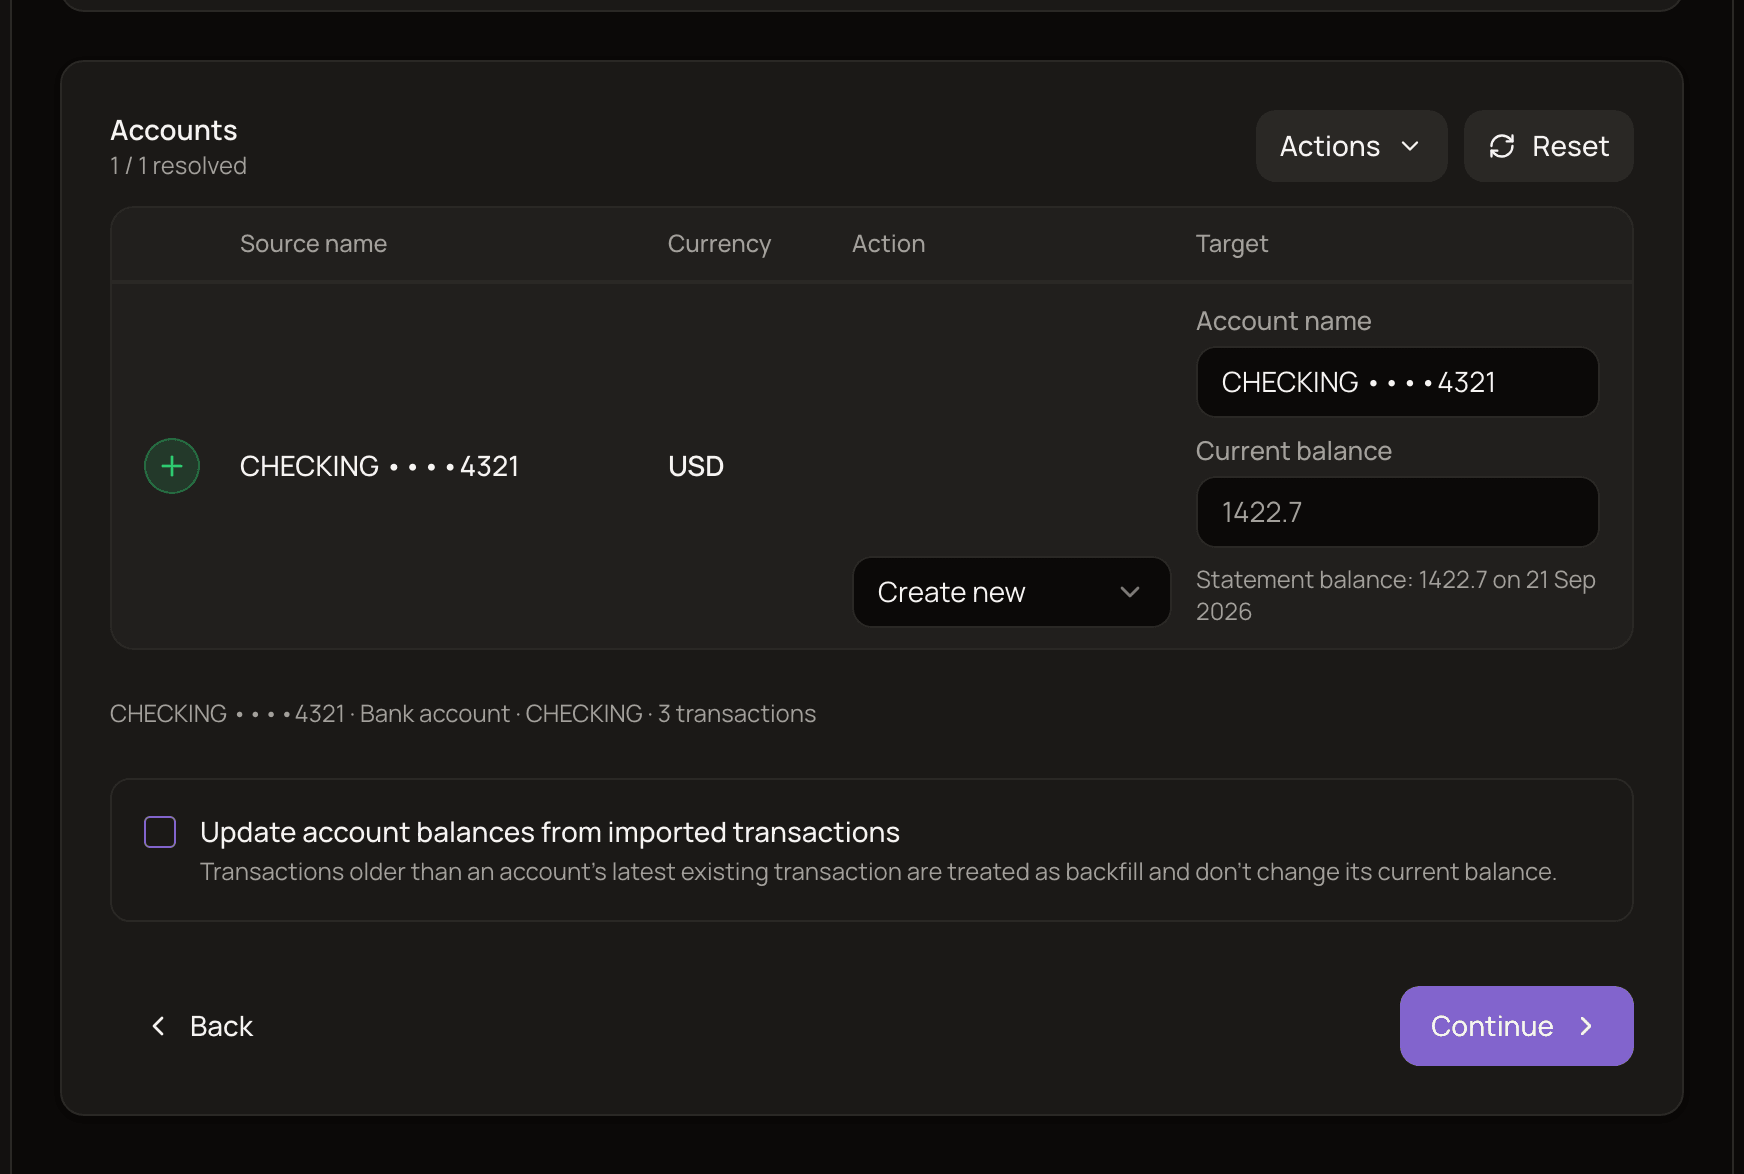
- On Map accounts, choose an Action for each account in the file: Create new (you can change its Account name), Link to existing (same currency only) or Skip. Each account shows its type (Bank account or Credit card), how many transactions it has and the statement balance from the file. If you link to an existing account, decide whether to tick Update account balances from imported transactions (see how an import affects balances).
- For a new account, optionally fill in Current balance. Leave it blank to use the sum of the imported transactions.
- On Review, check possible duplicates and any warnings, then click Import N transactions.
What gets imported
Section titled “What gets imported”- Each transaction’s date, amount and direction.
- The payee comes from the name in the file. The note comes from the memo, or from the name if there’s no memo.
- OFX files don’t include categories, so plan to categorize these transactions afterwards.
Duplicates
Section titled “Duplicates”OFX files usually give each transaction its own ID. MoneyMatter remembers it, so if you import an overlapping statement into the same account later, transactions you already imported are marked ID match and can’t be imported again. Transactions without an ID are compared by account, day, amount and direction instead, like the CSV importer.
Good to know
Section titled “Good to know”- Your upload expires. If you leave the import idle for 30 minutes (or it runs over 4 hours in total), you’ll see “Your uploaded file is no longer available”. Click Start over and upload the file again.
- Correction records aren’t supported. Files with them are rejected.
This moves your YNAB (You Need A Budget) history into MoneyMatter: accounts, transactions, categories, payees and flags.
Get your file from YNAB
Section titled “Get your file from YNAB”In YNAB, go to Budget → Export budget. Unzip the download and use the Register.csv file inside it. The file can be up to 10 MB.
Import it
Section titled “Import it”- On the Import tab, under From other apps, click Import from YNAB.
- Drop your Register.csv file and click Continue.
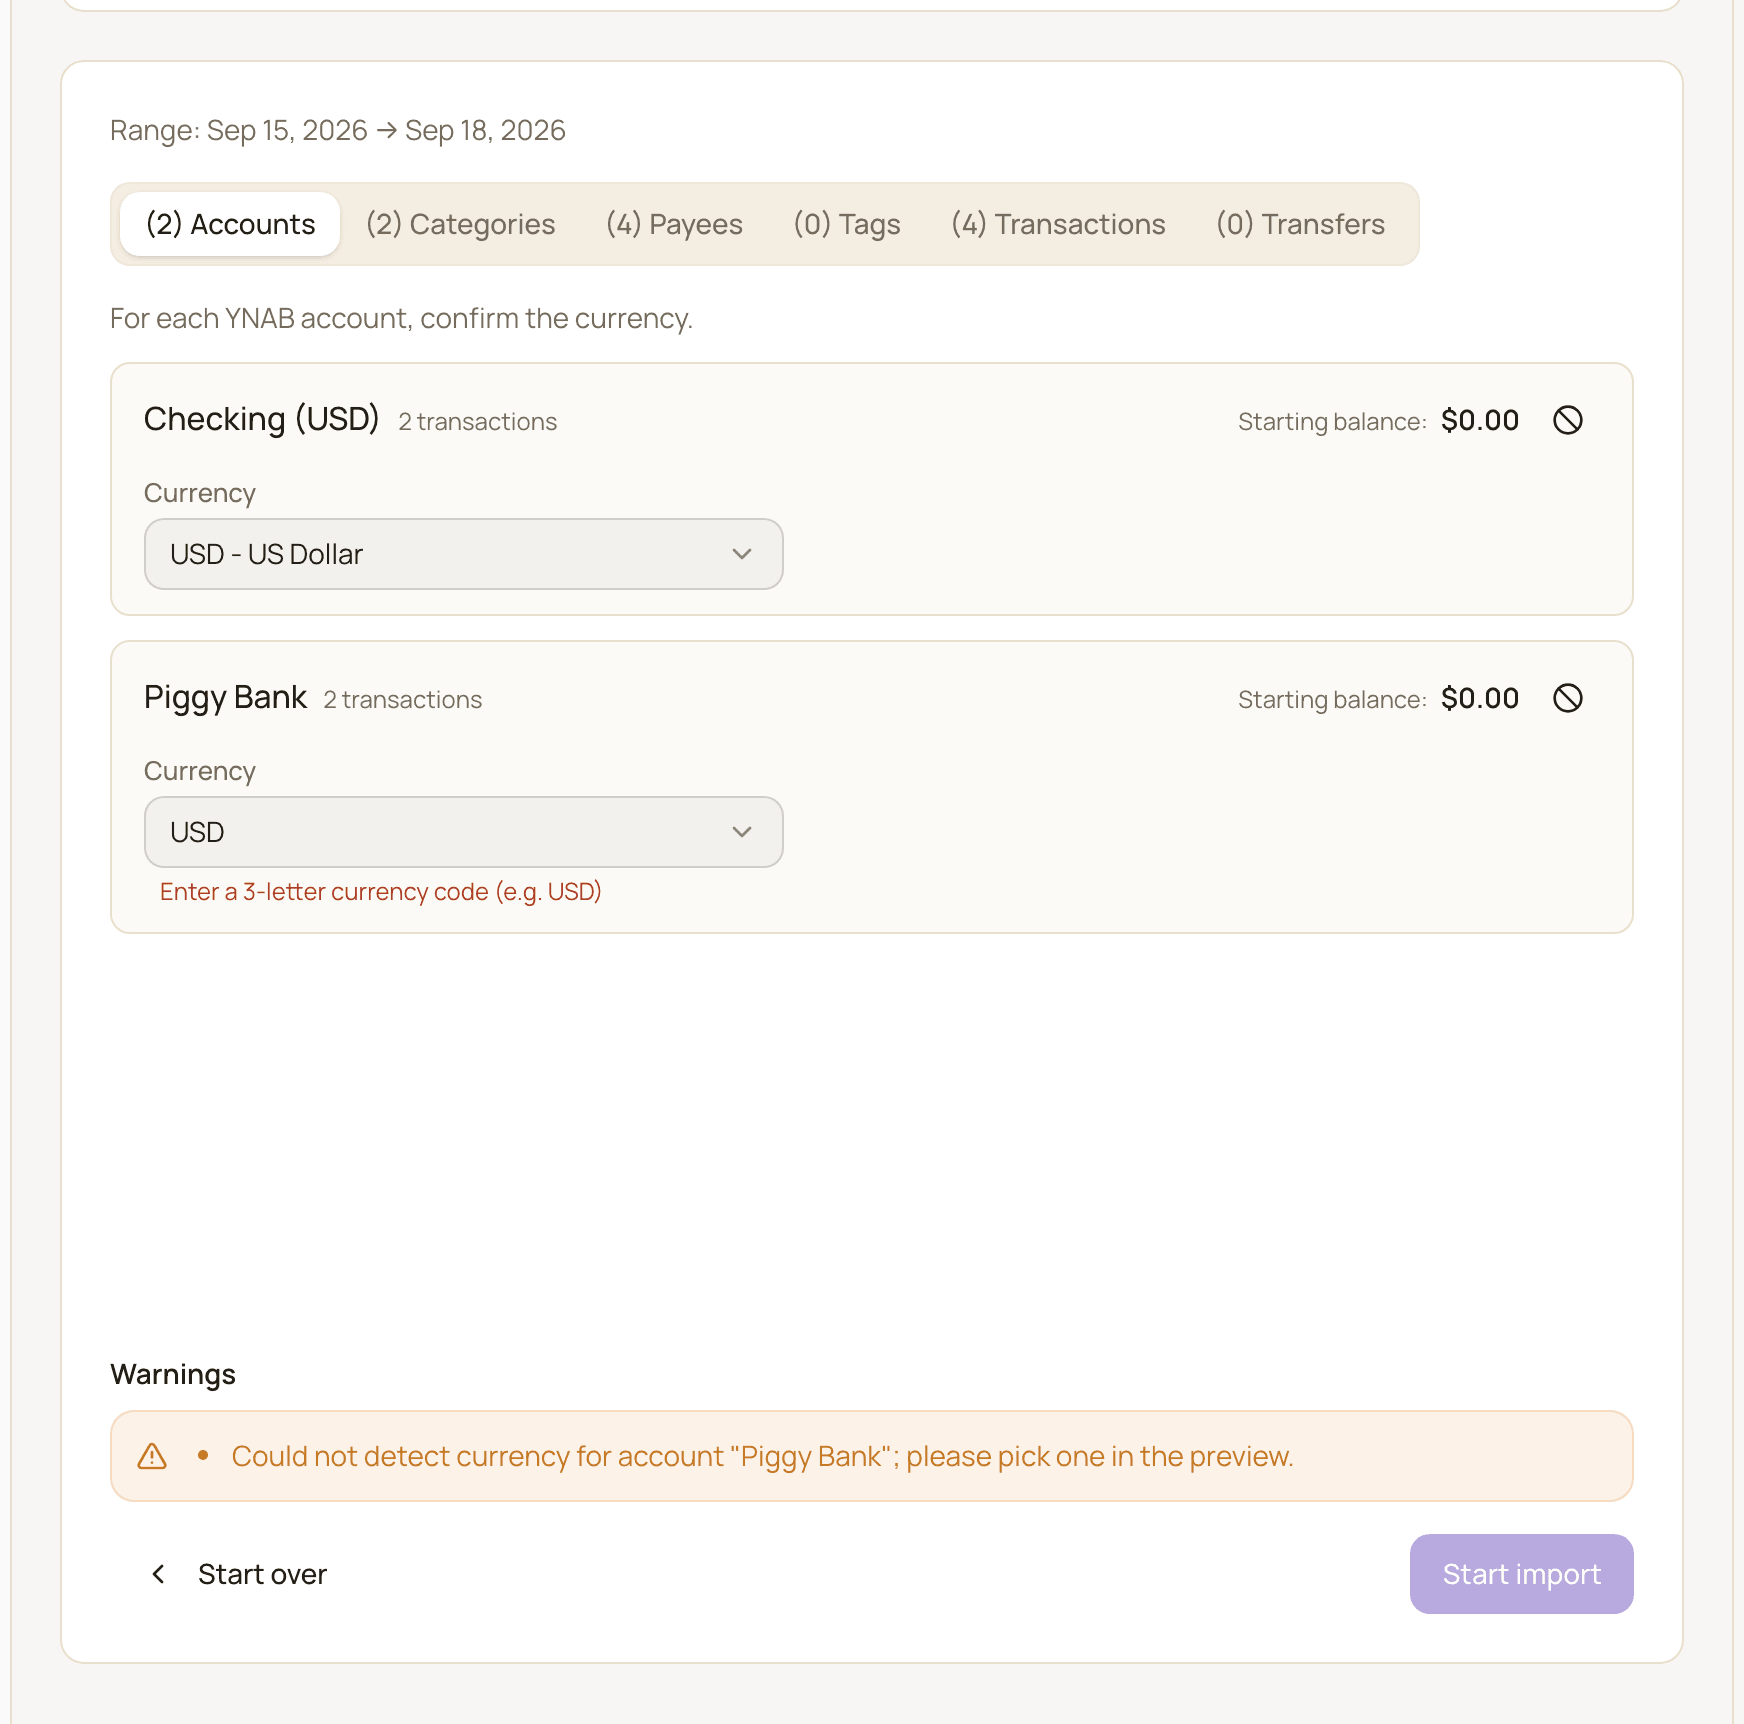
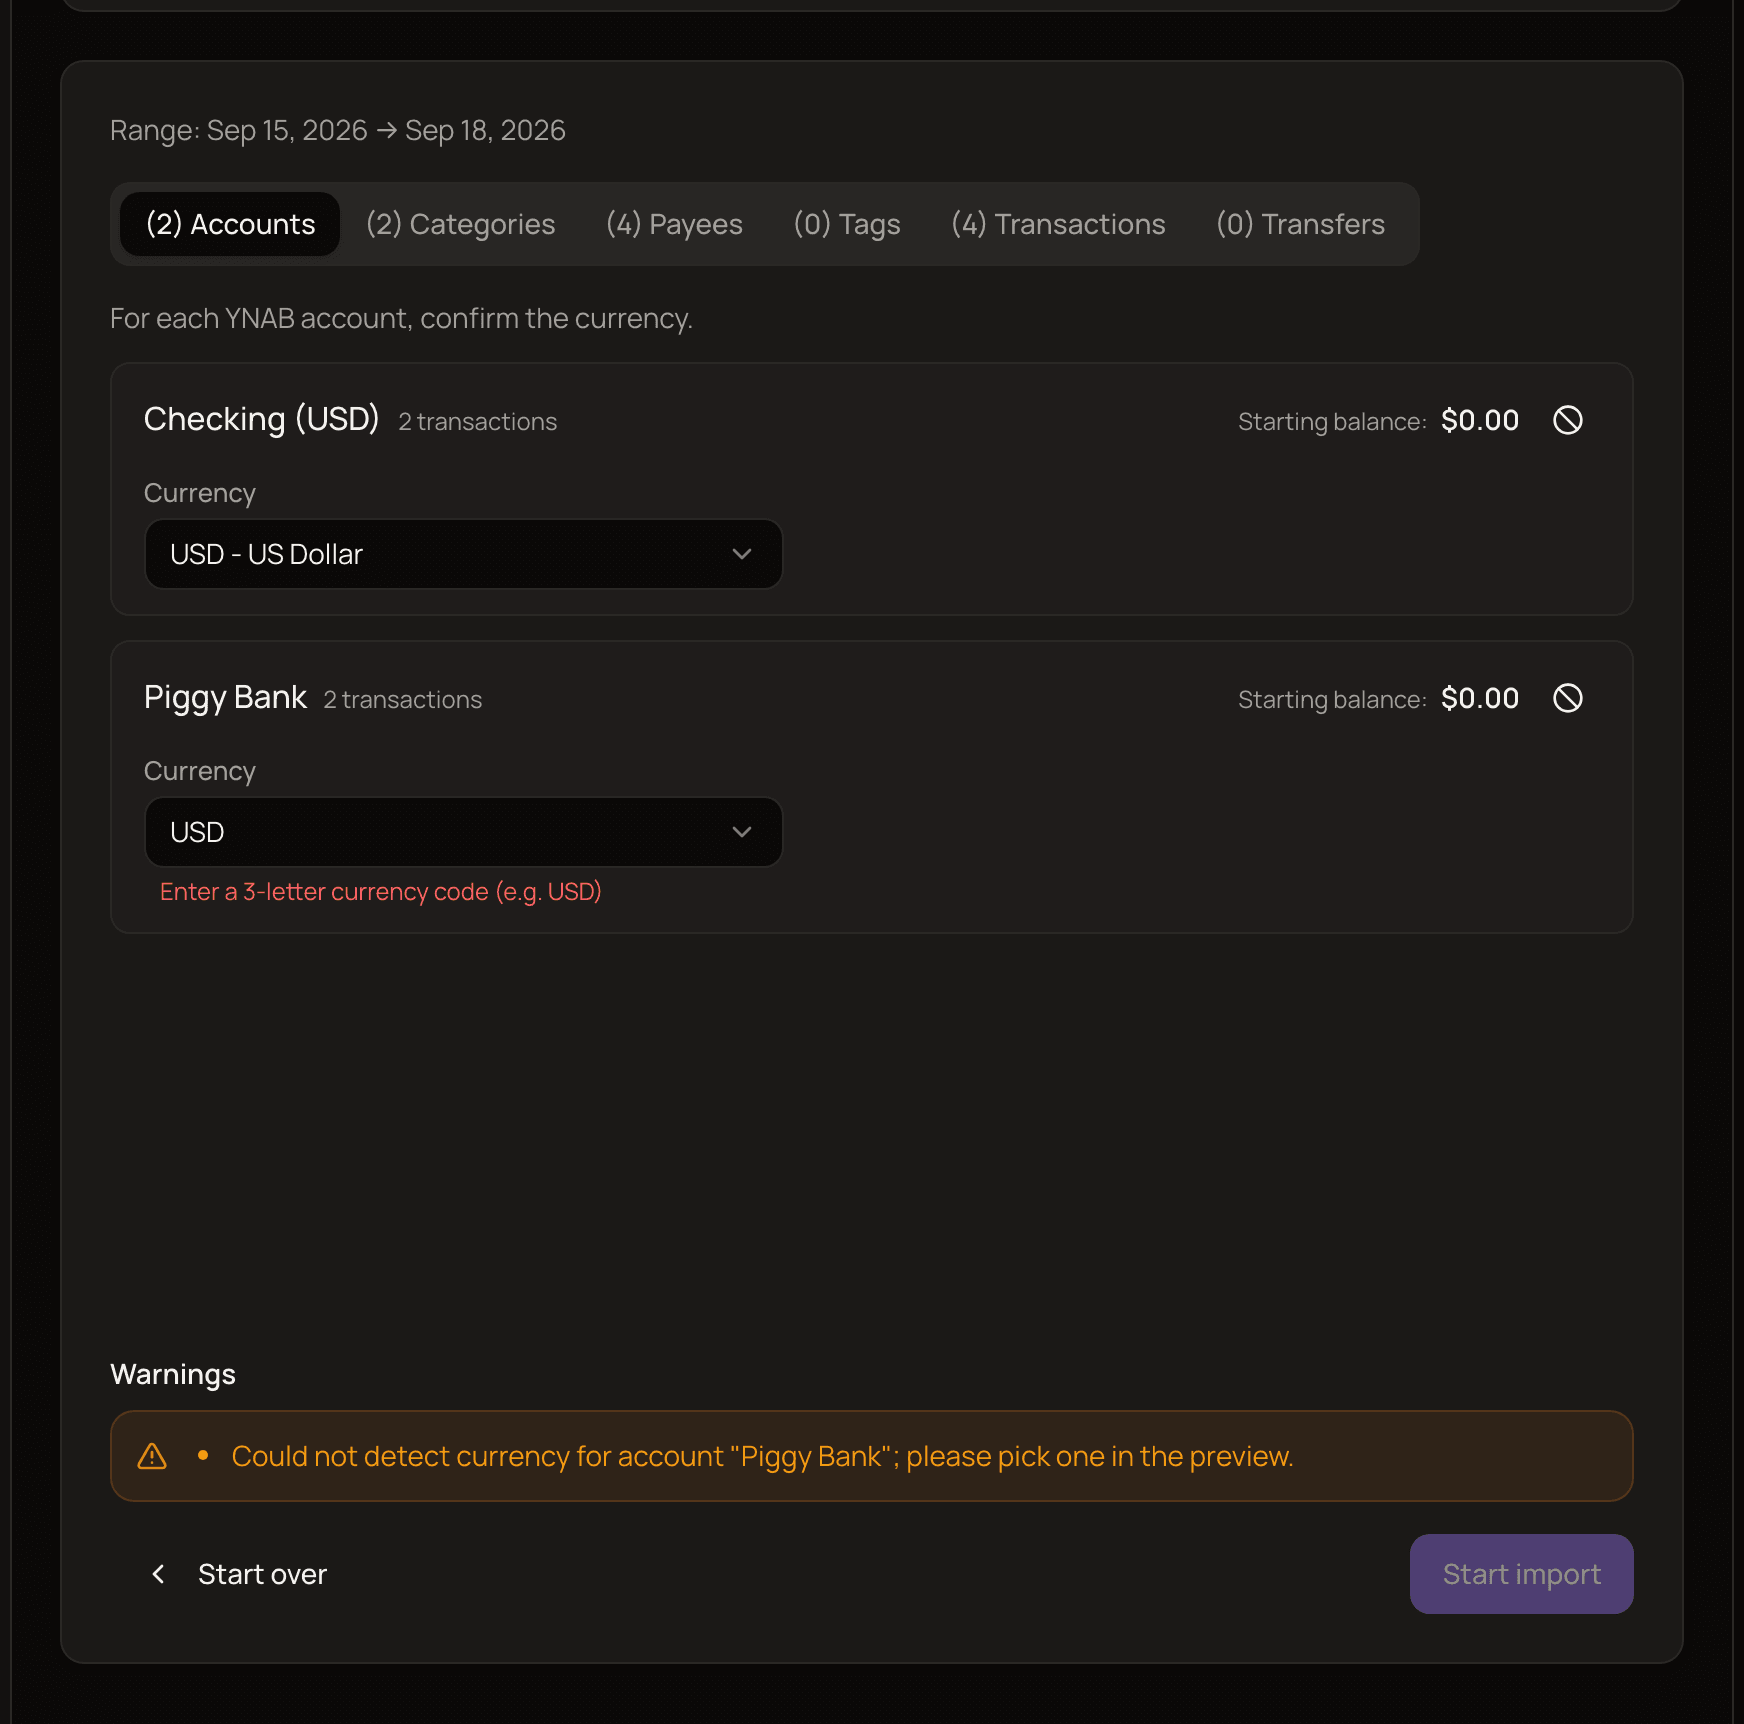
- On Review, go through the Accounts list. Confirm the Currency of each account: pick it from the list (you can search by code, such as USD). If the account’s name in YNAB ends with a code like “(EUR)”, it’s filled in for you. To leave an account out, click the Skip button (the crossed-circle icon) on its row. Click it again (Include in import) to bring the account back.
- Check the other tabs (Categories, Payees, Tags, Transactions, Transfers) and any Warnings.
- Click Start import.
What gets imported
Section titled “What gets imported”- Accounts: every YNAB account becomes a new MoneyMatter account. YNAB’s “Starting Balance” entry becomes the account’s initial balance.
- Categories: YNAB’s “Group: Category” becomes a category with a subcategory. If you already have categories with the same names, they’re reused. “Inflow: Ready to Assign” isn’t turned into a category.
- Payees: reused if one with the same name exists, created otherwise.
- Flags: each flag colour becomes a tag, such as “YNAB Red” or “YNAB Blue”.
- Transfers: YNAB transfers between two of your accounts become transfers in MoneyMatter when both sides have the same date and matching amounts. A side without a match is imported as a regular expense or income, and you’ll see a warning.
- Split transactions: each part is imported as its own transaction. The summary shows how many split groups were found.
Good to know
Section titled “Good to know”- Dates are read the same way for the whole file. MoneyMatter works out whether your dates are day-first or month-first. If it can’t tell, it assumes month-first (MM/DD/YYYY) and warns you, so check a few transactions afterwards.
- Importing twice creates a second set of accounts. There’s no duplicate check, because every import makes new accounts. Undo an extra import from Import History.
- Transfers between currencies keep the same number on both sides. Fix the amount on one side after importing.
- Skipping an account also drops any transfers to or from it.
Wallet by BudgetBakers
Section titled “Wallet by BudgetBakers”This imports your records from the Wallet app, including transfers between your Wallet accounts.
Before you start
Section titled “Before you start”- Export your records from Wallet as a CSV file. You can upload several files if they have the same columns. Together they can be up to about 10 MB and 100,000 rows.
- Wallet must be set to English or Spanish when you export. Wallet writes some values in the app’s language, and MoneyMatter can only read English and Spanish ones for now. With another language, the import stops and suggests requesting your language on the roadmap.
Import it
Section titled “Import it”- On the Import tab, under From other apps, click Wallet (BudgetBakers).
- Upload your Wallet CSV file or files and click Continue.
- On Resolve, under Accounts, choose an Action for each Wallet account: Create new (you can fill in Current balance (optional)), Link to existing (same currency only) or Skip.
- Map each Wallet category to one of yours, or create it. The same bulk actions as in the CSV importer are available.
- On Review, check possible duplicates, then click Import N transactions.
What gets imported
Section titled “What gets imported”- Transactions with their category and payee.
- Labels become tags. A record with several labels gets several tags.
- Transfers: Wallet stores a transfer as two records. MoneyMatter pairs them into one transfer when they have the same date and time, are in different accounts, and their amounts are within 1% of each other.
- A transfer record without a partner is imported as an Out of Wallet transaction (money moved to or from somewhere you don’t track in MoneyMatter).
Good to know
Section titled “Good to know”- Duplicates are only checked in accounts you link. Paired transfers aren’t checked. The rule is the same as for CSV imports.
- Skipping an account also drops every transfer to or from it, including the side in accounts you import. Those accounts may then show a different balance than in Wallet.
- Balances of linked accounts follow the Update account balances from imported transactions checkbox on Resolve. See how an import affects balances.
Microsoft Money
Section titled “Microsoft Money”This reads the .mny file that Microsoft Money saves on your computer.
Before you start
Section titled “Before you start”- One .mny file, up to 50 MB, with up to 100,000 transactions.
- If you protected the file with a password in Microsoft Money, you’ll need it. Otherwise leave File password (optional) empty.
Import it
Section titled “Import it”- On the Import tab, under From other apps, click Microsoft Money.
- Select your .mny file, enter the password if it has one, and click Continue.
- On Map data, choose an Action for each account: Create new (optionally with a Current balance), Link to existing (same currency only) or Skip. If you link to an existing account, decide whether to tick Update account balances from imported transactions (see how an import affects balances). Then map the categories.
- On Review, check what was left out and any possible duplicates. If the file has voided transactions, tick Import N voided transaction(s) to import them too.
- Click Import N transactions.
What gets imported
Section titled “What gets imported”- Account types: banking, credit card, cash, asset and liability accounts. Investment and loan accounts are skipped, with a warning.
- Accounts without a currency in the file are treated as USD, with a warning. The importer can’t change this. If an account isn’t really in USD, skip it on Map data.
- Split transactions: each line of the split is imported as its own transaction.
- Transfers are imported once, as a transfer between both accounts. If the other account isn’t in the file (for example an investment or loan account), that side becomes an Out of Wallet transaction.
- Voided transactions are left out unless you tick the box. If you include them, they’re imported with an amount of zero and tagged “Void”, keeping their date, payee, category, memo and cheque number. Microsoft Money never counted them in your balance, so neither does MoneyMatter.
Good to know
Section titled “Good to know”- Accounts without a name are called “Account” plus a number. Accounts with the same name get a number added, like “Savings (2)”.
- Your upload expires after 30 minutes without activity (or 4 hours in total). Click Start over and upload the file again.
- Duplicates are only checked in accounts you link, using the same rule as CSV imports. Paired transfers aren’t checked.
- Skipping an account also drops every transfer to or from it, including the side in accounts you import. Those accounts may then show a different balance than in Microsoft Money.
Things all importers share
Section titled “Things all importers share”- They run in the background. You can watch the progress until the import finishes.
- They show a summary at the end, with what was created, skipped or failed.
- With the CSV, OFX, Wallet and Microsoft Money importers, existing accounts keep their balance by default. They all have the Update account balances from imported transactions checkbox, on the step where you map accounts (on Review for CSV). See how an import affects balances. Statement imports always change the balance.
- Every import can be undone from Import History, as long as its accounts haven’t been connected to a bank since. See undo an import.
- Imports need an active plan. In read-only mode you can export your data but not import. See plans and billing.