
Add and edit transactions
A transaction is a single movement of money: a coffee you paid for, a salary that came in, money you moved between accounts. This page shows how to add one by hand, what each field in the form does, and what you can change later.
Add a transaction
Section titled “Add a transaction”- Click Add transaction in the header at the top of the app. On a phone the button is called Add.
- Keep Expense, or switch to Income. New transactions start as Expense. (To move money between your own accounts, pick Transfer instead. See how transfers work.)
- Enter the Amount.
- Check the Account. It’s usually filled in for you (see Account).
- Check the Category. It starts with the first category in your list, so pick the right one.
- Check the Datetime. It starts at the current date and time.
- Optionally pick a Payee and fill in anything under More options, such as a Note or Tags.
- Click Create.
The transaction appears in your list right away, and the account balance updates.
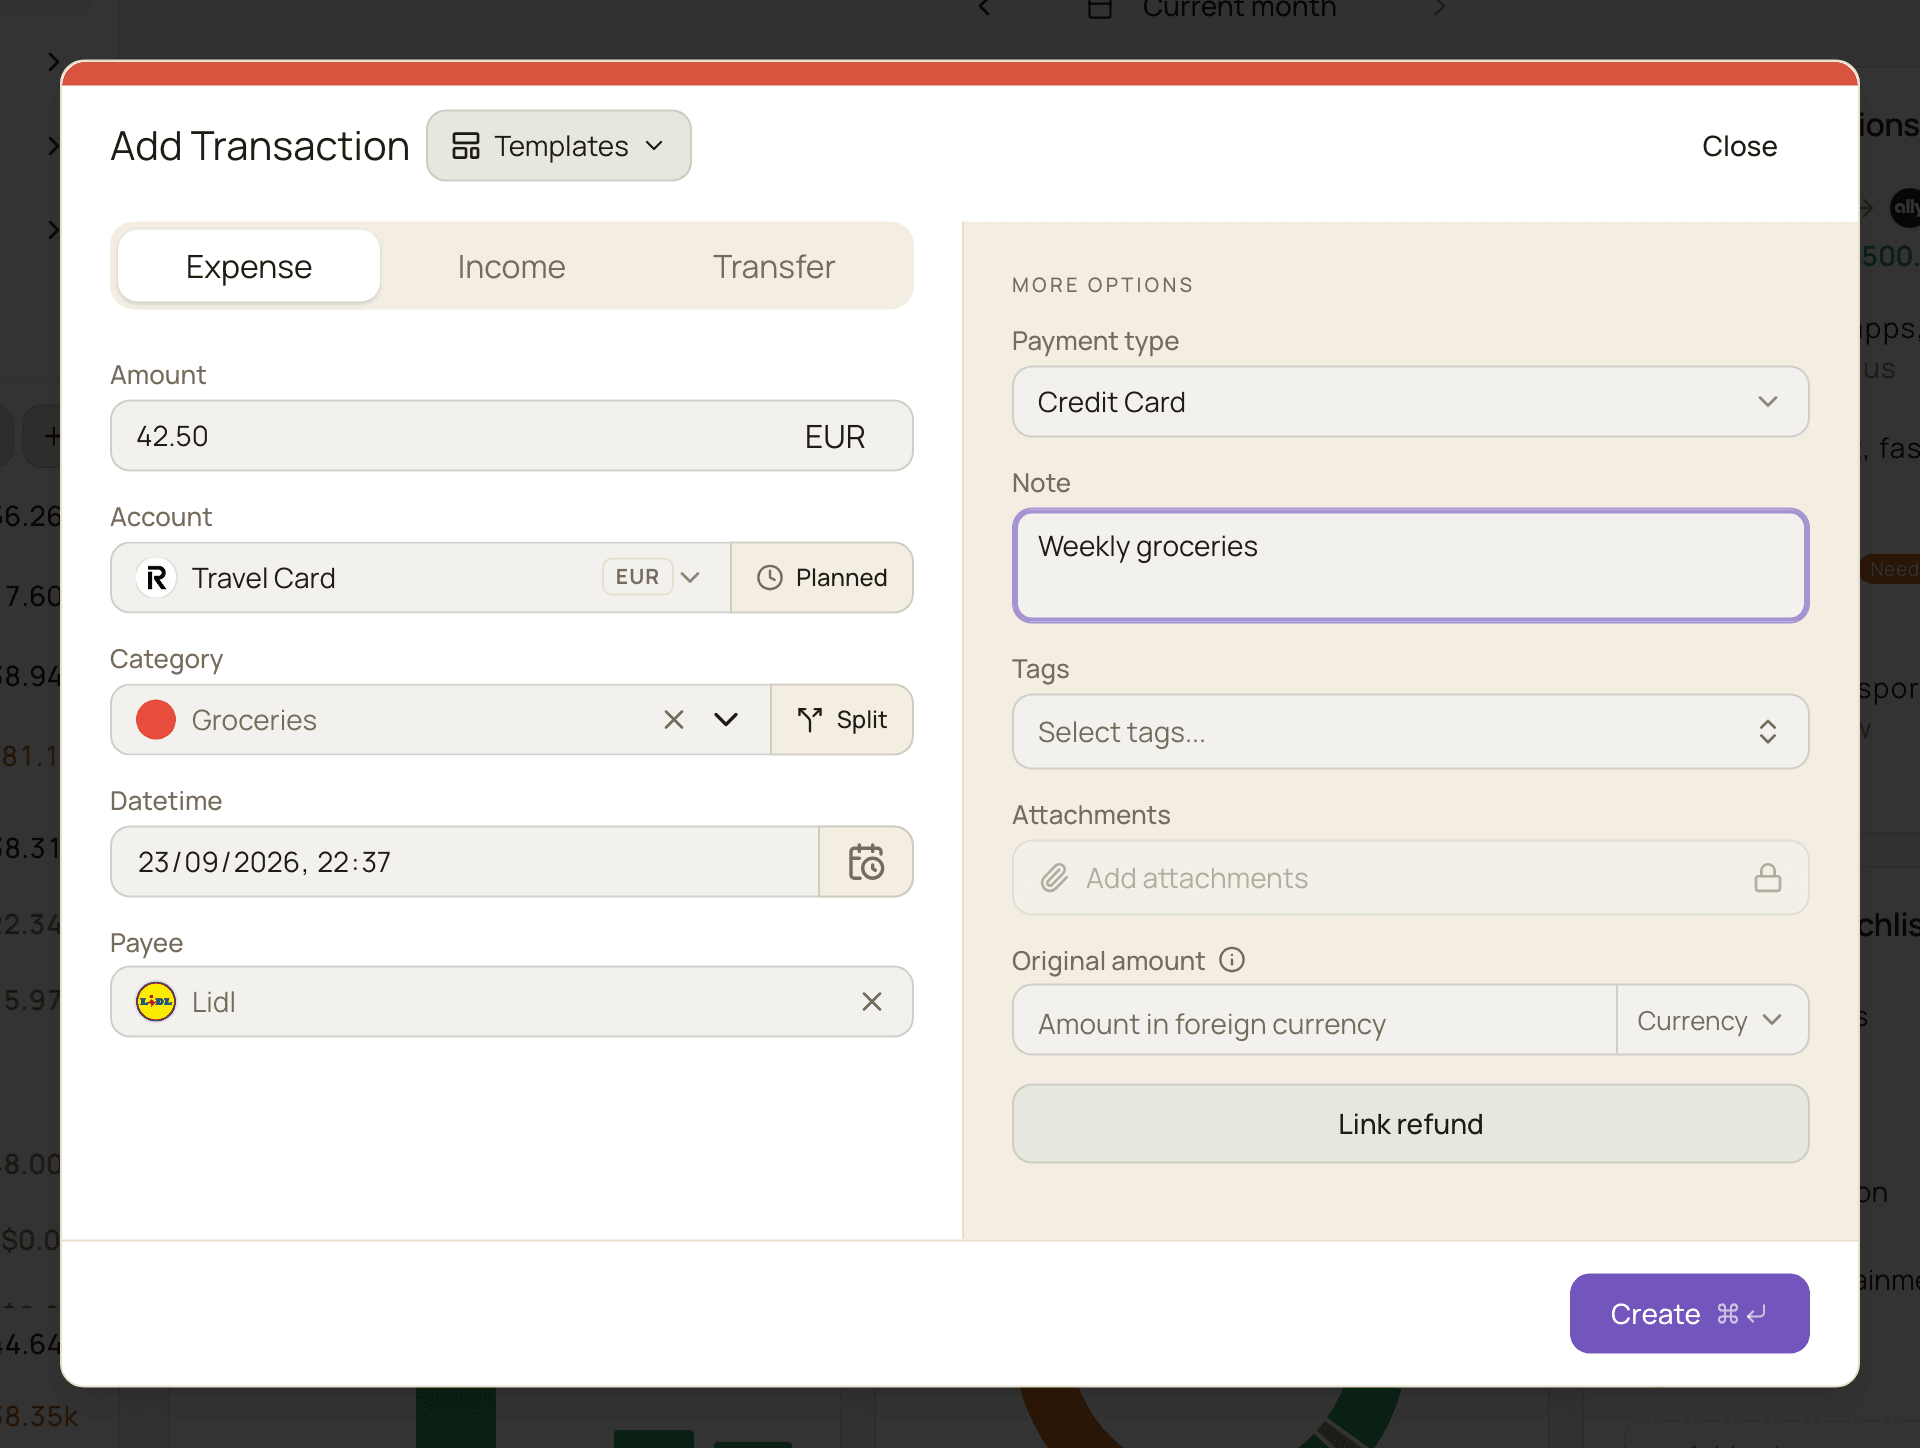
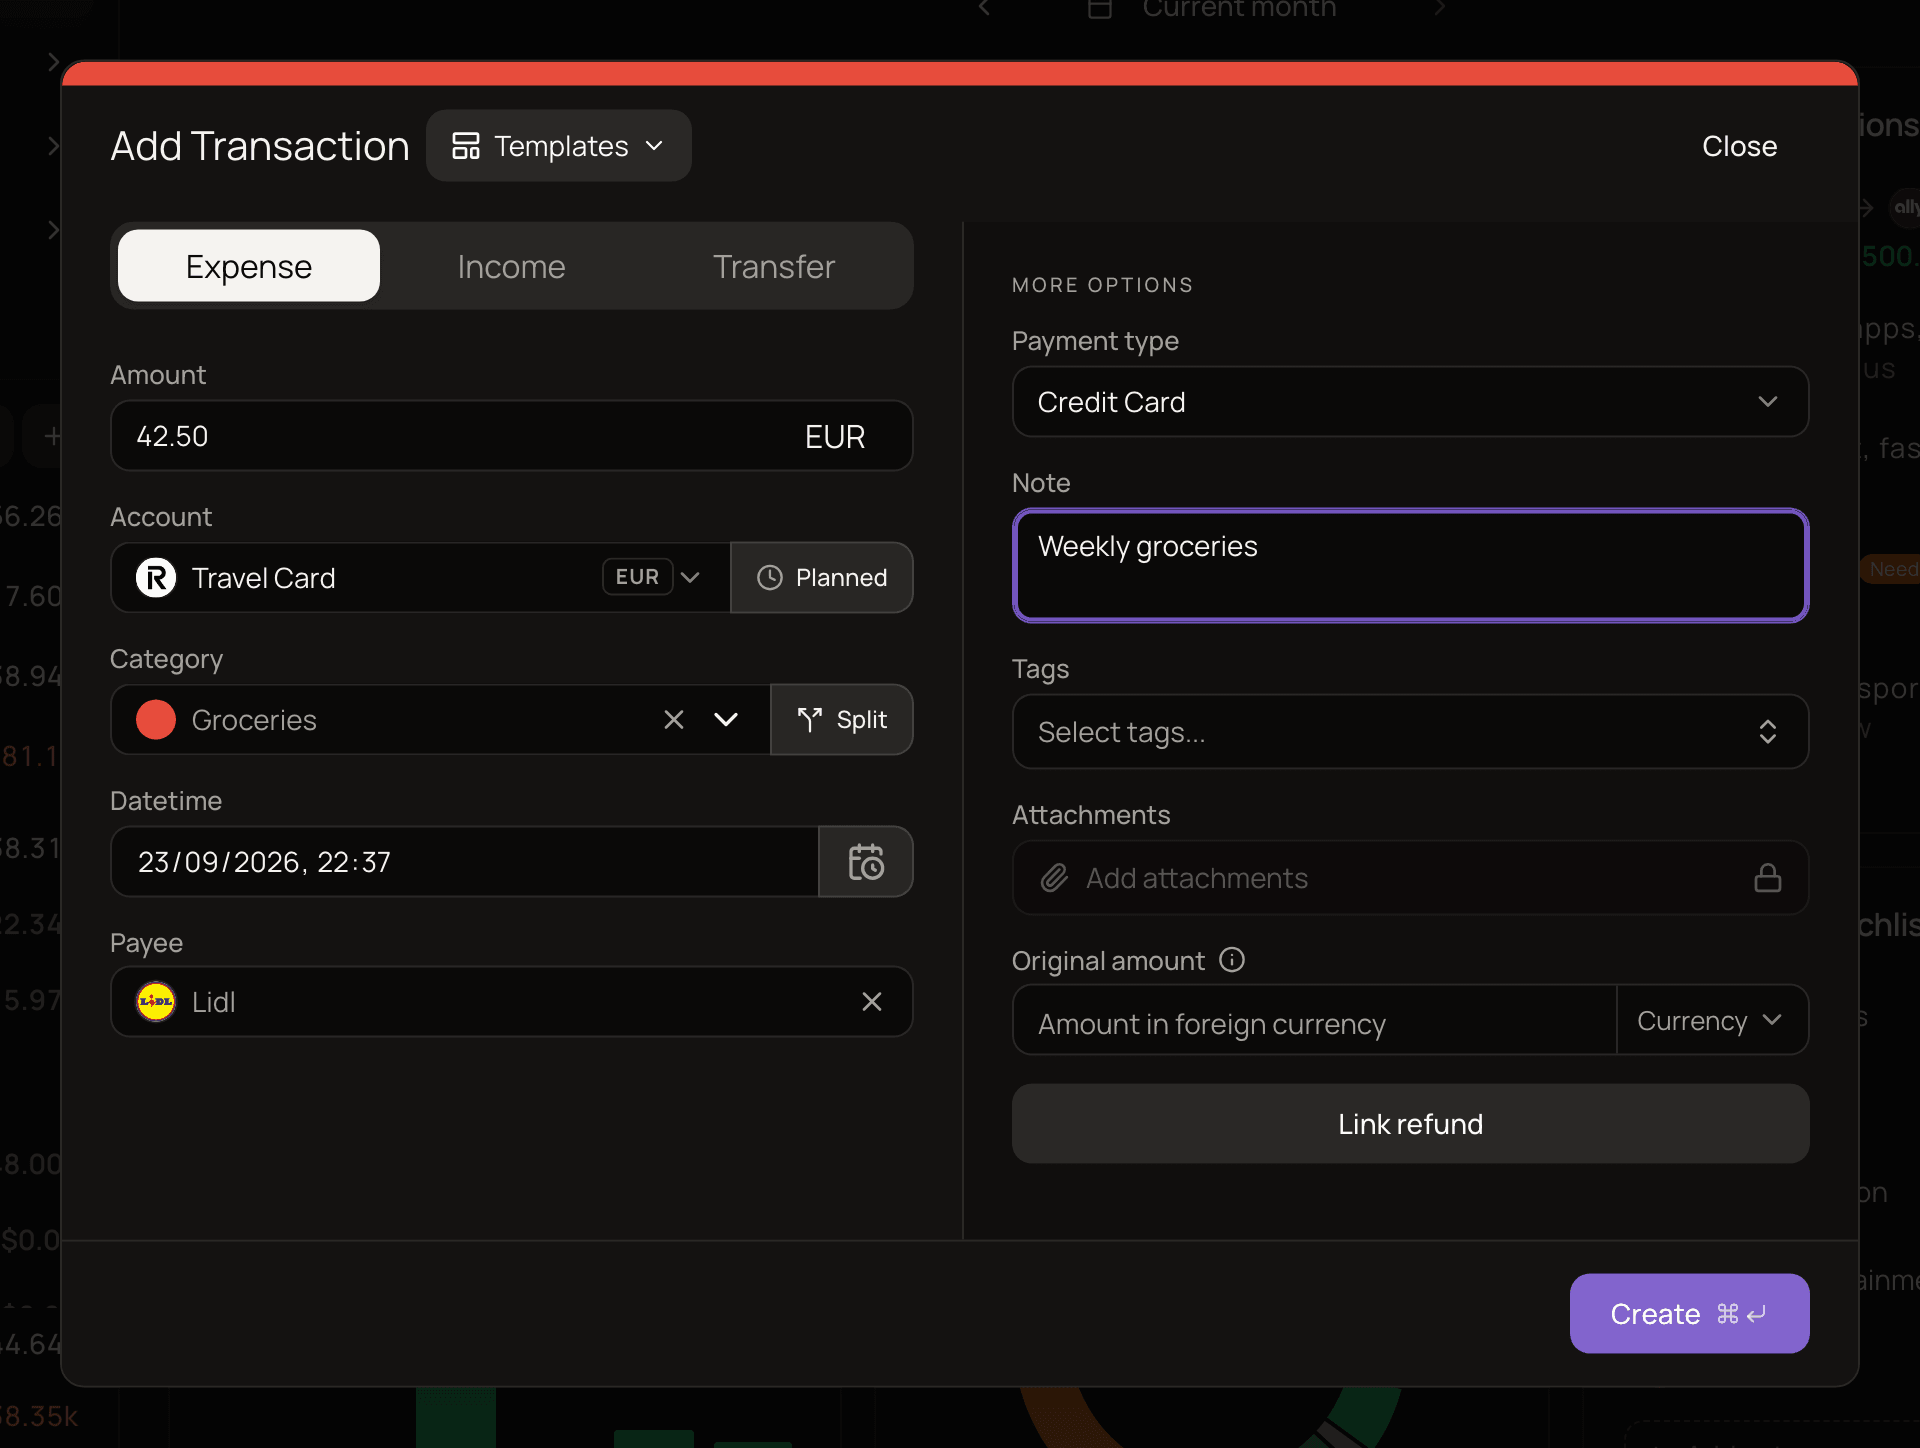
To record money moving between two of your own accounts, pick Transfer instead. It has From account and To account fields and works differently from income and expenses. See how transfers work.
The fields
Section titled “The fields”The main column holds the fields you need every time. Everything else lives in the More options panel: a column on the right on a computer, or a More options button at the bottom of the form on a phone. On a phone, the button shows how many of those fields are filled in.
Expense, Income or Transfer
Section titled “Expense, Income or Transfer”The tab decides the direction of the money. An expense lowers the account balance, and income raises it. The amount itself is always a positive number, so you never type a minus sign.
You can switch tabs while editing too, as long as the transaction is on a manual account. Bank-synced transactions have some limits.
Amount
Section titled “Amount”Enter the amount in the account’s currency. The currency code shows inside the field. The amount can’t be negative, but 0 is allowed.
If the account’s currency isn’t your base currency, MoneyMatter also works out the amount in your base currency, using the exchange rate for the transaction’s date. That converted amount is what your stats use. See base currency and currencies.
Account
Section titled “Account”The account the money came from or went to. When you open the form:
- On an account’s page, that account is already selected.
- Otherwise, it’s your Default account from Settings → General, if you’ve set one. See default account.
- If you haven’t, it’s the first account in the list.
Only manual accounts, the ones you keep up to date yourself, are listed. Accounts connected to a bank aren’t offered, because their transactions arrive from the bank itself. Archived accounts are hidden unless you turn on Show archived accounts in Settings → General; then they appear at the end of the list.
Category
Section titled “Category”Required for expenses and income. You can pick any category, whether it’s a top-level one or a subcategory. The picker has a search box. You can’t create a category from here; do that in categories first.
The Split button next to the field lets you spread one transaction across several categories. See split a transaction.
Datetime
Section titled “Datetime”The date and time of the transaction, in 24-hour format. It starts at the current moment. The calendar only offers dates up to today.
Who you paid or who paid you, such as a shop or your employer. Start typing to search your payees. If the one you want doesn’t exist, click Create payee “Lidl” (it shows whatever you typed) to add it without leaving the form. If you haven’t typed anything, the option reads Create new payee.
Picking a payee can fill in other fields for you:
- Category: the payee’s default category, or, if it has none, the category you use most often with it. This only happens if you haven’t touched the Category field yet.
- Tags: the payee’s auto-apply tags are added. If you switch to another payee, only those automatic tags are swapped. Tags you added yourself stay.
- Location: the payee’s default location, if the form doesn’t have one yet.
The Payee field isn’t shown for transfers. Read more in payees.
More options
Section titled “More options”- Payment type: how you paid. Choose from Credit Card (the default), Bank Transfer, Cash, Debit Card, Mobile Payment, Voucher or Web Payment.
- Note: free text, up to 1,000 characters. You can find transactions by their notes with the Notes filter.
- Tags: labels you can add on top of the category, such as “Need” or “Trip to Rome”. You can pick several. Create them in tags.
- Attachments: receipts and invoices. See attachments below.
Optional fields
Section titled “Optional fields”A few extra fields only appear if you turn them on in Settings → General → Optional transaction fields. A field that already has a value on a transaction always shows. By default, only Original amount is on. See optional transaction fields.
- Original amount: for a purchase made in a currency different from the account’s, the amount you actually paid in that currency. Pick the currency next to it. MoneyMatter suggests a value based on the exchange rate for the transaction date, which you can accept with Apply. It’s for your records only and doesn’t affect statistics. Not shown for transfers.
- External URL: a link to the order, booking or receipt page. It must start with http:// or https://. The link icon next to the label opens it.
- External reference: an order number, invoice number or booking reference, up to 255 characters.
- Location: where the purchase happened. Click Use my location to fill it from your device, type the latitude and longitude, or click Pick on map. The first time you open the map, you’re asked to allow it, because the map comes from OpenStreetMap. You can turn the map off later in Settings → General → Map picker.
Attachments
Section titled “Attachments”Keep a photo of a receipt or a PDF invoice with the transaction.
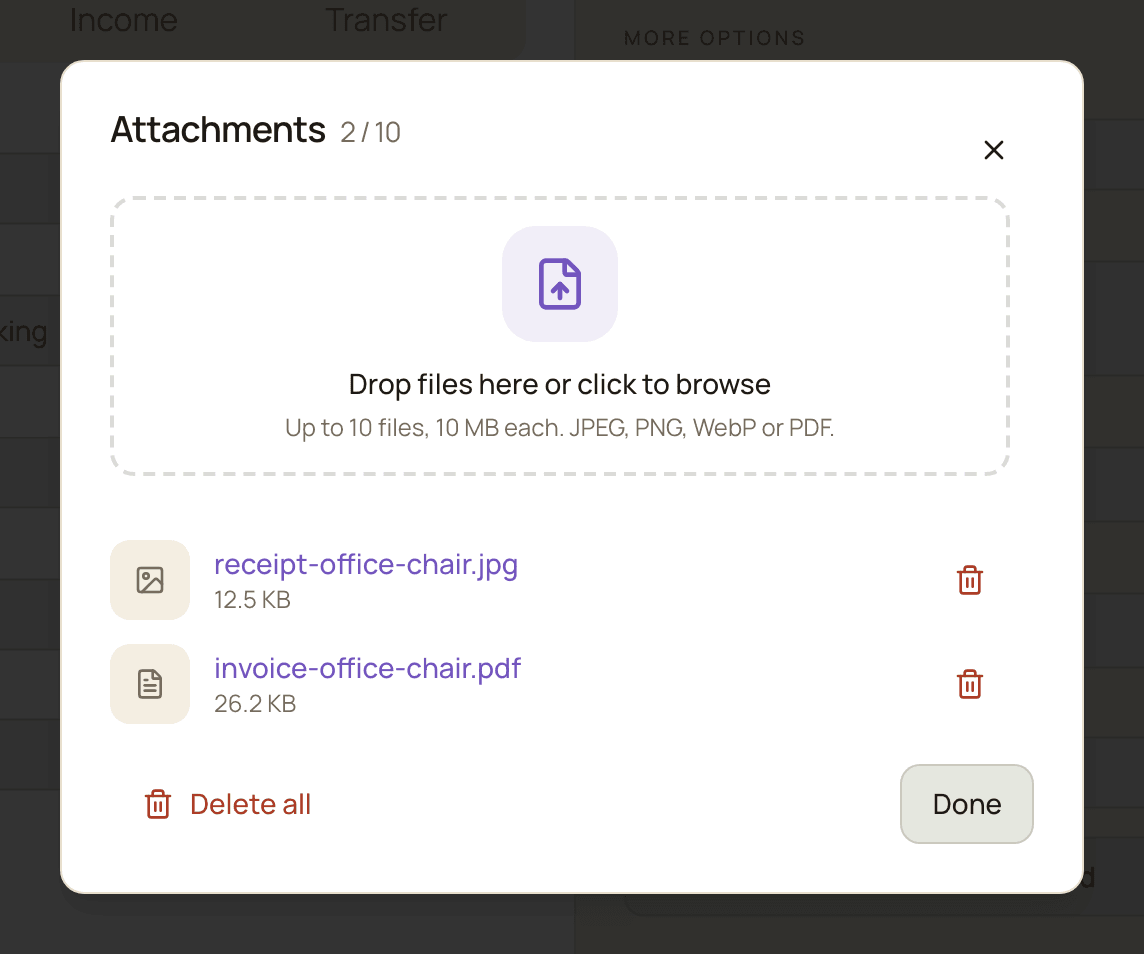
- In the transaction form, click Add attachments under Attachments.
- Drag files onto the Drop files here or click to browse area, or click that area to pick files.
- Close the window when you’re done. The field now shows how many files are attached.
Click a file to view it, then use Open in new tab or Download. You can delete files one by one, or all at once with Delete all.
Limits:
- Up to 10 files per transaction.
- Up to 10 MB per file.
- JPEG, PNG, WebP and PDF only.
- 1 GB of attachments in total per user.
Large photos are shrunk before upload, so a phone picture takes up much less space than the original.
On a new transaction, the files upload right after you click Create. When you’re creating a transfer, the Attachments field isn’t shown; save the transfer first, then open it again to attach files.
Deleting a transaction also deletes its attachments.
Templates
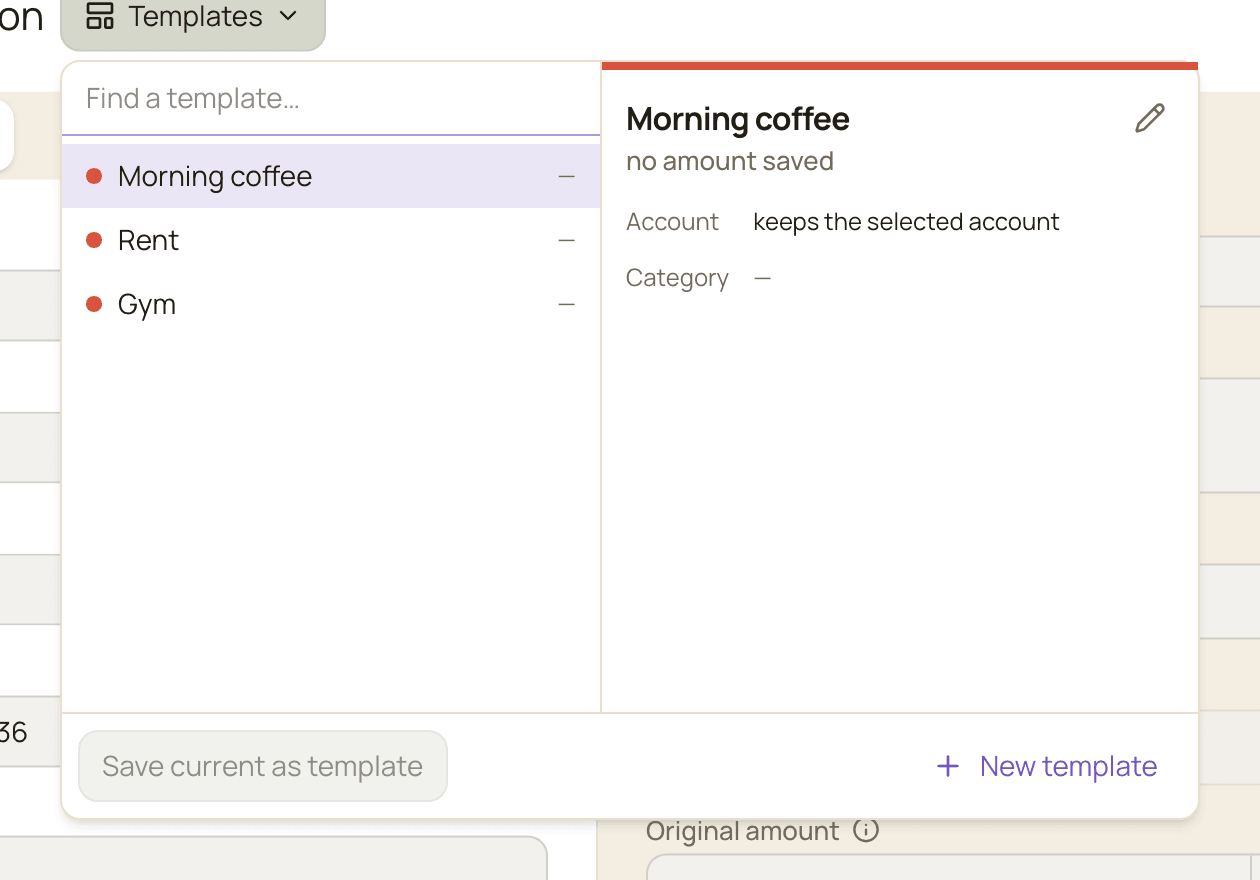
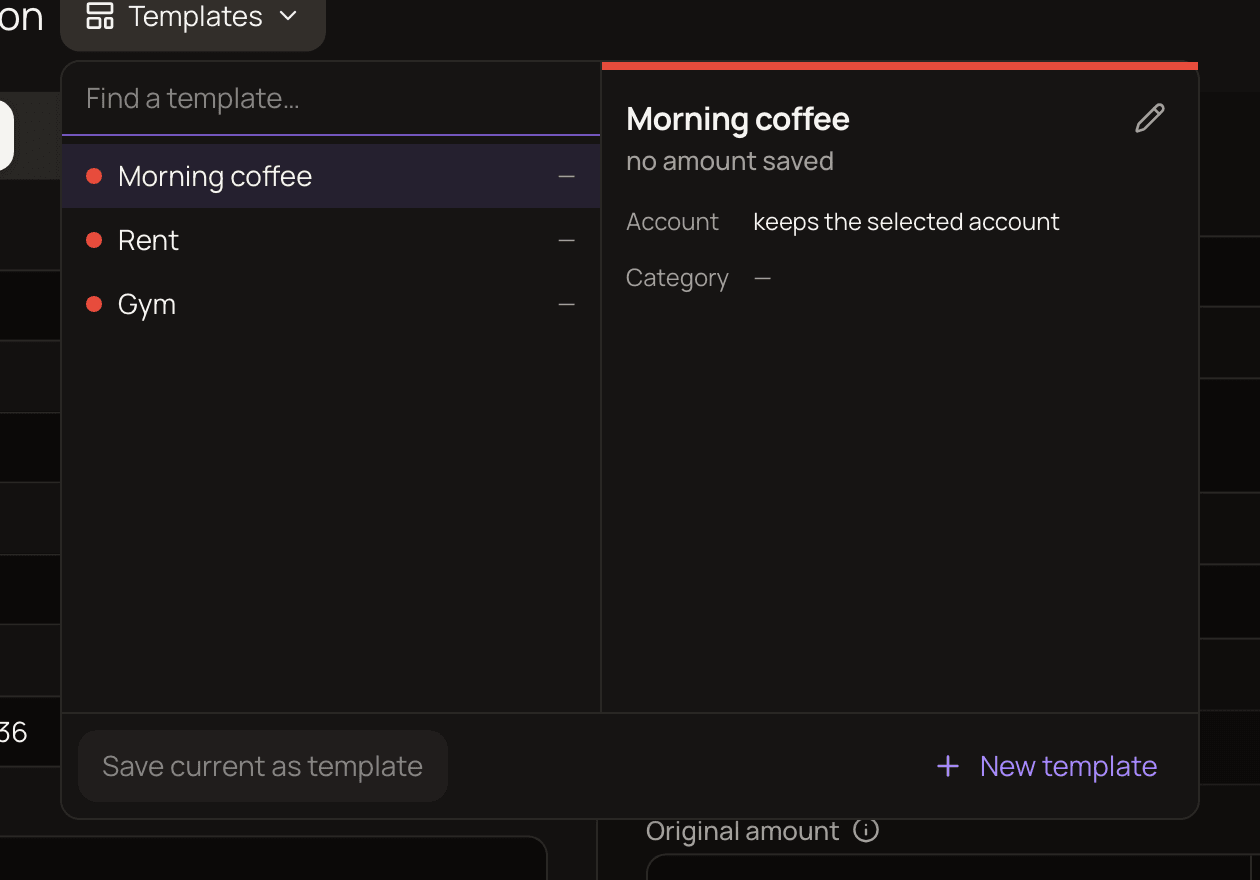
Section titled “Templates”If you enter the same kind of transaction often, like a morning coffee or a monthly rent payment, save it as a template and fill the form in one click. Templates only fill the form; they never create transactions on their own.
Templates are available when you add an expense or income. They aren’t available for transfers or when editing.
Save a template
Section titled “Save a template”- Fill in the form the way you want the template to look.
- Click Templates next to the dialog title (on a phone, it opens from the bottom of the screen).
- Click Save current as template.
- Give it a Name. Names must be unique.
- Optionally tick Keep whichever account is selected when I use it to leave the account out of the template, or Don’t save an amount — I’ll type it each time. An amount only makes sense in one account’s currency, so choosing the first option also turns on the second.
- Click Save template.
You can also create one from scratch with New template.
Use a template
Section titled “Use a template”- In Add Transaction, click Templates.
- Type in Find a template… to filter the list, if you have many.
- Click the template. The form fills in with its details.
- Check the fields, add anything missing (such as the amount), and click Create.
A template can store the type, account, amount, category, payee, tags, payment type, note and original-amount currency.
Good to know about templates
Section titled “Good to know about templates”- If the form already has splits or a refund link, using a template asks Apply template? first, because it replaces them. Click Use template to go ahead.
- Deleting a template doesn’t change any transaction you created with it.
- If a template’s account is archived or can no longer be used, the template shows account unavailable. Edit the template to pick another account.
- Deleting a category moves templates to the replacement category you choose, or clears the template’s category if the deleted category had no transactions.
Edit a transaction
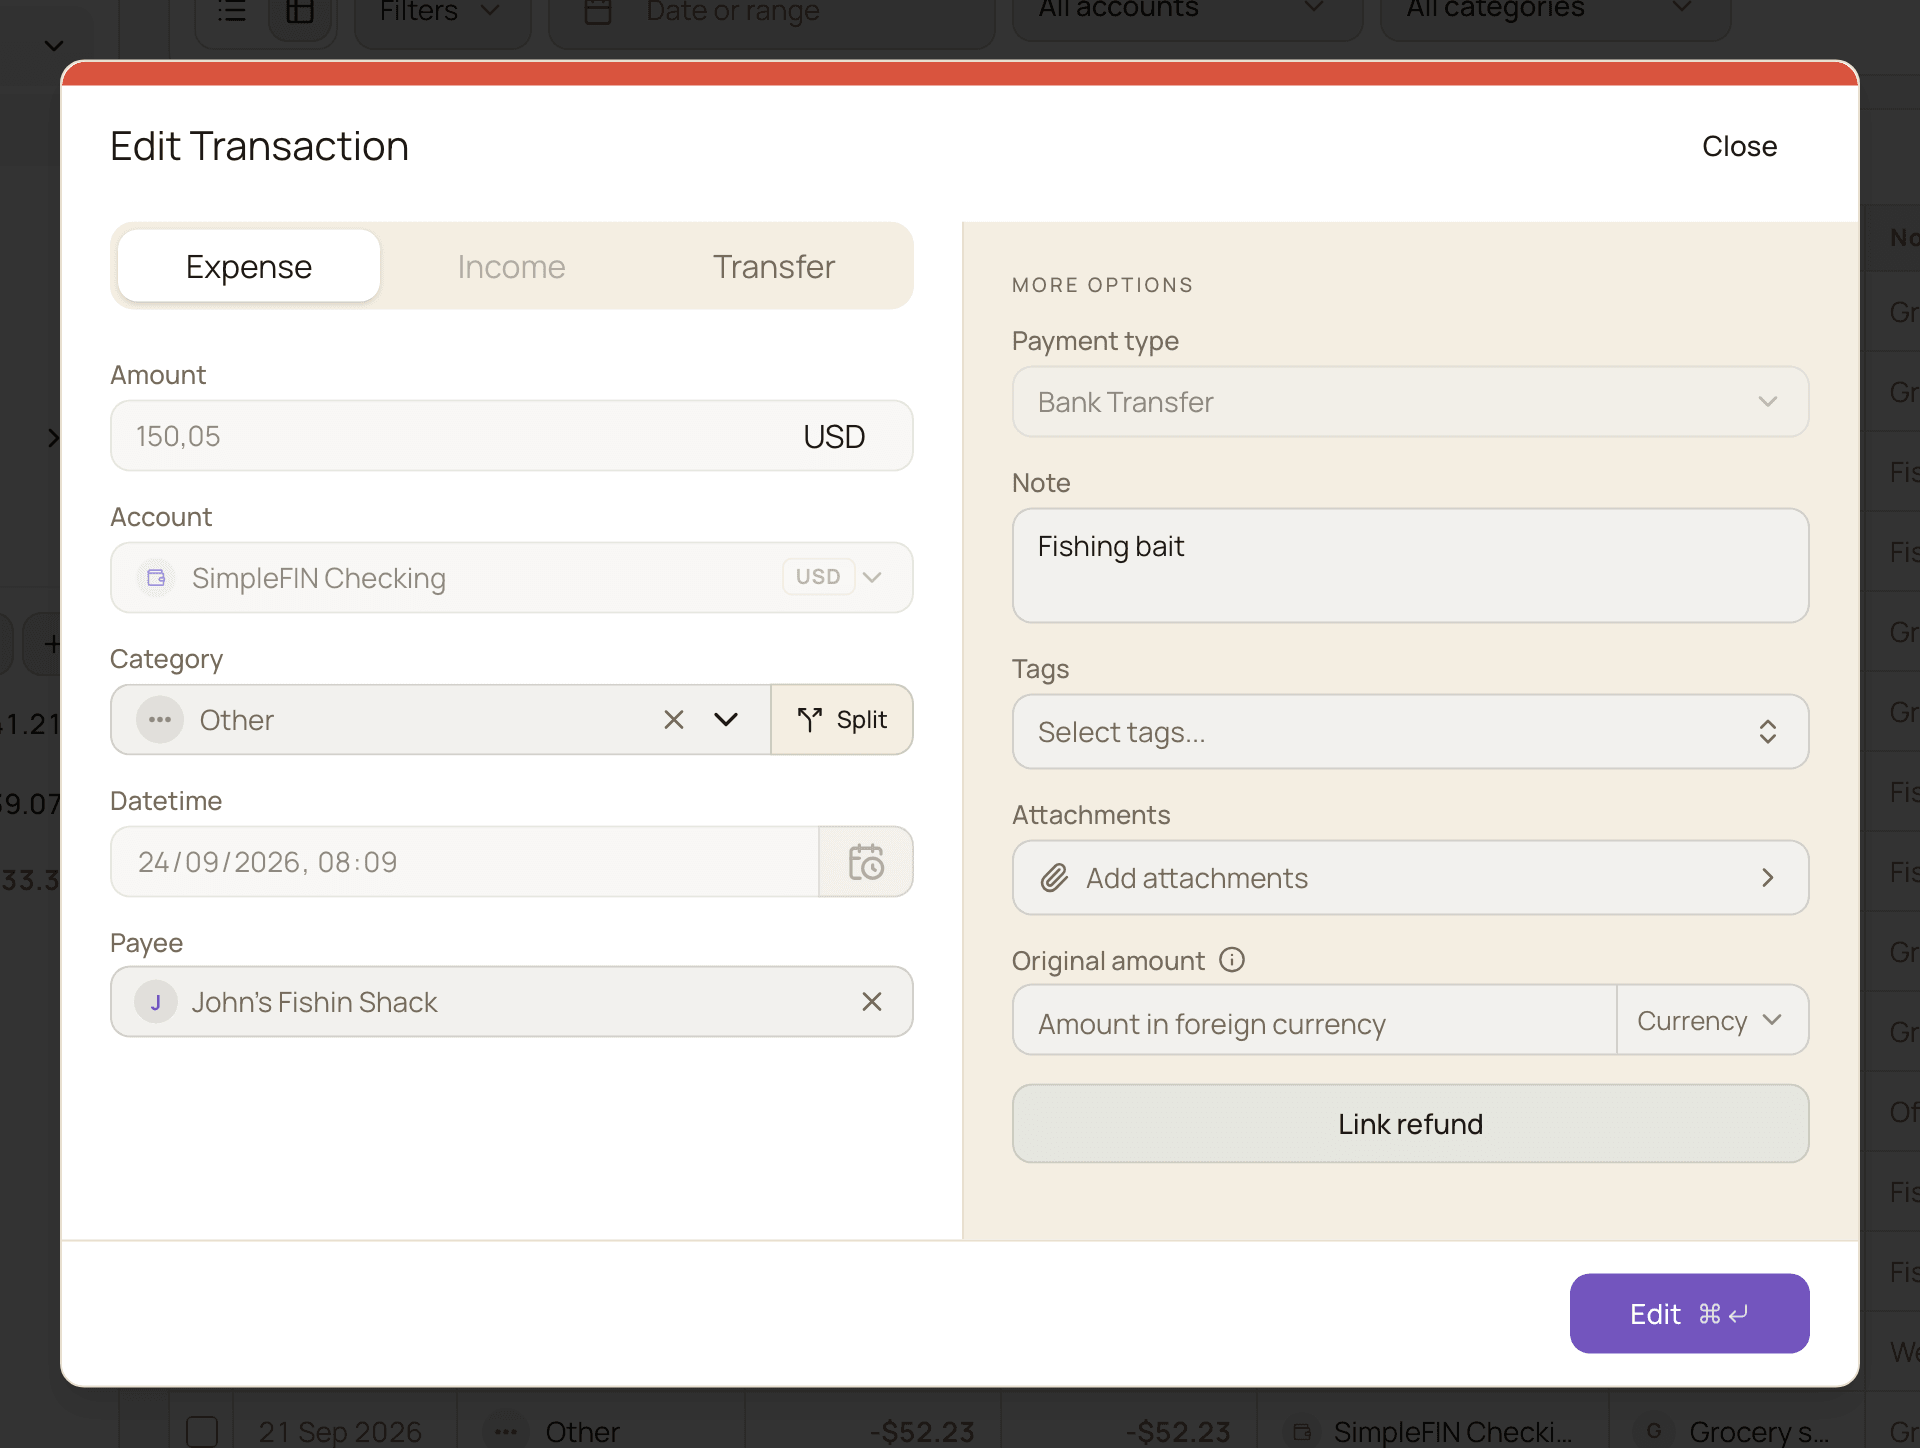
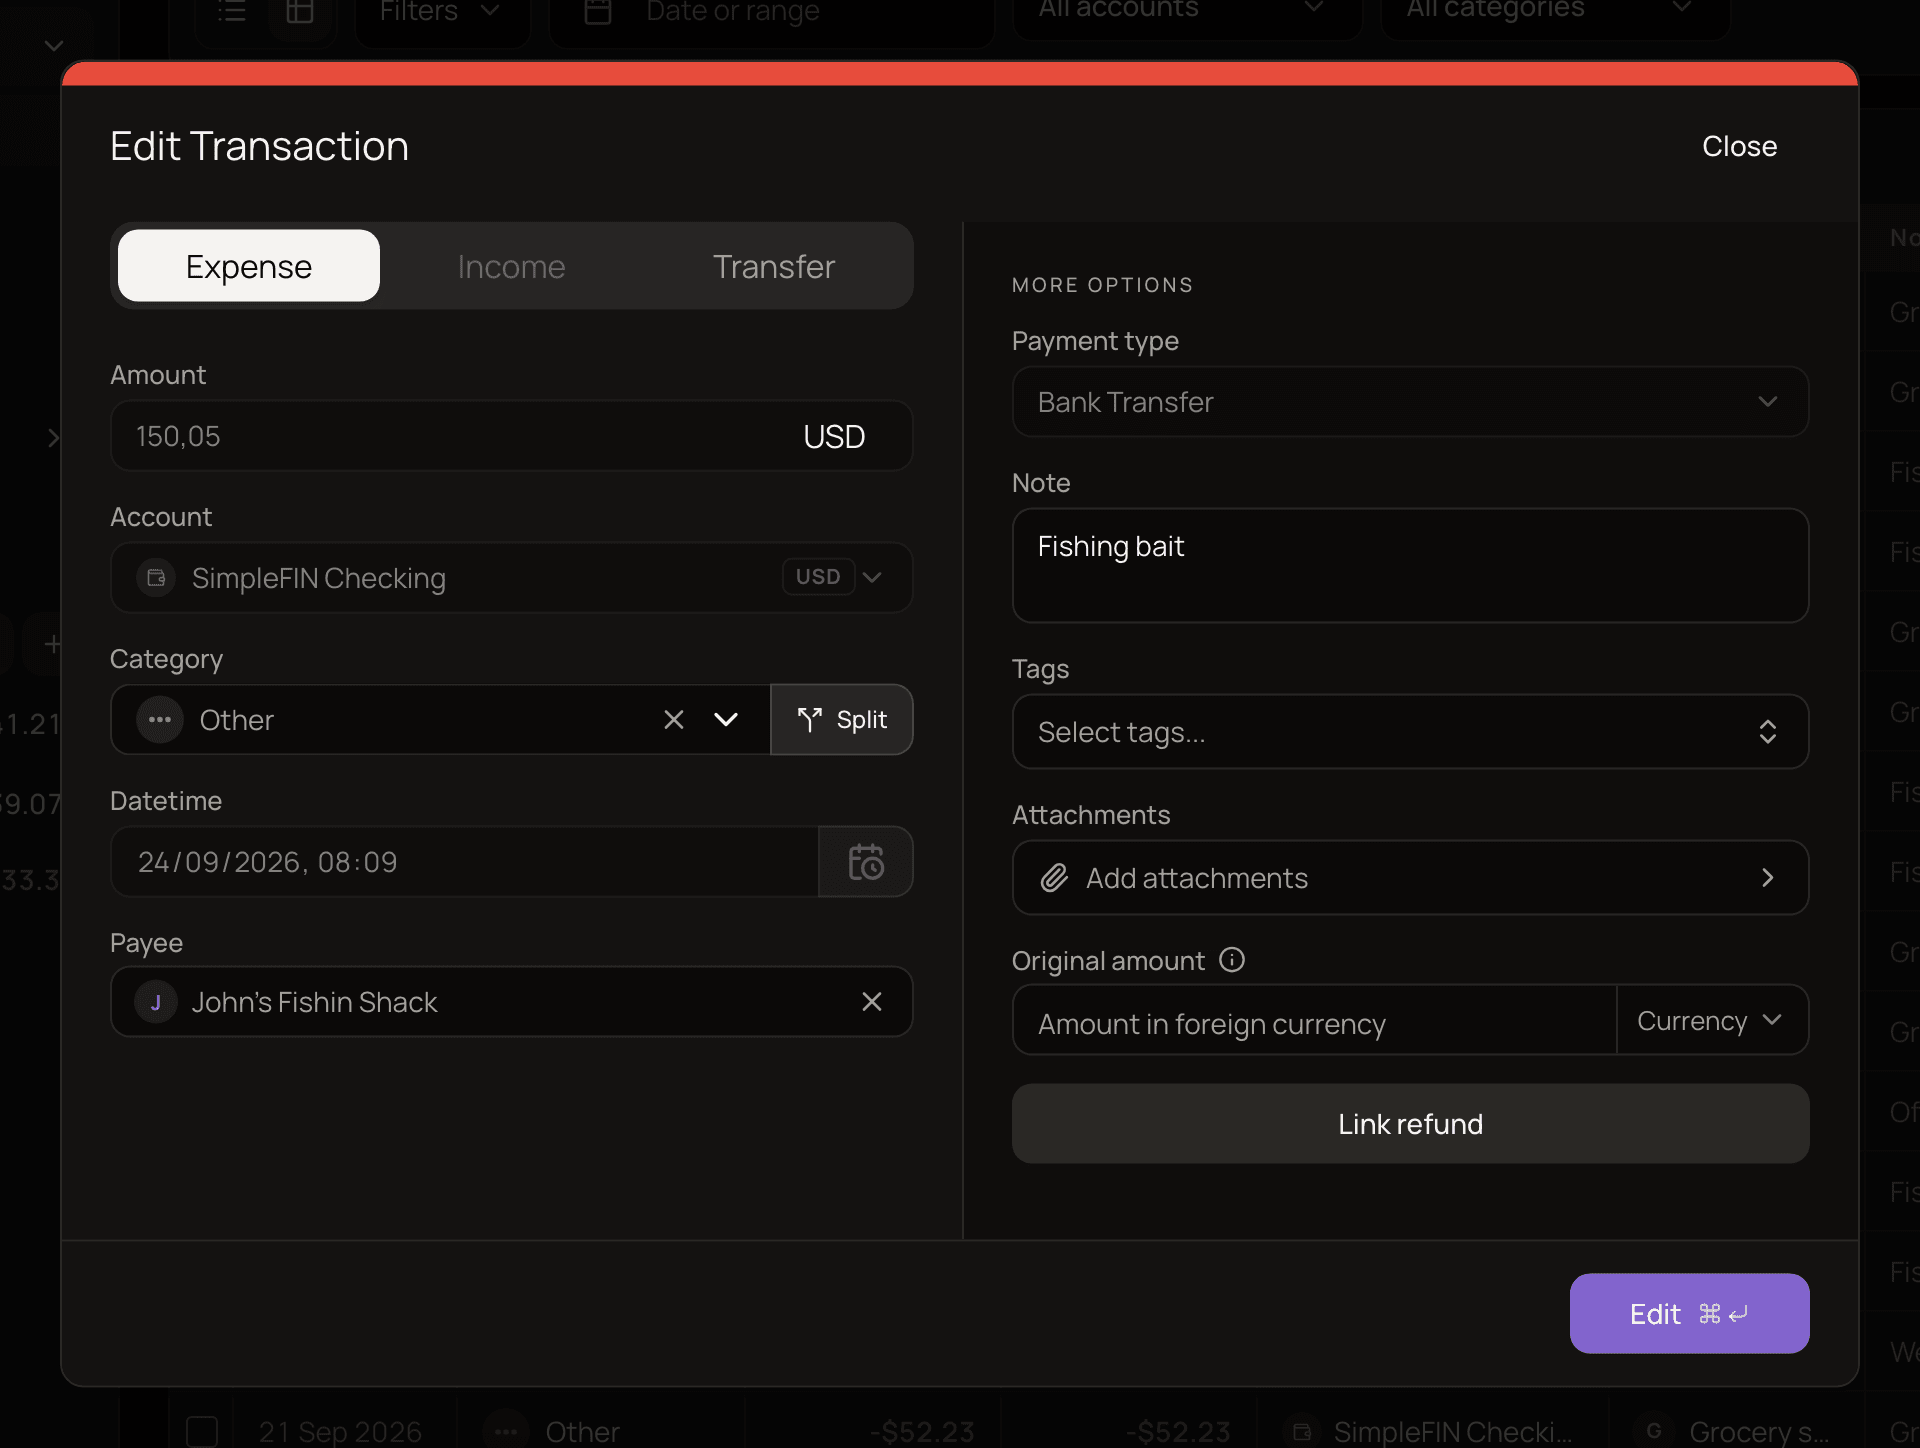
Section titled “Edit a transaction”- Click the transaction in any list, for example on the All Transactions page or an account’s page.
- Change what you need in the Edit Transaction form.
- Click Edit to save.
On a manual account you can change every field, including moving the transaction to another manual account or switching between Expense, Income and Transfer.
A few changes have side effects:
- Changing the payee by hand locks it. Whether you set, change or clear the payee, automatic payee detection will never change it on that transaction again.
- Switching a split transaction to Transfer removes its splits when you save. There’s no warning, so check first.
- Editing doesn’t re-apply the payee’s default category. Your choice stays.
To change many transactions at once, use bulk edit.
Bank-synced transactions
Section titled “Bank-synced transactions”Transactions that arrive through a bank connection mirror what your bank reports. Some fields are locked so your records don’t drift away from the bank’s.
| You can’t change | You can change |
|---|---|
| Amount | Category and splits |
| Datetime | Payee |
| Account | Note and Tags |
| Payment type | Attachments |
| Expense ↔ Income | Optional fields, such as Location |
| Refund links, and turning it into a transfer |
On a bank-synced expense, the Income tab is disabled, and the other way round. You can still turn the transaction into a transfer. See turn an expense or income into a transfer.
Bank-synced transactions can’t be deleted, so the Delete button isn’t shown. The bank sync owns them, and deleting one would put your balance out of step with the bank. The same goes for a transfer when either side is on a bank-connected account.
Delete a transaction
Section titled “Delete a transaction”- Open the transaction.
- Click Delete.
- Confirm with Delete in the Delete this transaction? window.
This can’t be undone. What else happens:
- Its splits and attachments are deleted too.
- Any refund links are removed. The transactions on the other side of those links stay.
- Deleting one side of a transfer deletes both sides, since a transfer only makes sense as a pair. See delete a transfer.
To delete several transactions at once, see bulk delete.
Keyboard shortcuts
Section titled “Keyboard shortcuts”These work while the transaction form is open:
- Ctrl + Enter (⌘ + Enter on a Mac) saves the transaction.
- Alt + T (⌥ Option + T on a Mac) opens or closes the templates list when you’re adding an expense or income.
Good to know
Section titled “Good to know”- You can’t add transactions to a bank-connected account by hand. Real transactions on those accounts come from the bank.
- Bank-synced transactions that nothing else categorizes land in “Other”. Open them and pick a better category any time.
- After a trial or plan ends, your data becomes read-only. You can still look at everything, but you can’t add or edit transactions until you subscribe. See read-only mode.